

Travel photography is the practice of capturing compelling images that document places, people, and experiences encountered during travel. The best travel photography tips share one thing: they prioritize composition, light, and adaptability over gear. Whether you shoot with a Canon mirrorless body or a compact zoom, the principles that separate forgettable snapshots from portfolio-worthy images are consistent and learnable. Bissig has applied these methods across expeditions in Pakistan, California, and the Swiss Alps, and every tip here reflects what actually works under real travel conditions.
1. Essential travel photography composition techniques
Composition is the single most controllable variable in any travel shot. Rule-of-thirds framing, leading lines, and natural framing are the fastest upgrades available to any photographer, regardless of skill level. Placing your subject near the intersections of a thirds grid, using roads, rivers, or columns as leading lines, and framing through arches or branches all reduce visual clutter and direct the viewer’s eye exactly where you want it.
Beyond the basics, perspective creates depth that flat compositions never achieve. Shooting from unusual angles, like crouching to catch a puddle reflection or climbing to a higher vantage point, adds a layer of storytelling that standard eye-level shots cannot. Physical layering, achieved by shooting through foliage or architectural elements, gives the image a sense of place and dimension.
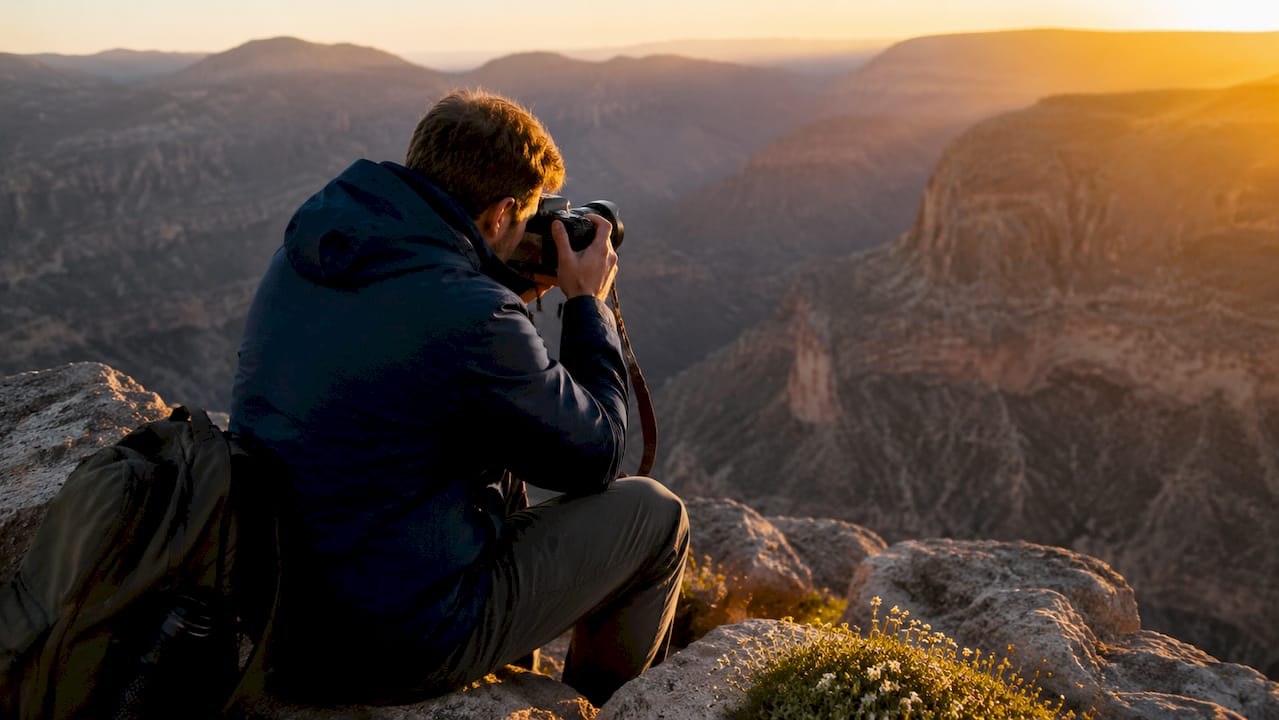
One underused technique is isolating a single detail rather than trying to include everything. A worn door handle in Marrakech tells a stronger story than a wide shot of the entire medina. Restraint in framing is a skill that takes practice but pays off immediately.
Pro Tip: Scout your location for two minutes before shooting. Walk the perimeter, identify a strong foreground element, and find the vantage point that combines both. Scouting vantage points briefly consistently produces better layered compositions than shooting from a single fixed position.
- Place subjects at thirds intersections, not dead center
- Use architectural elements, fences, or tree lines as leading lines
- Frame shots through doorways, windows, or overhanging branches
- Shoot one strong detail instead of a cluttered wide scene
- Change your physical position before changing your lens
2. How to leverage natural light for compelling travel photos
Light timing is the most underrated travel photography skill. Golden hour occurs after sunrise and before sunset, and blue hour follows sunset with cooler, softer tones that work especially well for cityscapes and architecture. Scheduling your most important shots around these windows is not optional if you want professional results. It is the plan.
Midday light is not useless. It creates hard shadows and graphic contrast that work well for abstract architectural shots or scenes where you want bold, punchy color. The mistake is applying midday light to portraits or soft landscape scenes where it flattens everything and creates unflattering shadows under eyes and brows.
Overcast and rainy conditions produce diffused, even light that is ideal for portraits and forest scenes. Fog, rain reflections, and storm clouds can yield some of the most memorable travel images you will ever capture. Putting the camera away because the weather is imperfect is the single most common mistake amateur photographers make.
Pro Tip: Build your travel day around light, not sightseeing logistics. Visit popular landmarks twice: once at golden hour for the hero shot, and once midday to scout angles and plan your return.
| Lighting condition | Best use case | Suggested settings |
|---|---|---|
| Golden hour | Landscapes, portraits, architecture | f/8, ISO 200, 1/250s |
| Blue hour | Cityscapes, long exposures | f/11, ISO 400, 1/30s |
| Midday sun | Graphic shadows, abstract details | f/11, ISO 100, 1/1000s |
| Overcast | Portraits, forest, waterfalls | f/5.6, ISO 400, 1/200s |
3. What camera gear and settings optimize travel photography
Gear choice matters less than most photographers think, but it matters enough to get right. Full-frame mirrorless bodies from Canon, Sony, or Nikon deliver the best low-light performance and dynamic range, but APS-C systems like the Canon EOS R7 or Sony A6700 offer a significant weight reduction with only a modest image quality trade-off. For most travel situations, APS-C is the smarter choice.
Lens selection defines your shooting flexibility more than the camera body. A versatile 24-105mm zoom or a single prime covers the majority of travel scenarios from street candids to landscapes. Carrying two lenses, a wide zoom and a 50mm or 85mm prime, covers nearly every situation without the weight penalty of a full kit. Weight and bulk directly reduce shooting time and increase fatigue, which degrades photo quality over a long travel day.
For camera exposure starting points, use 1/500s shutter speed for street candid shots with ISO up to 6400. For interiors and architecture, drop to 1/60s to 1/125s with ISO 800 to 3200. These are not rigid rules. They are baselines that get you a usable exposure in the first frame so you can refine from there.
Aperture priority with auto ISO capped at 6400 and a shutter speed floor is the most practical shooting mode for variable travel conditions. It reduces missed moments caused by manual adjustments and keeps you focused on composition rather than dials.
Pro Tip: Pack at least two batteries per camera body and three memory cards with more capacity than you think you need. Packing lightweight gear with enough backup power and storage prevents the most common and most avoidable failures in travel photography.
- Full-frame for maximum quality; APS-C for weight savings
- 24-105mm zoom covers most travel scenarios in one lens
- Use aperture priority plus auto ISO for fast adaptation
- Carry two batteries and multiple memory cards minimum
- Add a lightweight tripod or GorillaPod for low-light and long exposures
4. How to photograph people ethically while traveling
Photographing people is where travel photography becomes genuinely complex. Ethical travel photography requires respecting privacy, avoiding private or sensitive settings without explicit permission, and walking away immediately if a subject hesitates or objects. This is not just a legal consideration. It is the foundation of respectful practice.
In public spaces, street photography is generally legal in most countries, but cultural norms vary significantly. In some regions, photographing religious sites, military installations, or government buildings carries legal risk regardless of whether you are on public ground. Researching local laws before you arrive is part of the preparation that separates professional travel photographers from tourists with cameras.
Engaging with subjects before shooting produces better images and better interactions. A brief conversation, even through gestures or a translator app, creates a relaxed expression that candid shots rarely capture. Ethical photography practices lead to better engagement and more comfortable interactions, which directly improves photo quality. For any commercial use, a signed model release is non-negotiable.
- Ask permission in private or semi-private spaces
- Research local photography laws before each destination
- Engage subjects with conversation before raising the camera
- Walk away without argument if someone objects
- Obtain model releases for any image used commercially
5. Best practices for backing up travel photos on the go
Data loss during travel is not a question of if but when. The 3-2-1 backup rule defines the standard: three copies of your images, stored on two different media types, with one copy kept off-site. For travel photographers, this translates to a primary SSD, a secondary SSD, and a cloud backup running overnight when Wi-Fi is available.
Physical separation of your backup drives is as important as having multiple copies. Storing backup drives together in the same bag eliminates the protection redundancy provides. Keep one drive in your camera bag and the second in your hotel safe or checked luggage. If your bag is stolen, your images survive.
Cloud services like Google Photos, Backblaze, or Adobe Lightroom cloud sync work well for overnight uploads when you have reliable Wi-Fi. In locations with slow or unreliable connections, prioritize the dual-SSD workflow and treat cloud backup as a bonus rather than a primary strategy.
- Transfer images from memory cards to your primary SSD each evening
- Duplicate the primary SSD to your secondary SSD immediately after transfer
- Verify the duplicate by spot-checking file counts and opening several images
- Store the secondary SSD in a physically separate location overnight
- Upload to cloud storage when Wi-Fi allows, but never rely on it exclusively
Pro Tip: Label your memory cards with a marker and keep used cards in a separate pouch from empty ones. This prevents accidental reformatting and makes your outdoor photography workflow faster and more reliable at the end of each shooting day.
Key takeaways
Strong travel photography depends on mastering composition and light timing first, then building a lightweight, reliable gear and backup system around those creative priorities.
| Point | Details |
|---|---|
| Composition before gear | Rule of thirds, leading lines, and natural framing improve any shot regardless of camera. |
| Shoot around golden hour | Plan your most important shots at golden hour or blue hour for consistently better light. |
| Travel light, shoot more | A 24-105mm zoom and APS-C body reduce fatigue and increase shooting time over a full day. |
| Back up every night | The 3-2-1 rule with physically separated SSDs protects images from theft or hardware failure. |
| Ethics improve photos | Engaging subjects respectfully produces more natural expressions and better portraits. |
What I’ve learned shooting travel across three continents
The most common mistake I see photographers make is treating travel photography as a gear problem. They pack more lenses, buy a better body, and then stand in front of a landmark at noon and wonder why the image looks flat. The light is wrong. The angle is obvious. The frame is cluttered. No camera fixes that.
What actually changed my travel photography was learning to read a location before I raised the camera. I spend the first few minutes of any new scene just looking. Where is the light coming from? What is the strongest foreground element? Is there a vantage point I have not tried yet? That two-minute investment consistently produces better images than thirty minutes of shooting from the same spot.
The other shift was accepting imperfect conditions as creative opportunities. Some of my strongest images from Pakistan and California came from weather I would have previously packed up and walked away from. Rain creates reflections. Fog creates atmosphere. Harsh midday light creates graphic shadows that work beautifully in black and white. The camera does not need perfect conditions. You need to adapt your vision to what is actually in front of you.
For photographers working with brands or editorial clients, the role of visual storytelling in travel photography goes beyond documentation. Every frame should answer the question: what does this place feel like? Technical execution matters, but emotional resonance is what makes an image worth publishing.
— Martin
Take your travel photography further with Bissig
Bissig’s portfolio spans mountain expeditions, adventure sports, and travel projects across Pakistan, California, and the Swiss Alps, all built on the same composition and light principles covered in this article. If you want to go deeper on outdoor photography styles, techniques, and pro-level approaches, the outdoor photography guide on bissig.ch covers everything from gear selection to post-processing workflows. For photographers looking to expand into natural portrait work, the natural portrait ideas section offers practical inspiration grounded in real location shooting. Explore the full portfolio and resources at bissig.ch.
FAQ
What are the most important travel photography tips for beginners?
Start with composition fundamentals: rule of thirds, leading lines, and natural framing. These three techniques improve any travel image immediately, regardless of camera or lens.
When is the best time of day for travel photography?
Golden hour after sunrise and before sunset delivers the most flattering natural light for landscapes and portraits. Blue hour after sunset works especially well for cityscapes and long-exposure architecture shots.
What camera settings should I use for street photography while traveling?
Use 1/500s shutter speed, aperture f/5.6 to f/8, and ISO up to 6400 as a starting baseline for street candid shots. Aperture priority with auto ISO capped at 6400 is the most practical mode for fast-changing travel conditions.
How do I back up travel photos reliably without reliable Wi-Fi?
Apply the 3-2-1 rule using two portable SSDs stored in physically separate locations. Transfer images to both drives each evening and treat cloud backup as a secondary option when Wi-Fi is available.
Do I need permission to photograph people while traveling?
In most public spaces, street photography is legally permitted, but cultural norms and local laws vary by country. For commercial use, a signed model release is always required regardless of where the image was taken.


