Capturing motion in photography means deliberately controlling shutter speed and camera movement to freeze, blur, or track a moving subject for artistic impact. This is the core skill that separates a flat snapshot from an image that makes a viewer feel speed, energy, or flow. Whether you shoot mountain bikers in the Swiss Alps, waterfalls in Patagonia, or trail runners at dusk, your motion photography approach determines everything. This guide to capturing motion covers four core techniques: freezing action, motion blur, panning, and intentional camera movement, with specific settings and gear for outdoor and adventure contexts.
What is the best guide to capturing motion outdoors?
The best approach combines four distinct methods, each built on a different shutter speed range and creative intent. Freezing action stops a subject cold. Motion blur conveys speed through streaks. Panning tracks a subject while blurring the background. Intentional camera movement (ICM) turns the camera itself into a creative tool. The choice between them is narrative-driven: freezing conveys precise action while blur creates directional flow and energy. Knowing which method serves your story is the first decision you make before touching a dial.
How do you freeze motion in outdoor action shots?
Freezing motion demands a fast shutter speed and a camera that can track a moving subject without losing focus. For most outdoor action, 1/500s stops a runner cleanly. A mountain biker mid-jump needs 1/1000s or faster. A bird in flight often requires 1/2000s or above. The key variable most photographers underestimate is lens focal length: telephoto lenses require faster shutter speeds because they visually amplify the subject’s apparent speed across the frame. A 400mm lens shooting a cyclist needs a significantly faster shutter than a 24mm lens shooting the same rider at the same distance.
Settings and gear for sharp freeze shots
Getting a sharp freeze shot outdoors requires more than just a fast shutter. Here is what to dial in:
Shutter speed: 1/500s for moderate action, 1/1000s–1/2000s for fast sports and wildlife
Aperture: Wide open (f/2.8–f/4) to let in maximum light at fast shutter speeds
ISO: Raise it freely. A sharp shot at ISO 3200 beats a blurry one at ISO 100.
Autofocus mode: Continuous autofocus (AI Servo on Canon, AF-C on most other systems) tracks moving subjects frame to frame
Burst mode:5–15 frames per sequence gives you multiple frames to select the sharpest peak moment
Subject direction: A subject moving toward you requires a slower shutter than one crossing left to right across the frame
Pro Tip:Anticipate the peak before it happens. Fire the burst a half-second early. The most common mistake in action photography is pressing the shutter too late, after the peak has already passed.
How do you use motion blur to convey speed?
Motion blur is a deliberate creative choice, not a technical failure. A slower shutter speed lets a moving subject streak across the frame while a stationary background stays sharp. The result reads as speed, energy, and flow in a way that a frozen image cannot replicate. Shutter speed ranges for common blur effects vary widely by subject: 1/15s–1/4s for a walking person, 1/2s–2s for flowing water, 1s–5s for traffic light trails, and 10s–30s for star trails. Each range produces a visually distinct result.
Gear and settings for motion blur
Shooting slow shutter speeds outdoors in daylight is harder than it sounds. Bright light forces a fast shutter unless you control it. Here is the standard approach:
Tripod: Non-negotiable. Any camera shake at 1/4s or slower ruins the background sharpness that makes blur look intentional.
ND filters: A 6-stop ND filter enables 1-second exposures in bright daylight. A 10-stop ND filter opens up 15-second or longer shots without overexposure.
Aperture: Narrow it down (f/8–f/16) to reduce light intake alongside the ND filter.
ISO: Keep it at base (ISO 100) to minimize noise in long exposures.
Remote shutter release: Eliminates vibration from pressing the shutter button manually.
Pro Tip:For silky waterfall shots, aim for 1/2s to 2s. Shorter than that and the water looks choppy. Longer than 2s and it turns into a flat white sheet with no texture.
The table below shows common outdoor subjects and their target shutter speed ranges for blur effects.
Subject
Shutter speed range
Visual effect
Walking person
1/15s–1/4s
Slight ghosting, readable motion
Flowing waterfall
1/2s–2s
Silky, smooth water texture
Traffic light trails
1s–5s
Streaking colored lines
Clouds moving
10s–30s
Dramatic sky sweep
Star trails
10s–30s (stacked)
Circular arc patterns
How does panning work for outdoor photography?
Panning is the technique of tracking a moving subject with your camera during the exposure. Done correctly, the subject stays sharp while the background blurs into horizontal streaks. The effect communicates speed and direction better than almost any other single technique. Effective panning uses shutter speeds between 1/30s and 1/60s with continuous autofocus engaged throughout the shot.
Step-by-step panning technique
Follow these steps for consistent panning results in outdoor settings:
Position yourself perpendicular to the subject’s path. The subject should cross your frame from side to side, not move toward or away from you.
Set your shutter speed to 1/30s–1/60s. Start at 1/60s and slow down as your technique improves.
Engage continuous autofocus. Lock focus on the subject before it reaches your frame center and keep tracking.
Plant your feet firmly and rotate from the waist. Smooth tracking comes from waist rotation, not pivoting on your feet. Pivoting creates jerky, inconsistent movement.
Start tracking before you fire. Begin your rotation early, match the subject’s speed, then press the shutter.
Use burst mode. Fire 5–10 frames per pass. Select the sharpest result afterward.
Follow through after the shutter fires. Keep rotating after the exposure ends, just like a golf swing.
Pro Tip:Turn off optical image stabilization or switch it to the panning-specific mode if your lens has one. Standard stabilization fights your intentional horizontal movement and produces worse results.
Panning works especially well for action sports videography and mountain biking, where the subject moves predictably along a defined path. The blurred background tells the story of the terrain rushing past.
What is intentional camera movement in photography?
Intentional camera movement (ICM) is the practice of moving the camera deliberately during a slow exposure to create abstract or impressionistic effects. Unlike panning, ICM does not try to keep any part of the image sharp. The goal is texture, color, and mood. ICM uses shutter speeds from 1/4s to 2s with ND filters in bright conditions to reach those slow speeds without overexposure.
ICM opens up creative territory that no other technique reaches. A forest shot with a vertical camera drag during a 1/2s exposure produces painterly green streaks. A mountain ridge swept horizontally at 1s creates abstract color fields that suggest landscape without depicting it literally. The technique rewards experimentation because no two shots are identical.
Gear and approach for ICM outdoors
Tripod or handheld: ICM works both ways. A tripod with a deliberate pan or tilt creates controlled streaks. Handheld movement creates organic, unpredictable results.
ND filters: A 6-stop or 10-stop ND filter is often necessary in daylight to reach the 1/4s–2s range.
Remote shutter release: Reduces unwanted vibration at the start of the exposure.
Aperture: Set to f/8–f/16 alongside the ND filter to control exposure.
Experimentation: Shoot 20–30 frames per scene. ICM has a low keeper rate by design. That is normal.
Pro Tip:Try ICM at golden hour when light is warm and directional. The color contrast between sky and land produces the most visually striking streaks. Midday flat light tends to produce muddy, low-contrast results.
For photographers who also work in video, post-production editing can extend ICM-style effects into motion footage, blending still and moving image aesthetics.
Essential gear, settings, and troubleshooting
Every motion technique relies on a short list of core equipment. Missing one item often makes the technique impossible or produces poor results.
Equipment checklist:
Fast prime or zoom lens (f/2.8 or faster for freeze shots)
Sturdy tripod for blur, ICM, and long exposures
ND filter set: 3-stop, 6-stop, and 10-stop for daylight control
Remote shutter release or camera self-timer
Extra batteries (long exposures drain power fast)
The table below summarizes recommended settings for each motion style.
Technique
Shutter speed
Aperture
ISO
Tripod needed
Freeze action
1/500s–1/2000s
f/2.8–f/4
400–3200
No
Motion blur
1/4s–30s
f/8–f/16
100
Yes
Panning
1/30s–1/60s
f/5.6–f/8
100–400
No
ICM
1/4s–2s
f/8–f/16
100
Optional
Common mistakes and fixes:
Blurry freeze shots: Raise shutter speed or switch to a wider aperture to maintain speed.
Overexposed long exposures: Add a stronger ND filter or narrow the aperture further.
Inconsistent panning: Practice the waist rotation without firing. Muscle memory matters.
Missed peak moments: Capture just before the peak action to avoid the transitional phase where energy and shape degrade.
“The difference between a great action shot and a mediocre one is almost always timing. The camera settings get you in the game. Anticipation wins the shot.”
Pro Tip:For sharper action shots in low light, raise ISO aggressively before you slow the shutter. Grain is recoverable in post-production. Motion blur from a slow shutter is not.
Key Takeaways
Mastering motion in outdoor photography requires matching your shutter speed, gear, and technique to the specific movement and story you want to tell.
Point
Details
Shutter speed is the core control
Every motion technique starts with choosing the right shutter speed for the subject and effect.
Freeze action with fast speeds
Use 1/500s–1/2000s, continuous autofocus, and burst mode to lock sharp action shots.
ND filters unlock daylight blur
A 6-stop ND filter enables 1-second exposures; a 10-stop opens up 15-second shots outdoors.
Panning needs waist rotation
Plant your feet and rotate from the waist for smooth, consistent tracking during panning shots.
Timing beats settings
Anticipate the peak moment and fire early. Late captures miss the energy and shape of the action.
What I’ve learned shooting motion in the mountains
Most photographers obsess over settings and underinvest in timing. I spent years chasing the perfect shutter speed chart before I realized that the chart only gets you to the starting line. The real skill is reading a scene and knowing when the peak is about to happen, not when it is already happening.
Panning is the technique I recommend practicing most. It feels awkward for the first hundred attempts. Then something clicks. Your body learns the rotation, your eye learns to match the subject’s speed, and suddenly you are producing images that look like they required a film crew. They did not. They required repetition.
ICM is where I go when conditions are difficult and conventional shots feel flat. A gray, overcast day in the Alps that would ruin a freeze shot can produce extraordinary ICM results. The soft light becomes an asset. The lack of contrast disappears into abstraction. Learning to read bad light as an ICM opportunity changed how I approach difficult days in the field.
The hardest lesson: stop defaulting to freeze mode. Blur and panning tell stories that sharp images cannot. The choice between freezing and blurring is a narrative decision, not a technical one. Make it deliberately.
— Martin
Motion photography resources from Bissig
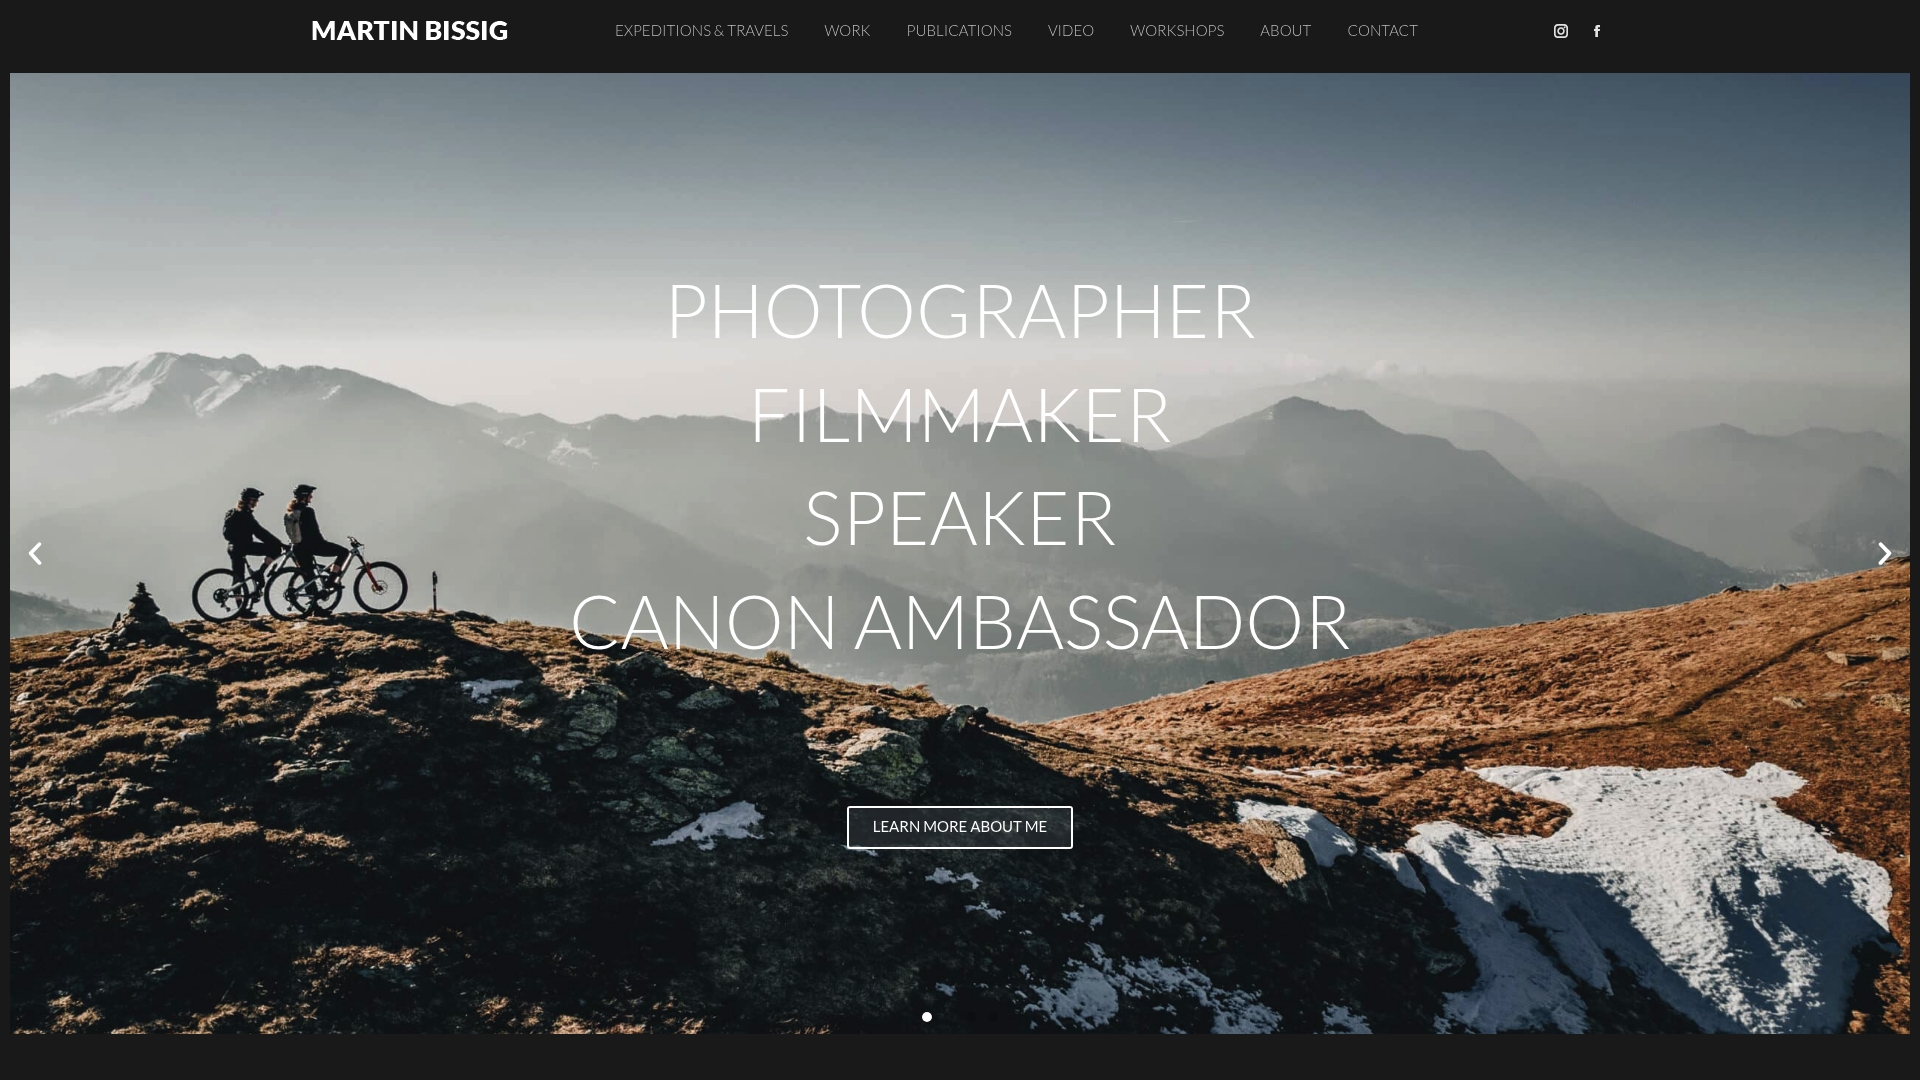
Bissig’s work spans mountain biking, alpine expeditions, and adventure sports across three continents. The techniques in this article form the foundation of that work.
For photographers ready to go deeper, the outdoor sports imagery guide covers how motion capture applies across different adventure disciplines, from trail running to ski mountaineering. Photographers expanding into video will find the outdoor videography guide a direct extension of these principles into moving image work. Both resources reflect the same field-tested approach that drives Bissig’s commercial and editorial photography.
FAQ
What shutter speed freezes motion outdoors?
Use 1/500s for moderate action like running, and 1/1000s–1/2000s for fast subjects like cyclists or birds in flight. Telephoto lenses require faster speeds because they amplify apparent subject movement across the frame.
How do I avoid camera shake in long exposures?
Mount your camera on a tripod and use a remote shutter release or the camera’s self-timer. Any physical contact with the camera during exposures longer than 1/4s introduces blur that ruins the background sharpness.
What is the best shutter speed for panning?
Panning works best at 1/30s–1/60s with continuous autofocus engaged. Start at 1/60s and slow down as your tracking technique becomes more consistent.
Do I need ND filters for motion blur in daylight?
Yes. A 6-stop ND filter enables 1-second exposures in bright conditions. A 10-stop ND filter extends that to 15 seconds or more, which is necessary for silky water and cloud movement shots.
What is ICM in photography?
Intentional camera movement (ICM) means moving the camera deliberately during a slow exposure of 1/4s to 2s to create abstract, painterly effects. It requires ND filters in daylight and rewards experimentation with a high volume of frames per scene.


 For photographers ready to go deeper, the outdoor sports imagery guide covers how motion capture applies across different adventure disciplines, from trail running to ski mountaineering. Photographers expanding into video will find the outdoor videography guide a direct extension of these principles into moving image work. Both resources reflect the same field-tested approach that drives Bissig’s commercial and editorial photography.


