
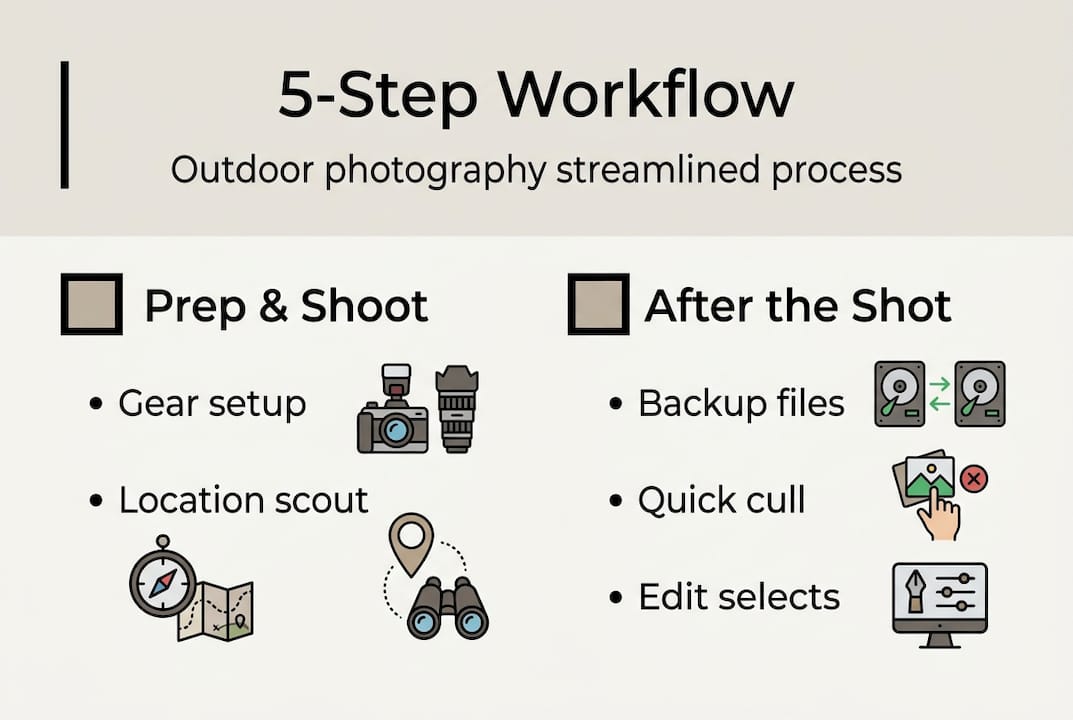
Missing a perfect shot because your gear wasn’t ready or your card was full is one of the most frustrating experiences in outdoor photography. Whether you’re tracking a mountain biker through a tight switchback or waiting for alpenglow to hit a ridgeline, your workflow is either working for you or against you. A slow, disorganized process doesn’t just cost you images. It drains creative energy and slows down delivery to clients. This guide walks through every phase, from preparation and in-field technique to backup, editing, and final output, so you can focus on what matters most: capturing extraordinary moments.
Table of Contents
- Essential gear and preparation steps
- In-field workflow for action and landscape shots
- Organizing and backing up your photos
- Editing workflow for impactful results
- A professional perspective on workflow: What actually matters outdoors
- Take your outdoor photography further with specialized resources
- Frequently asked questions
Key Takeaways
| Point | Details |
|---|---|
| Prep gear for success | Having the right equipment and proper prep reduces field headaches and missed shots. |
| Adapt in the field | Flexible shooting strategies let you quickly switch between action and landscapes outdoors. |
| Back up immediately | Photographers should always create at least three copies to prevent data loss. |
| Edit efficiently | Batch global edits first, then refine with targeted adjustments for maximum impact. |
| Discipline beats perfection | A consistent workflow delivers more reliable results than chasing flawless technique every time. |
Essential gear and preparation steps
Before you ever press the shutter, your workflow begins. The photographers who consistently get the shot aren’t luckier. They’re more prepared. Preparation means knowing exactly what’s in your bag, what conditions you’ll face, and how your camera is configured before you reach the trailhead or drop zone.
Here’s a core gear checklist for outdoor shooting:
- Camera body: Mirrorless or DSLR with weather sealing
- Lenses: Wide-angle (14-24mm) for landscapes, telephoto (70-200mm or longer) for action
- Storage: Multiple fast memory cards (UHS-II or CFexpress)
- Filters: Circular polarizer, graduated ND, solid ND (3, 6, 10 stop)
- Power: At least three fully charged batteries per body
- Tripod: Carbon fiber for weight savings on long hikes
- Rain protection: Camera cover and sealed bag liner
For landscapes, landscape camera setup tips confirm that shooting RAW, using aperture between f/8 and f/11, and keeping ISO at 100 gives you the sharpest, most flexible files. Bracket your exposures for HDR options and use ND filters to achieve long exposures on moving water or clouds. Golden hour and blue hour are non-negotiable for serious landscape work.
For action sports, your optimal technical settings shift dramatically toward speed and responsiveness. You need fast autofocus, high burst rates, and a camera that can keep up with unpredictable movement.
Pro Tip: Always pack at least two extra batteries and a full set of ND filters, even if you think you won’t need them. Weather changes fast in the mountains, and the shot that requires a 10-stop ND at noon is one you’ll regret missing.
| Feature | Landscape | Action sports |
|---|---|---|
| Shutter speed | 1/30s to 30s | 1/1000s or faster |
| Aperture | f/8 to f/11 | f/2.8 to f/5.6 |
| ISO | 100 | 400 to 3200 |
| Autofocus mode | Single point or manual | Continuous tracking |
| Burst mode | Off or low | High (10fps+) |
| Tripod | Essential | Rarely used |
Location scouting is equally important. Use apps like PhotoPills or The Photographer’s Ephemeris to plan sun angles and golden hour timing. Check weather forecasts 48 hours out and have a backup plan if conditions shift.
In-field workflow for action and landscape shots
Having the right gear and planning in place, now focus on real-time shooting techniques needed to capture diverse outdoor scenes. The biggest mistake photographers make on location is treating every scene the same. Action and landscape require completely different mental modes, and switching between them without a system costs you shots.
Here’s a step-by-step on-location process:
- Arrive early. Scout your position before the action starts or before the light peaks. Know your exit angles.
- Set your base configuration. Dial in your starting settings for the primary subject (action or landscape) before anything happens.
- Check your horizon and composition. Use your grid overlay. Fix it before you start shooting, not after.
- Shoot a test frame. Verify exposure, focus, and white balance before committing to a sequence.
- Adjust and lock. Make small corrections, then trust your settings and focus on the subject.
- Review selectively. Chimping every frame kills your reaction time. Review only when there’s a natural break.
For adventure sports, adventure sports shooting techniques are clear: use shutter speeds of 1/1000s or faster, engage continuous autofocus tracking, and fire in burst mode. Low angles and leading lines add drama. In ski and snowboard photography, catching snow spray at peak moment separates a good shot from a great one.
“Missing key action moments is almost never about reflexes. It’s about not being ready. The photographer who has their settings dialed before the athlete drops in will always outshoot the one who’s still adjusting exposure.”
For capturing action shots across different disciplines, positioning is everything. Anticipate where the peak moment will happen and be there first.
Pro Tip: Save two or three custom camera modes on your dial. Set one for landscape (low ISO, small aperture, single AF) and one for action (high shutter, continuous AF, burst). Switching between them takes one second instead of thirty.
Organizing and backing up your photos
With your photos captured, the next step is ensuring they’re safe and organized for editing and delivery. This phase is where most photographers lose time, and where a disciplined action photography workflow pays off immediately.
Follow this intake routine every time you return from a shoot:
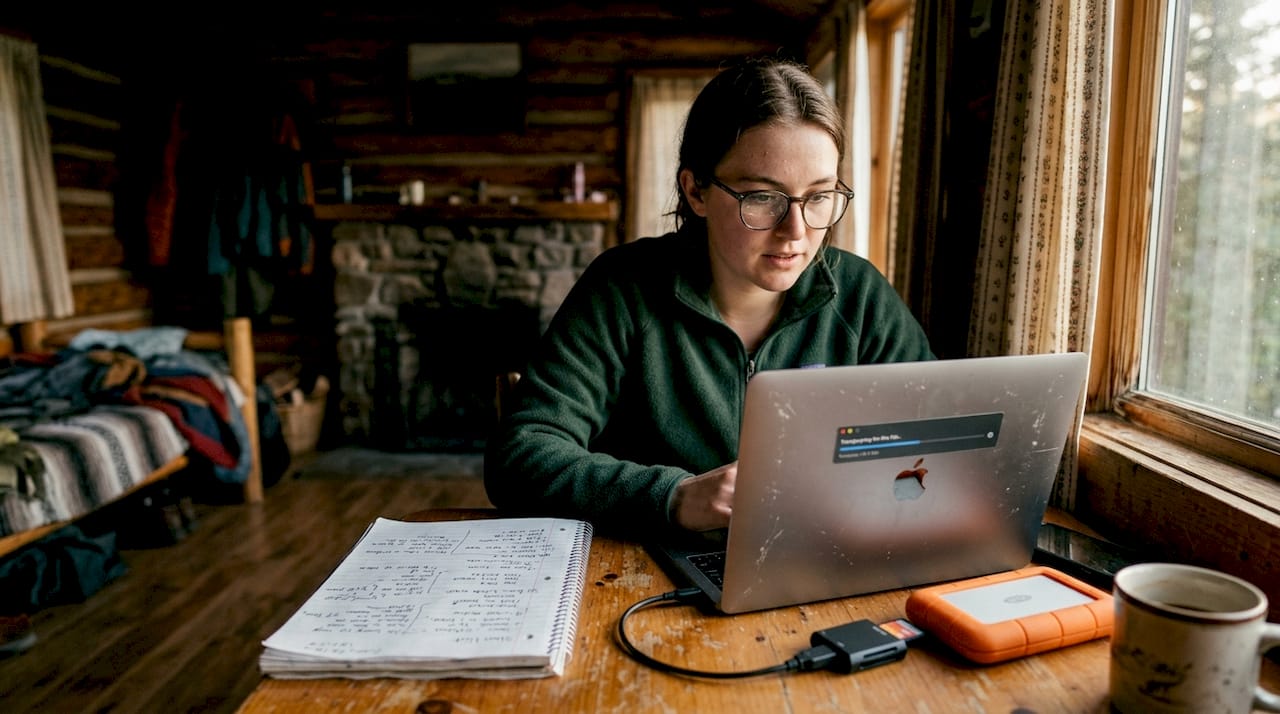
- Import immediately. Connect your cards to your laptop or field device the moment you’re back at base.
- Create your folder structure. Use a consistent naming convention: Year/Month/Project/Shoot. Never dump everything into one folder.
- Make two backups before you do anything else. Copy to an external drive and a second source (cloud or second drive) before culling a single image.
- Do a first-pass review. Flag obvious keepers and delete clear failures. Don’t over-cull at this stage.
- Rate and tag. Use star ratings or color labels to separate hero shots from selects and rejects.
A photo backup process that professionals rely on requires a minimum of three copies: one on your working drive, one on an external drive, and one offsite or in the cloud.
| Backup method | Redundancy level | Pros | Cons |
|---|---|---|---|
| Local drive | Low | Fast access | Single point of failure |
| External hard drive | Medium | Portable, affordable | Can be lost or damaged |
| NAS (network storage) | High | Automated, scalable | Upfront cost |
| Cloud storage | High | Offsite, accessible anywhere | Ongoing subscription cost |
| Dual-card in-camera | Immediate | Real-time redundancy | Slows write speed slightly |
For high-volume action shoots, culling speed matters. Use Lightroom’s Quick Develop panel or Photo Mechanic for fast ingestion and flagging. For landscape shoots where you may have fewer but more complex files, take more time with your initial review to identify the strongest compositions before you invest editing time.
Editing workflow for impactful results
Once your files are backed up and organized, you can focus on editing that brings your outdoor shots to life. The goal is efficiency without sacrificing quality, and the key is working from global to local, big adjustments first, fine-tuning second.
Start with batch global adjustments in Lightroom. Apply a base preset to your selects, then sync exposure, white balance, and contrast across similar frames. This alone can cut your editing time by 40 to 60 percent on a large shoot.
Then move to local adjustments. Use gradient masks for sky and foreground separately. Skies often need reduced highlights and increased contrast, while foregrounds benefit from lifted shadows and warmer color balance. Lightroom’s AI masking tools make this faster than ever.
The most common over-editing mistakes to avoid:
- Crushing blacks too hard. You lose detail in shadows that can’t be recovered.
- Over-saturating colors. Especially greens and blues in landscape shots. They read as fake immediately.
- Heavy-handed clarity or texture. A little goes a long way. Too much makes skin and rock look plastic.
- Ignoring white balance. A warm cast that feels natural in golden hour looks wrong at midday.
- Sharpening without masking. Sharpening noise in flat areas like sky creates a gritty, amateurish look.
Pro Tip: Always edit non-destructively. Keep your original RAW files untouched and work with virtual copies or adjustment layers. This means you can always return to your original and start fresh if a client requests a different look.
For deeper techniques, Lightroom and Photoshop tips from professional workflows show how combining both tools gives you the best of batch efficiency and precision retouching. An efficient editing workflow keeps global edits in Lightroom and complex compositing or retouching in Photoshop.
A stat worth noting: most professional photographers maintain at least three backup copies after import, a standard that protects against hardware failure, accidental deletion, and client disputes over file delivery.
A professional perspective on workflow: What actually matters outdoors
Here’s the honest truth after years of shooting in the field: gear and settings are the easy part. Every photographer eventually figures out the technical side. What separates consistently great work from occasional great work is organization and speed of decision-making, not the camera in your hands.
Over-planning is a real trap. You can spend so much time preparing for the perfect shot that you miss the unexpected one happening right next to you. The best workflow tips from experience point to having just enough structure to stay efficient, while leaving room to respond instinctively when something extraordinary unfolds.
Memorable shots rarely come from executing a plan perfectly. They come from being ready enough to react when conditions surprise you. A disciplined workflow doesn’t constrain creativity. It frees it. When your backup is automatic and your settings are pre-configured, your brain is available for the creative decisions that actually matter. Even seasoned professionals miss shots. But a practiced workflow makes those misses rarer and less costly.
Take your outdoor photography further with specialized resources
Ready to see these workflows in action or connect for more hands-on learning? Seeing how professional workflow translates into final images is one of the fastest ways to accelerate your own practice.
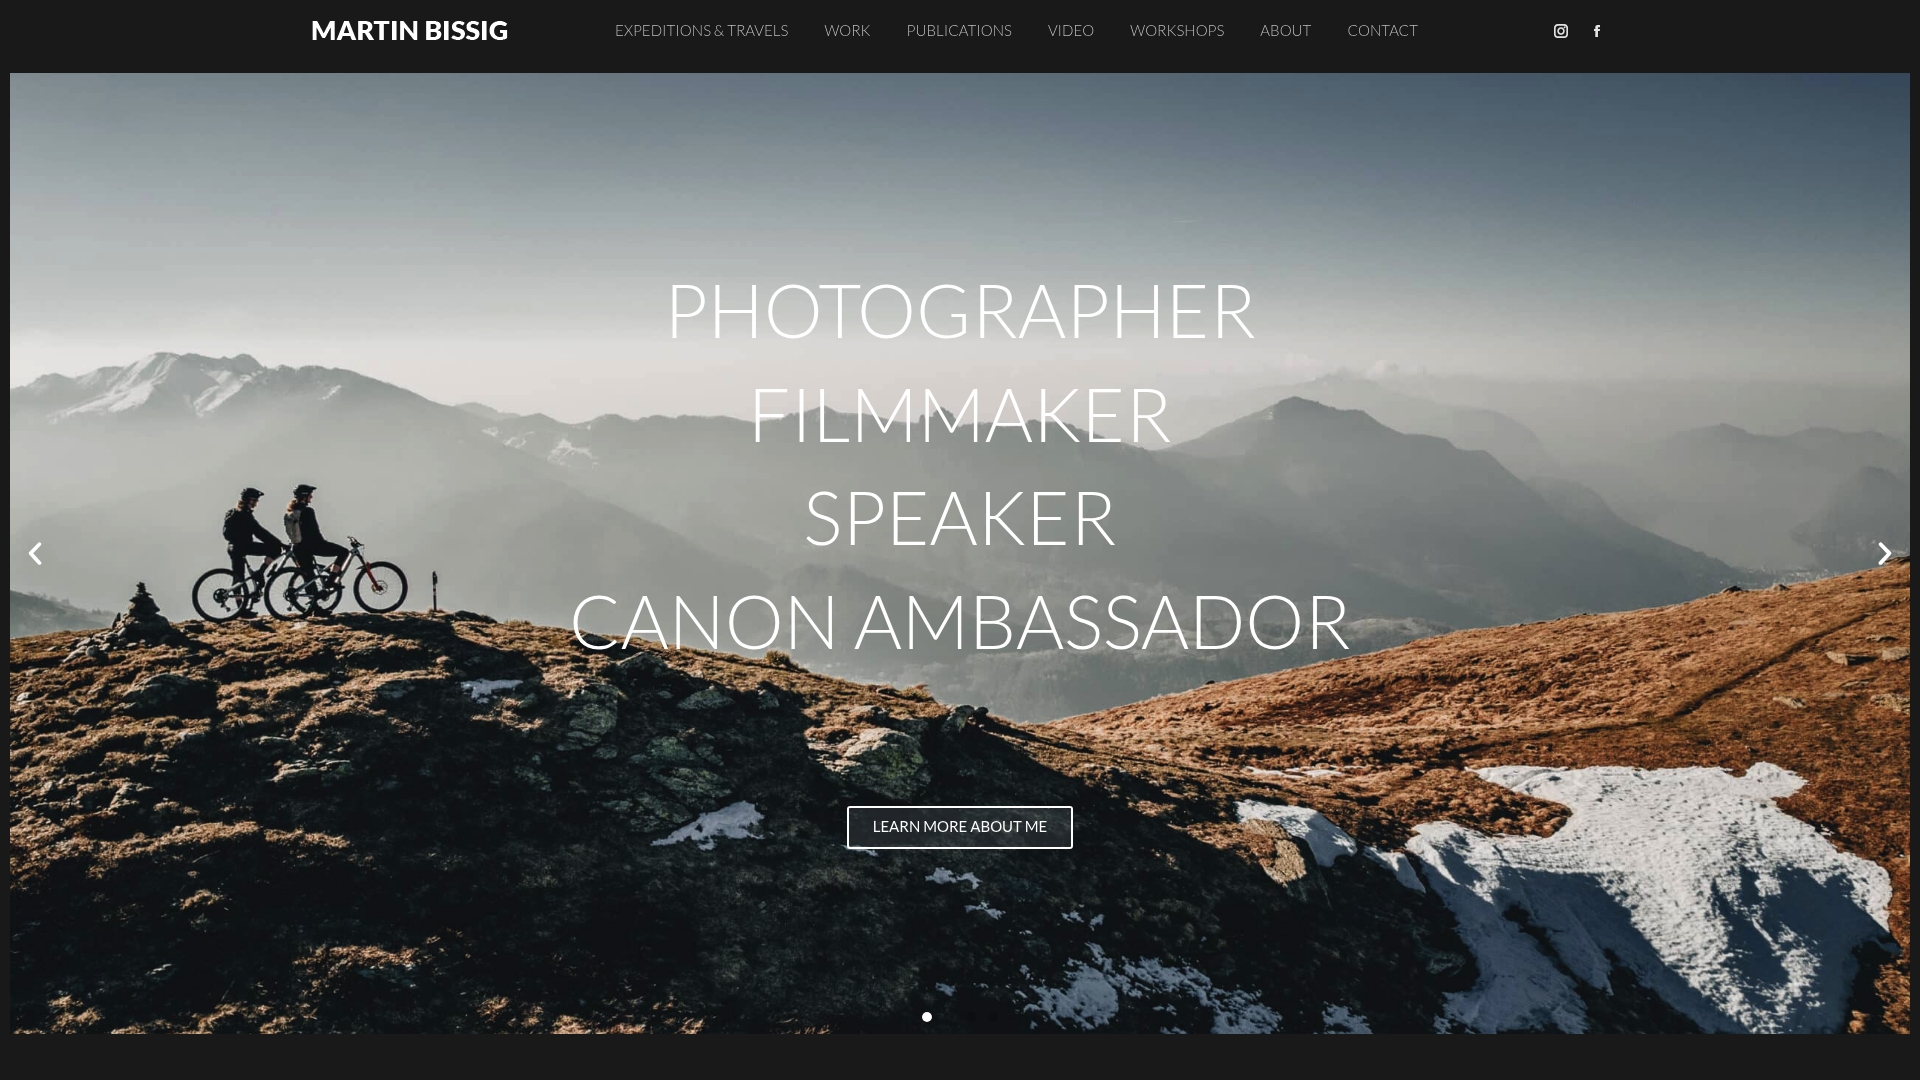
Explore the mountainbiking portfolio to see how fast-action outdoor shooting produces editorial-grade results across varied terrain and lighting conditions. For landscape-driven adventure work, the Ladakh adventure gallery shows how preparation and field discipline come together in some of the world’s most demanding environments. Whether you’re looking for inspiration, considering a commission, or interested in workshops that cover field-to-delivery workflow, Martin Bissig’s work offers a direct window into what a refined outdoor photography process actually produces.
Frequently asked questions
What are the most important camera settings for outdoor landscapes?
Shoot in RAW, use aperture between f/8 and f/11, set ISO to 100, and prefer shooting during golden or blue hour for the most dynamic and flexible results.
How do professionals back up outdoor shots to prevent data loss?
Professionals create at least three backup copies using local, external, and cloud storage immediately after each shoot to protect against hardware failure.
What workflow adjustments are needed for photographing adventure sports?
Use fast shutter speeds of 1/1000s or faster, engage continuous autofocus tracking, shoot in burst mode, and save custom camera modes for quick switching between action and landscape configurations.
Which editing software is best for outdoor photography workflow?
Lightroom handles batch adjustments and RAW processing efficiently, while Lightroom and Photoshop together cover both global edits and precise local retouching for professional outdoor image delivery.


