

Lighting in action photography is defined as the deliberate control of light direction, intensity, and contrast to freeze motion clearly while shaping the emotional impact of a scene. The role of lighting in action shots goes far beyond simple exposure. It determines whether a moving subject looks sharp or blurry, flat or three-dimensional, forgettable or arresting. Techniques like side-lighting, backlighting, and high-contrast setups each serve a specific purpose in outdoor environments where light changes fast and subjects move faster. Bissig’s work in mountain biking and adventure sports shows exactly how intentional lighting separates a technically correct image from one that stops a viewer cold.
How does lighting affect motion clarity in action shots?
Lighting directly controls how sharp a fast-moving subject appears in the final image. The relationship between shutter speed, frame rate, and available light is not forgiving. Push any one variable without adjusting the others, and the image suffers.
The clearest example is high frame rate shooting. Filming at 120fps requires a 2.3-stop increase in light compared to 24fps because each frame receives far less exposure time. That is not a minor adjustment. It means the difference between a clean, well-exposed shot and a noisy, underexposed one.
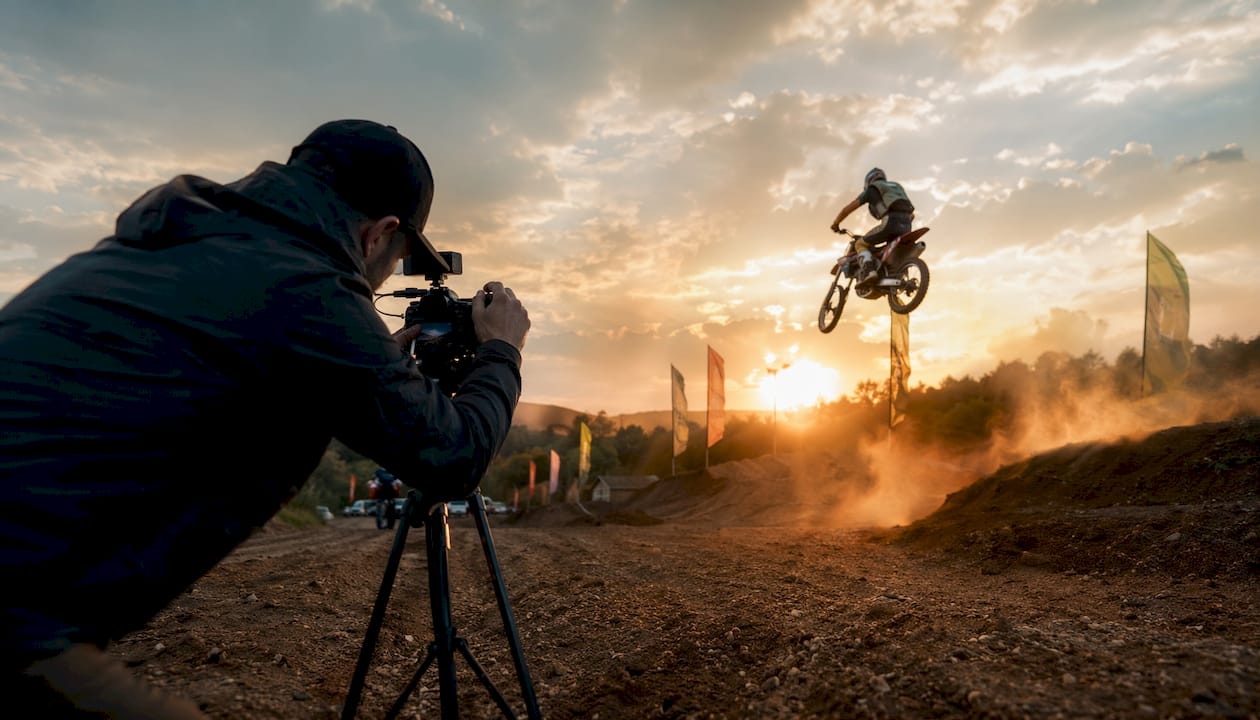
Shutter speed compounds the problem. Freezing a mountain biker mid-jump or a surfer cutting through a wave requires a fast shutter. A fast shutter reduces the time the sensor collects light. Without enough light in the scene, the camera compensates with higher ISO, which introduces grain and reduces detail in the exact areas where you want clarity most.
Metering mode matters just as much as shutter speed. Spot metering measures about 2% of the frame, while partial metering covers about 6%. Both modes give you accurate exposure on a specific subject even when the background is dramatically brighter or darker. For outdoor action where a rider moves from deep shadow into bright sun in a single second, spot or partial metering is the only reliable choice.
Key technical demands for motion clarity:
- Match your lighting output to your frame rate before you shoot, not after.
- Use spot or partial metering when subjects cross between shadows and highlights.
- Set shutter speed first, then adjust lighting to match, not the reverse.
- Avoid relying on ISO as a primary exposure tool. Use it only as a last adjustment.
What lighting techniques create drama in dynamic scenes?
The impact of lighting on motion shots is not just technical. Direction and contrast shape how a viewer feels about an image before they consciously register what they are looking at.
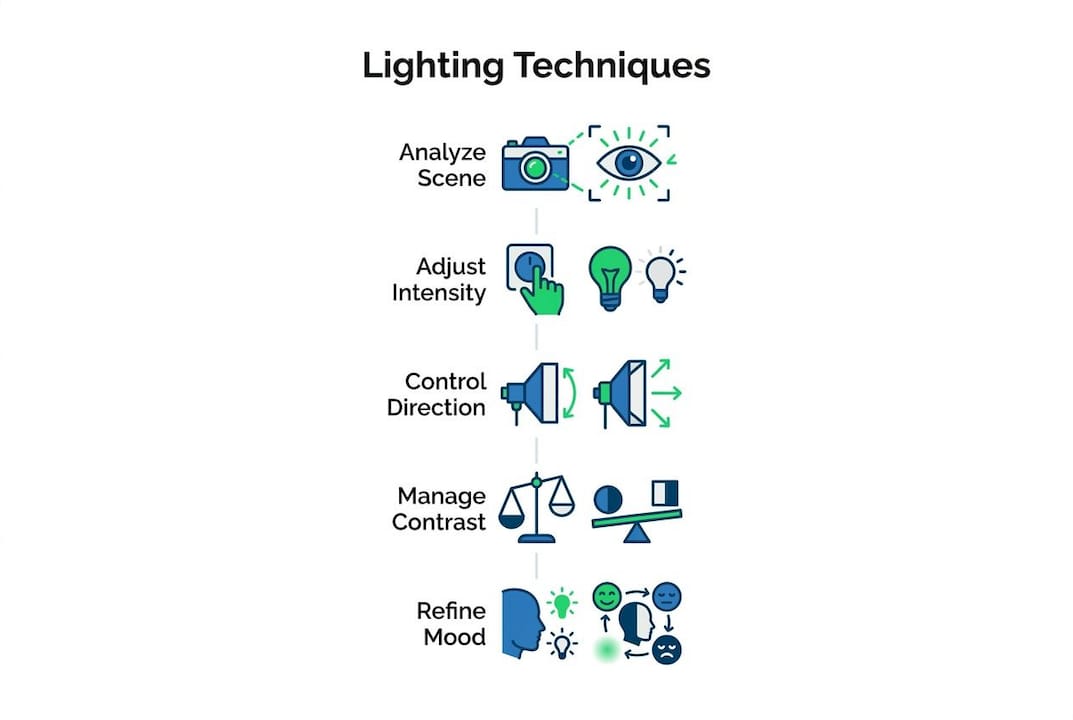
Side-lighting emphasizes texture and muscle definition in athletes and subjects in motion. When light rakes across a subject from the side, it carves out every detail: the grip of a climber’s hand, the spray of water off a kayak paddle, the tension in a rider’s forearm. That texture communicates effort and physicality in a way that flat, frontal light never can.
Backlighting produces a rim of light around the subject that visually separates them from a busy background. In outdoor action photography, backgrounds are almost always cluttered: trees, rocks, crowds, sky. A rim light created by backlighting cuts the subject out of that chaos and places them in sharp visual focus without any post-processing tricks.
High-contrast lighting builds tension and urgency in action scenes. Shadows are not empty space. They are a deliberate tool for hiding distracting details and directing the viewer’s eye exactly where you want it.
The most common misconception in lighting for dynamic scenes is that brighter equals better. Lighting is the ‘heartbeat’ of an action scene, and creating high-contrast dynamic lighting is a deliberate artistic choice. A dark background with a single hard light source on a moving subject creates far more visual tension than an evenly lit scene. The role of shadows in action shots is to give the light somewhere to go, and that contrast is what makes the image feel alive.
Equipment and practical tips for outdoor lighting setups
Gear choices determine how much control you actually have over light in unpredictable outdoor conditions. The right equipment does not eliminate challenges. It gives you options when conditions change.
Lenses and aperture
Fast prime lenses with apertures of f/2.8 or wider provide 2–4 stops more light intake than f/4 to f/5.6 lenses. That extra light lets you maintain faster shutter speeds in low-light conditions without pushing ISO into noise territory. For action videography outdoors, a fast prime at f/1.8 or f/2.0 is often the single most effective upgrade a filmmaker can make.
Strobes and continuous LEDs
Flash duration is a more effective motion-freezing tool than shutter speed alone. Lower power strobes yield shorter flash durations, which freeze motion more effectively without requiring high ISO settings. Reducing strobe power output also shortens recycle times, which matters when a subject is moving through the frame quickly.
For video work, flicker-free continuous LEDs above 1,000Hz are the standard recommendation for clean slow-motion footage. Standard LEDs flicker at frequencies that become visible at high frame rates, producing banding across the image. Flicker-free panels eliminate that problem entirely.
Timing and synchronization
Synchronizing strobes with a global shutter camera eliminates rolling shutter artifacts that appear when a fast-burst strobe fires during a mechanical shutter scan. The American Society of Cinematographers has documented this in detail for cinematic action scenes, where fast-burst, slow-chase strobe patterns combined with global shutter cameras produce the cleanest results.
Practical steps for a reliable outdoor lighting setup:
- Identify your frame rate and calculate the required light increase before the shoot.
- Choose lenses at f/2.8 or wider as your baseline for outdoor action.
- Use flicker-free LED panels when shooting slow motion or high frame rates.
- Set strobes to lower power for shorter flash duration and faster recycle times.
- Time outdoor shoots around golden hour for stable, directional natural light with minimal flicker risk.
- Test metering mode on location before the subject starts moving.
| Lighting tool | Best use case | Key advantage |
|---|---|---|
| Fast prime lens (f/1.4–f/2.8) | Low-light outdoor action | 2–4 stops more light intake |
| Flicker-free LED panel | Slow-motion video | Eliminates banding above 1,000Hz |
| Low-power strobe | Freezing fast motion | Shorter flash duration than shutter |
| Natural golden hour light | Outdoor stills and video | Stable, directional, warm quality |
Pro Tip: Shoot a test sequence at your target frame rate before the main session. Review for flicker, banding, and noise at full resolution. Adjust lighting output before the subject is in the frame, not after.
What are the most common lighting mistakes in action shots?
Most lighting failures in action photography come from ignoring the relationship between shutter angle, frame rate, and light volume. A narrow shutter angle of 30° to 45° produces sharp, cinematic action but drastically reduces light intake. Photographers and filmmakers who do not compensate with stronger artificial lighting end up with grainy, underexposed footage that looks nothing like the cinematic result they intended.
Common mistakes that reduce action shot quality:
- Overreliance on high ISO. Pushing ISO to compensate for insufficient lighting introduces noise that destroys fine detail in moving subjects. Stronger lighting is always the better solution.
- Ignoring the shutter angle and light relationship. Narrowing the shutter angle for sharper motion without adding light is one of the most frequent errors hobbyists make. The result looks grainy and amateurish rather than cinematic.
- Improper metering. Using evaluative or matrix metering in high-contrast outdoor scenes causes blown highlights or crushed shadows on the subject. Spot metering on the subject solves this.
- Failing to synchronize strobes with global shutter. Using a rolling shutter camera with fast strobes produces partial-frame exposures and banding. Global shutter cameras are required for strobe-synchronized action work.
Pro Tip: If your action footage looks grainy despite correct shutter settings, the problem is almost always insufficient light, not a camera limitation. Add a light source before increasing ISO.
Key Takeaways
Lighting controls every dimension of action shot quality: sharpness, mood, and viewer focus depend on deliberate choices about direction, contrast, and output.
| Point | Details |
|---|---|
| Frame rate demands more light | Shooting at 120fps requires a 2.3-stop increase in light compared to 24fps. |
| Direction shapes mood | Side-lighting and backlighting create texture, separation, and visual tension in moving subjects. |
| Strobes freeze motion better | Lower-power strobes produce shorter flash durations that freeze action more effectively than shutter speed alone. |
| Metering mode matters | Spot metering on 2% of the frame gives accurate exposure when subjects cross between shadows and highlights. |
| Flicker-free LEDs are non-negotiable | Continuous LEDs above 1,000Hz eliminate banding in slow-motion and high-frame-rate footage. |
Lighting is the decision, not the accident
Every outdoor action shoot I have done has taught me the same lesson: the photographers who struggle with lighting are the ones treating it as a problem to solve after the fact. They shoot, review, and then ask why the image looks flat or noisy. The photographers who get it right are the ones who make lighting decisions before the subject ever moves.
The most counterintuitive thing I have learned shooting mountain biking and adventure sports is that less light, placed deliberately, almost always beats more light spread everywhere. A single hard source from the side, positioned to rake across a rider’s jersey and helmet, tells the viewer more about speed and effort than a perfectly lit, shadowless scene ever could. Shadows are not failures. They are the part of the image that makes the lit areas matter.
Outdoor conditions are unpredictable, and that is exactly why you need a lighting plan that does not depend on perfect conditions. I plan for the worst light and treat good light as a bonus. When golden hour delivers, I use it. When it does not, my artificial lighting setup is already dialed in. The relationship between shutter angle and exposure is something I check on every single shoot, not just the technically demanding ones. That habit alone has saved more shots than any piece of gear I own.
— Martin
Bissig’s outdoor photography resources for lighting mastery
Mastering the lighting techniques covered here takes practice, the right reference points, and examples from real outdoor shoots in demanding conditions.
Bissig’s guides on outdoor photography techniques cover lighting setups, exposure strategies, and motion capture across a range of outdoor environments, from mountain trails to open water. For filmmakers working in sports and adventure, the action sports videography section addresses the specific lighting challenges that come with fast-moving subjects and variable natural light. These resources are built from real commercial and editorial shoots, not studio theory.
FAQ
What is the role of lighting in action shots?
Lighting in action shots controls exposure, motion clarity, and mood simultaneously. It determines whether a fast-moving subject appears sharp and three-dimensional or flat and noisy.
How does frame rate affect lighting needs in action photography?
Higher frame rates require significantly more light. Shooting at 120fps demands a 2.3-stop increase in light compared to 24fps because each frame receives less exposure time.
What metering mode works best for outdoor action shots?
Spot metering, which measures about 2% of the frame, gives the most accurate exposure when subjects move between bright and shadowed areas outdoors.
Why do strobes freeze motion better than fast shutter speeds?
Lower-power strobes produce shorter flash durations than most mechanical shutter speeds. That shorter duration freezes motion more effectively without requiring high ISO settings that introduce noise.
How do I avoid flicker when using artificial lights for slow-motion video?
Use flicker-free continuous LED panels rated above 1,000Hz. Standard LEDs produce banding that becomes visible at high frame rates used in slow-motion shooting.


