

Adventure photography, known professionally as outdoor expedition photography, is the practice of capturing dynamic human experiences in natural environments through systematic pre-production planning. Knowing how to plan an adventure shoot separates photographers who return with compelling images from those who return with regret. The difference comes down to three things: a story-driven shot list, smart use of tools like PhotoPills for sun-path calculations, and gear that survives whatever the mountain throws at you. This guide gives you a repeatable framework for planning outdoor shoots that produce authentic, high-impact results every time.
How to plan an adventure shoot: gear and safety first
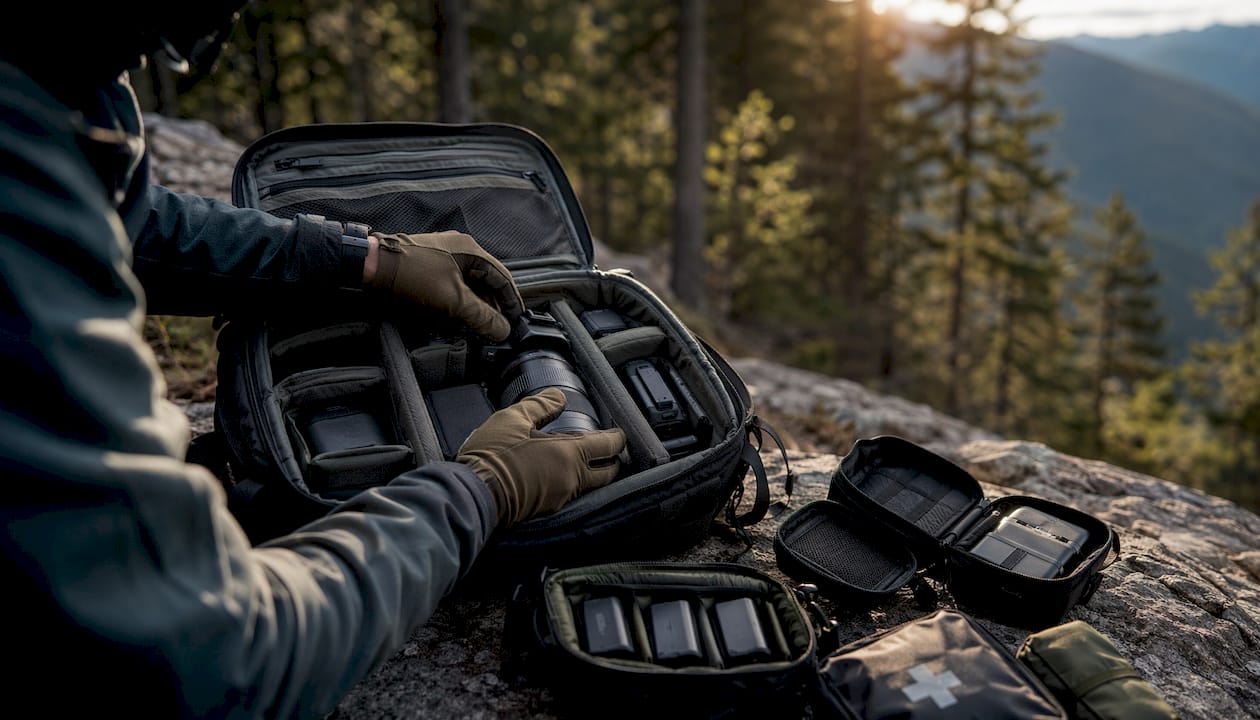
The single most important rule for remote adventure shoots is redundancy. One camera body, one memory card, and one battery is a recipe for a failed shoot. Professional guides advise carrying a second camera body, multiple lenses, redundant memory storage, and spare batteries as standard practice. Equipment failure in the field is not a question of if. It is a question of when.
Core camera gear checklist
Your kit should cover capture, protection, and power without exception:
- Camera bodies: Two weather-sealed bodies minimum. One primary, one backup.
- Lenses: A wide-angle (16–35mm range) for environmental context and a telephoto (70–200mm range) for subject isolation and compression.
- Memory cards: Minimum four cards. Shoot to two cards simultaneously when your camera supports dual slots.
- Batteries: At least three fully charged batteries per body, plus a portable power bank rated for cold-weather use.
- Protection: A rain cover for each body, lens cloths, and a padded camera bag with a hip belt for long approaches.
- Safety gear: GPS device with offline maps loaded, a personal locator beacon (PLB), a basic first aid kit, high-energy food, and a thermal emergency blanket.
Pro Tip: Pack your safety gear in a dedicated outer pocket of your bag. In an emergency, you should reach it in under 10 seconds without opening the main compartment.
Cold temperatures drain lithium batteries faster than most photographers expect. Keep spare batteries in an inner jacket pocket against your body to maintain their charge during winter or high-altitude shoots. For shoots involving video alongside stills, the on-location gear requirements for redundant media storage apply equally to both formats.
How do you create a practical shot list for an outdoor shoot?
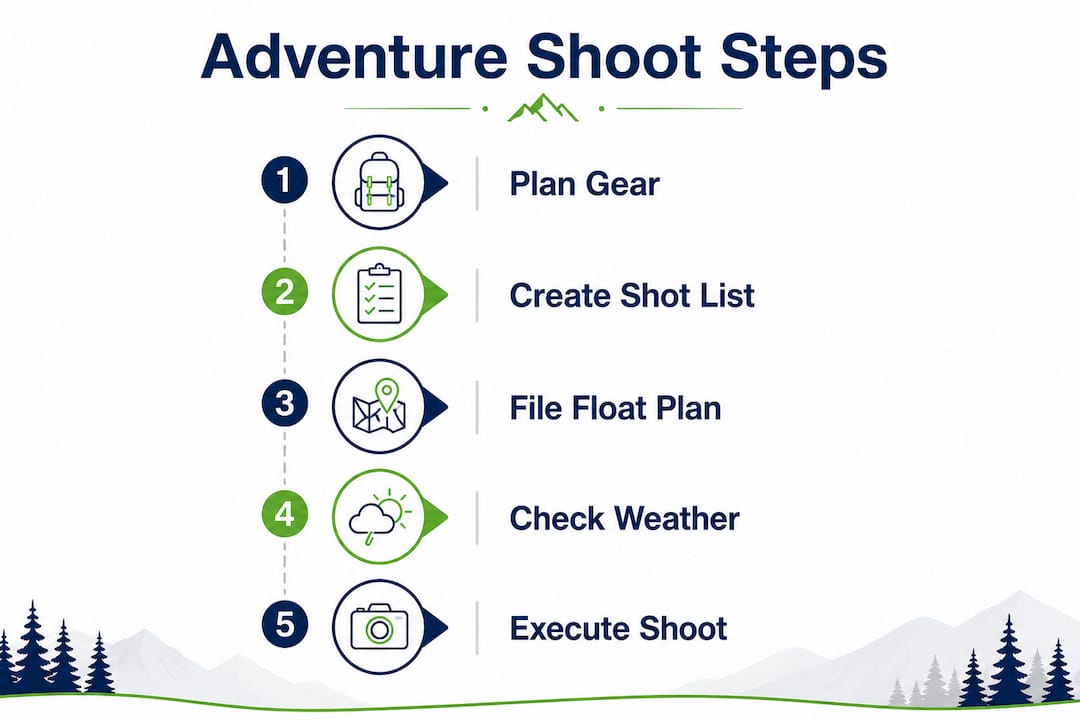
A shot list built around story beats gives your shoot structure without making it rigid. The three-beat framework, Arrival, Challenge, and Resolution, mirrors the natural arc of any outdoor adventure and tells you exactly what images you need at each stage. Arrival shots establish the environment: wide establishing frames, the approach, the gear laid out. Challenge shots capture the action, effort, and tension. Resolution shots close the story: the summit, the descent, the quiet moment after.
Classifying shots by priority
Industry experts recommend classifying every shot as A, B, or C priority before you leave home. A-priority shots are non-negotiable. They define the story and the client brief. B-priority shots are strong supporting images you want but can live without. C-priority shots are opportunistic, the kind you grab if conditions allow.
| Priority | Shot type | Weather dependency | Backup option |
|---|---|---|---|
| A | Hero action shot at summit | Clear sky preferred | Reschedule or use dramatic clouds |
| A | Establishing wide landscape | Any light | Shoot at golden hour or blue hour |
| B | Athlete portrait mid-route | Soft overcast ideal | Shade or reflector in direct sun |
| C | Detail shots (gear, hands, trail) | Any conditions | Always available as fill content |
Pro Tip: Use PhotoPills to pin your exact shooting position on a topographical map and calculate the precise sun-path angle for your target time. A professional planning workflow combines this with story beats to eliminate guesswork about light direction.
Weather contingency planning is not optional. For every A-priority shot, write down one alternative location and one alternative subject that works in bad weather. Rain, fog, and flat light are not failures. They are different creative conditions. Some of the most memorable adventure images come from what photographers call “weather gifts,” unexpected atmospheric moments that no amount of planning could have predicted.
What steps ensure you are physically and logistically ready?
Physical preparation directly affects your creative output. A photographer who is exhausted, dehydrated, or altitude-sick makes poor decisions about composition, exposure, and safety. Start conditioning for the specific demands of your shoot at least four weeks out.
- Build hiking fitness. Train on terrain similar to your shoot location. If you are shooting at altitude, include loaded pack hikes to simulate the weight you will carry.
- Acclimatize properly. For shoots above 8,000 feet, plan at least one full rest day at elevation before your primary shoot day.
- Test all gear before departure. Fire every shutter, charge every battery, and format every memory card. Test your GPS device and load all offline maps.
- Pack the night before. Lay out every item against your checklist, then pack it. Pre-trip rehearsals that include timing your departure and packing review reduce on-the-day stress and missed items significantly.
- File a float plan. Write down your itinerary, planned return time, team composition, and emergency contacts. Leave it with a trusted person who knows to call for help if you do not check in. A detailed float plan has saved both shoots and lives in remote environments.
Pro Tip: Set three alarms the morning of your shoot: one to wake up, one to leave the house, and one as a final check-in reminder. Decision fatigue is real at 4:00 AM.
Hydration and nutrition on shoot day matter more than most photographers admit. Cognitive function drops measurably when you are even mildly dehydrated. Carry more water than you think you need, and eat before you feel hungry. Your best creative decisions happen when your body is not in survival mode.
How do you execute an adventure shoot with flexibility and creativity?
Execution is where planning meets reality. The photographers who get the best images are not the ones who stick rigidly to their shot list. They are the ones who know their shot list so well that they can abandon it confidently when something better appears.
Professionals check weather forecasts at least three times daily during a shoot, at morning, midday, and evening. Each check is a tactical decision point. Do you push to the summit now before the afternoon storm builds? Do you wait for the cloud inversion to settle? The forecast is your operational intelligence.
Composition techniques that work in the field
Foreground elements and varied perspectives add depth and scale to adventure images in ways that telephoto compression alone cannot. Place a rock, a trail marker, or a patch of wildflowers in the foreground to anchor the frame. Position your subject using the rule of thirds rather than dead center. Wide-angle lenses capture both the athlete and the dramatic landscape simultaneously, giving viewers the scale that makes adventure images feel immersive.
Common mistakes versus the recommended approach:
- Mistake: Waiting for perfect light before shooting. Better approach: Shoot in all conditions and adapt your composition to what the light gives you.
- Mistake: Swapping lenses mid-action in a difficult position. Better approach: Pre-visualize your focal lengths before entering any position where a lens change is impossible.
- Mistake: Shooting JPEG to save card space. Better approach: Shoot in RAW format to preserve highlight and shadow detail in extreme outdoor light.
- Mistake: Pushing into a dangerous position for one shot. Better approach: Use a spotter, find an alternative angle, or reschedule. No image is worth an injury.
Pro Tip: When you arrive at a location, spend five minutes just looking before you raise the camera. Walk the scene, identify your foreground options, and mentally place your subject. That five minutes saves 30 minutes of trial and error.
The structured shot list balanced with flexibility for unexpected moments is the defining characteristic of experienced outdoor photographers. Treat your shot list as a floor, not a ceiling.
Key Takeaways
Successful adventure shoot planning requires a story-driven shot list, redundant gear, a filed float plan, and the flexibility to adapt to conditions while keeping safety as the non-negotiable constant.
| Point | Details |
|---|---|
| Redundant gear is non-negotiable | Carry a second camera body, multiple memory cards, and spare batteries on every remote shoot. |
| Story beats structure your shot list | Use Arrival, Challenge, and Resolution beats to frame A, B, and C priority shots before departure. |
| PhotoPills optimizes your light | Pin sun-path angles against topographical maps to schedule shots at peak natural light. |
| A float plan protects you | Leave your itinerary and return time with a trusted contact before every remote shoot. |
| Flexibility produces the best images | Check weather three times daily and treat unexpected conditions as creative opportunities, not failures. |
What planning really teaches you about adventure photography
Planning is not about controlling the outcome. It is about arriving informed enough that you can let go of control when the mountain offers you something better than what you imagined.
The single biggest shift in my own work came when I stopped treating the shot list as a script and started treating it as a conversation starter with the landscape. I show up knowing exactly what I want. Then I watch what the light actually does, and I respond. That responsiveness only exists because the preparation is solid underneath it. You cannot improvise well from a position of ignorance.
Pre-visualization of focal lengths changed how I pack and how I shoot. Before I enter any position where a lens swap is physically impossible, I have already decided what I need. That decision happens at home, over a map, not on a cliff face with cold hands. The storytelling framework I use for every shoot forces me to think about the feeling I want to convey before I think about the technical execution. That order matters. Technical perfection in service of no feeling produces forgettable images.
Safety preparation is what gives me the confidence to push creatively within real limits. Knowing I have a PLB, a float plan filed, and a backup body in my bag means I can focus entirely on the frame in front of me. Fear and distraction are the enemies of great photography. Remove them through preparation.
The photographers I respect most are not the ones with the most expensive gear. They are the ones who arrive at a location and immediately see three frames the rest of us missed. That vision comes from years of deliberate observation, structured planning, and the discipline to improve their outdoor shoots one decision at a time.
— Martin
Adventure photography resources from Bissig
Planning a great outdoor shoot takes more than a checklist. It takes understanding the principles behind light, composition, and storytelling that make adventure images resonate with viewers and clients alike.
Bissig’s resource library covers the full spectrum of outdoor and adventure photography, from outdoor photography styles and techniques to practical guides on gear, workflow, and creative execution. Whether you are preparing for your first mountain shoot or refining a commercial expedition brief, the guides at Bissig.ch give you the depth and specificity that generic tutorials skip. The adventure sports photography guide is a strong starting point for photographers ready to move from casual outdoor shooting to deliberate, professional-level work.
FAQ
What is the most important step when planning an adventure shoot?
Filing a float plan and preparing redundant gear are the two most critical steps. Without them, a single equipment failure or safety incident ends the shoot entirely.
How do I use PhotoPills for adventure shoot planning?
PhotoPills lets you pin your exact shooting position on a topographical map and calculate the sun-path angle for any date and time. Use it to schedule your A-priority shots during golden hour or to identify when the sun will align with a specific landscape feature.
What priority system works best for an outdoor shot list?
Classify every shot as A, B, or C priority before departure. A-shots are non-negotiable story anchors, B-shots are strong supporting images, and C-shots are opportunistic frames you capture when conditions allow.
Should I shoot RAW or JPEG for adventure photography?
Shoot RAW on every adventure shoot. Extreme outdoor lighting creates highlight and shadow extremes that JPEG cannot recover in post-processing, while RAW files preserve the full dynamic range you need.
How often should I check the weather during a multi-day shoot?
Check the forecast at minimum three times daily: morning, midday, and evening. Each check is a tactical decision point that affects both your shot schedule and your safety planning for the next several hours.


