
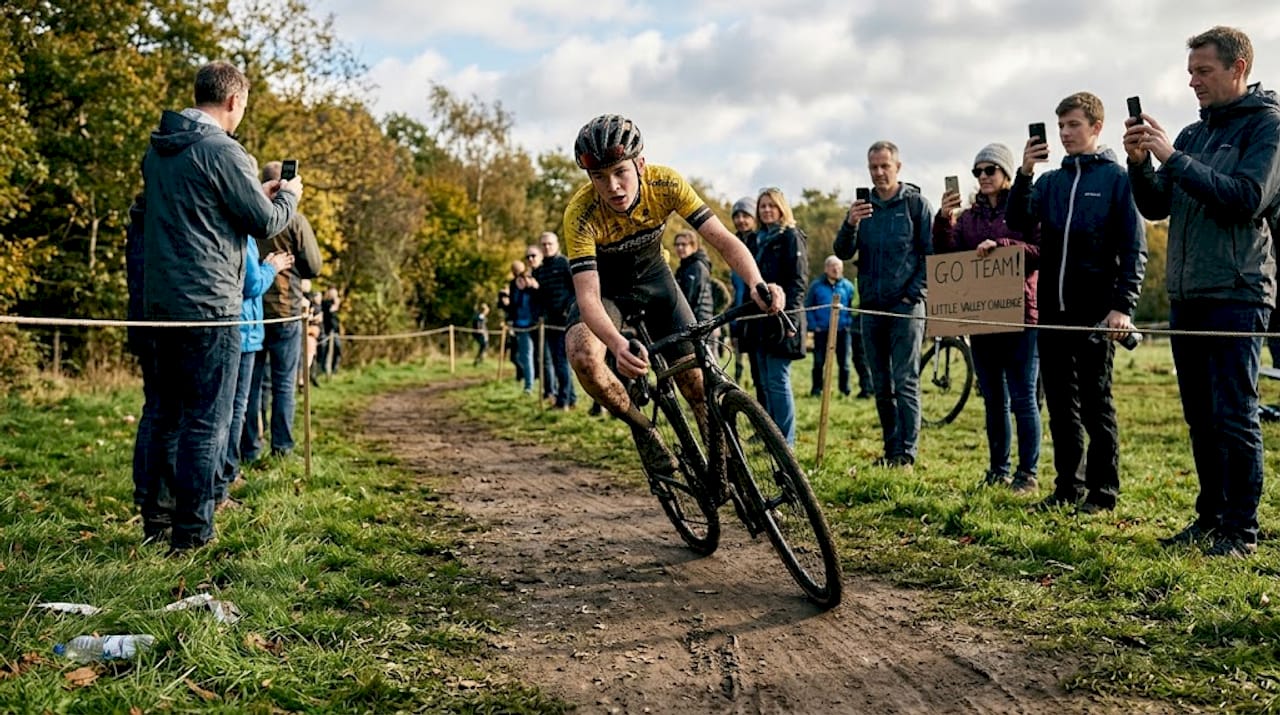
Missing the perfect shot stings. You’re watching a mountain biker launch off a ridge, the light is golden, and the moment is absolutely there. Then your camera locks up, your shutter speed is too slow, or you fire a half-second late. That frame is gone forever. The good news is that this frustration is almost entirely preventable. A clear, step-by-step approach to action photography transforms chaotic outdoor moments into a reliable capture process. This guide walks you through gear selection, camera settings, shooting execution, and post-processing so you can walk away from any adventure scene with images that actually tell the story.
Table of Contents
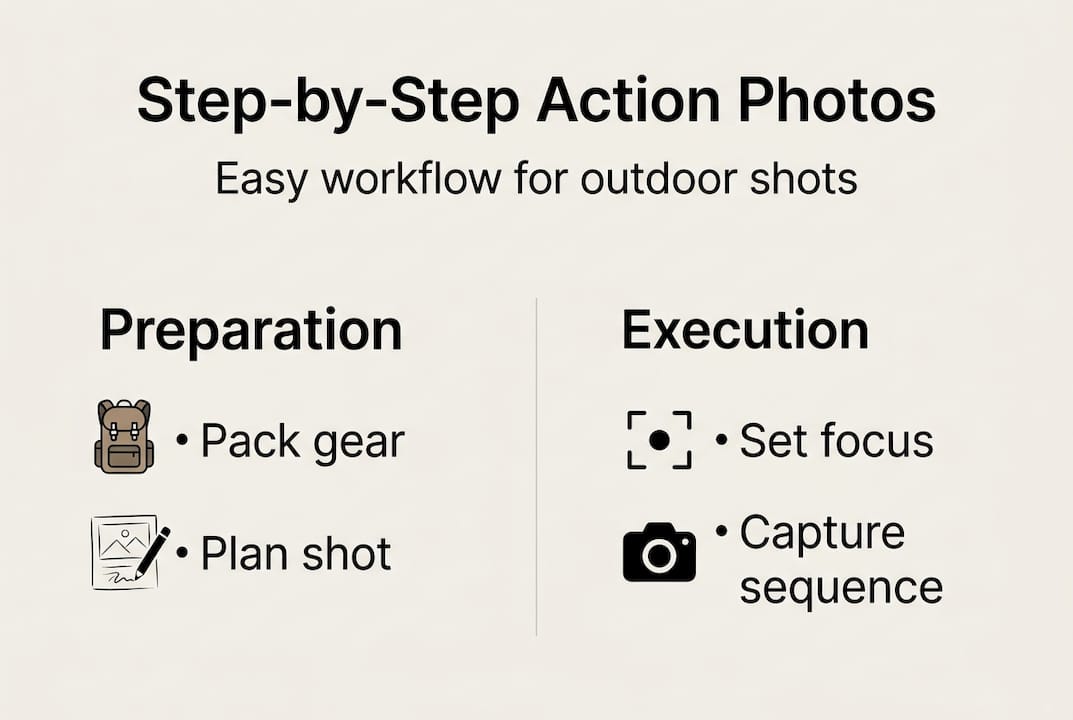
- Essential gear for step-by-step action photography
- Preparing for the shoot: Settings and planning
- Executing step-by-step action sequences
- Post-processing: Assembling and enhancing your action series
- The unconventional truth about mastering action sequences
- Take your action photography further
- Frequently asked questions
Key Takeaways
| Point | Details |
|---|---|
| Choose reliable gear | Quality cameras, lenses, and accessories lay the foundation for capturing every action moment outdoors. |
| Plan and anticipate motion | Preparing settings and scouting the event helps you react instantly when the perfect moment happens. |
| Follow a shooting workflow | Using a stepwise approach boosts your odds of success, even in fast-paced scenarios. |
| Edit for best storytelling | Effective culling and editing turn bursts of shots into compelling, narrative action sequences. |
| Practice over perfection | Hands-on experience and learning from mistakes are more valuable than having the latest gear. |
Essential gear for step-by-step action photography
Now that you understand the frustration of missed shots, let’s start with the gear that makes step-by-step action photography possible. The right equipment matters enormously, but the goal is not to spend the most money. It’s to match your tools to the demands of fast, unpredictable outdoor environments.
Equipment clarity and timing precision are directly tied to the gear you bring. Your camera body is the foundation. Look for cameras that offer a continuous shooting rate of at least 10 frames per second, a reliable autofocus tracking system, and weather sealing for rain and dust. Mirrorless cameras from Canon, Sony, and Nikon currently lead in autofocus speed and burst performance, making them the go-to choice for sports and adventure scenes.
Lenses shape your creative options more than almost anything else. Wide-angle lenses (16mm to 35mm) work well when you’re close to the subject and want environmental context, like capturing a climber against a dramatic mountain backdrop. Telephoto lenses (100mm to 400mm) let you stay back and compress the scene, ideal for trail running, skiing, or anything where you can’t physically be near the subject.
Key accessories that round out an action photography kit:
- High-speed SD or CFexpress cards to handle burst mode data without bottlenecks
- Extra batteries because cold mountain air drains power fast
- A lightweight monopod for stability during long telephoto shots
- A remote shutter release for static setups where camera shake must be zero
- Lens cloths and rain covers for unexpected weather changes
| Gear type | Best use case | Key feature to prioritize |
|---|---|---|
| Mirrorless camera | Fast sports, low light | Burst speed, AF tracking |
| Wide-angle lens | Close proximity, landscape context | f/2.8 or wider aperture |
| Telephoto lens | Distance shooting, compression | Image stabilization |
| CFexpress card | High burst mode sequences | Write speed above 1700 MB/s |
| Monopod | Telephoto stability | Quick-release head |
For video content creation in dynamic outdoor scenes, these same principles apply. Versatility between photo and video modes is a major bonus when you’re already hauling gear up a hillside.
Pro Tip: Always invest in the fastest memory card your camera supports. In burst mode, a slow card creates a write buffer that freezes your camera mid-sequence, and that’s exactly when the best moment happens.
Preparing for the shoot: Settings and planning
With your gear ready, the next step is to plan your shoot and dial in the correct settings for flawless execution. Winging it on location rarely works in action photography. The subjects move too fast, the light changes quickly, and dialing in settings mid-sequence costs you frames.
Start by scouting your location before the action begins. Walk the path an athlete will take. Identify where the peak moment happens, a jump, a turn, a splash, and position yourself there. This removes guesswork during the actual shoot. Pre-setting exposure and focus zones consistently increases your chance of sharp, usable photos, which is exactly why professionals always arrive early.
Your camera settings checklist before any outdoor action shoot:
- Shutter speed: 1/1000s minimum for most sports; 1/2000s or faster for very fast subjects like downhill cyclists
- Aperture: f/4 to f/8 provides enough depth of field to keep moving subjects sharp through a range of distances
- ISO: Start at ISO 400 and adjust as light changes. Newer sensors handle ISO 3200 cleanly
- Burst mode: Set to high continuous. Most cameras have 10 to 30 fps options
- Autofocus mode: Continuous AF with subject tracking enabled
- Focus zone: Set a wide zone initially, then refine once you know the movement path
- White balance: Use a preset (Cloudy, Daylight) rather than Auto to keep colors consistent across a burst
Statistics back this up. Using high burst mode increases capture success rate by over 50% in dynamic scenes, simply because more frames give you more to choose from. Understanding your photography workflow steps before arriving on location keeps you efficient and calm under pressure.
Pro Tip: Pre-focus on a rock, a marker, or a specific point where the action will pass. Lock that focus point, then switch to manual briefly to test your composition. This saves critical seconds when the subject arrives.
Executing step-by-step action sequences
Once all settings are dialed in, follow this practical sequence to ensure nothing slips through your lens during the action.
A structured approach makes the difference between a folder of blurry near-misses and a series of sharp, purposeful frames. Consistent timing and step sequences directly increase the number of usable action shots you walk away with.
Here is the step-by-step sequence to use on every outdoor action shoot:
- Position early. Be in your shooting spot at least 10 minutes before the action starts. Moving right before the moment means you’re thinking about footing, not framing.
- Confirm your settings. Do a quick review: shutter speed, burst mode, focus mode. A 30-second check prevents a session of unusable images.
- Track the subject early. Start following the subject through your viewfinder before they reach the key moment. This gives your autofocus time to lock on.
- Fire before the peak. Begin shooting a beat before the climax of the action. The very best frame often happens 0.2 seconds earlier than you expect.
- Hold the burst through the moment. Keep the shutter pressed through the peak action and a second beyond. Athletes have secondary moments, a landing, a recovery, that are equally powerful.
- Check and adjust. After the first run, review one or two frames quickly. Adjust exposure or focus if needed before the next pass.
Safety always comes before the shot. In adventure environments, position yourself where you cannot be hit by the subject, falling debris, or equipment. No image is worth a serious injury.
Look at event photography essentials and athlete portrait examples to see how positioning and timing work together across different action scenarios.
Pro Tip: For subjects moving unpredictably, such as a freestyle kayaker or a freerider, switch your focus zone to a wide or zone-based setting. Letting the camera track across more of the frame reduces focus hunting.
Post-processing: Assembling and enhancing your action series
After a day packed with high-speed action, organizing and refining your shots is the secret to impressive, publish-ready results.
Efficient workflows separate photographers who produce stunning series from those who drown in thousands of similar-looking frames. The first task after any action shoot is culling, removing the obvious misses fast. Use star ratings or color labels in your software to mark the best one or two frames from each burst group. Never keep duplicates when one clearly wins.
Once you have your selects, arrange them in sequence to tell the story of the action. A strong series typically includes a setup shot (the anticipation), the peak moment, and the resolution (the landing or reaction). Three to five images often communicate more than twenty.
Editing tips for outdoor action sequences:
- Contrast and clarity: Lift contrast slightly to give outdoor scenes punch without blowing highlights
- Color grading: Consistent warm or cool tones across a sequence signal professionalism. Create a base preset and apply it across the set
- Cropping: Tight crops increase tension. Wider crops give context. Decide which serves the story
- Noise reduction: Apply selectively to shadow areas, especially for high-ISO mountain shots
| Software | Strengths | Best for |
|---|---|---|
| Adobe Lightroom | Batch processing, preset library | Large volume outdoor sequences |
| Capture One | Color accuracy, tethered shooting | Commercial editorial work |
| Luminar Neo | AI-powered sky and subject tools | Quick creative edits |
For videography post-processing across outdoor projects, a similar sequence approach keeps your narrative structured and your audience engaged from first frame to last.
Pro Tip: Build one master preset for your most common outdoor conditions, bright daylight or overcast mountain light, and batch-apply it as a starting point. You’ll cut editing time by 60% without sacrificing quality.
The unconventional truth about mastering action sequences
Here’s something most guides won’t tell you: the photographers who consistently produce the best action sequences are not always the ones with the most expensive gear. They’re the ones who have watched movement so carefully that they know what’s about to happen before it does.
I’ve missed some extraordinary shots, and every single one taught me something that no camera manual could. A misread line on a trail, a miscalculated apex in a turn. Those moments of failure forced real observation. Over time, you stop reacting and start anticipating. That shift is worth more than any lens upgrade.
The learning-by-doing mindset is genuinely the fastest path forward. Shoot the same athlete or the same location multiple times. Study how light falls at different hours. Notice the micro-tells before a jump or a sprint. When you understand the value outdoor photographers bring to a project, you realize their real skill is reading environments and people, not just operating equipment.
New photographers often wait for the perfect conditions. Experienced ones create compelling frames in imperfect ones. Get out and shoot, review what failed, and go again.
Take your action photography further
For those ready to go beyond the basics, here’s how you can access more advanced learning and resources.
If this guide has sparked your appetite for better action shots, hands-on learning will accelerate your progress faster than any article can.
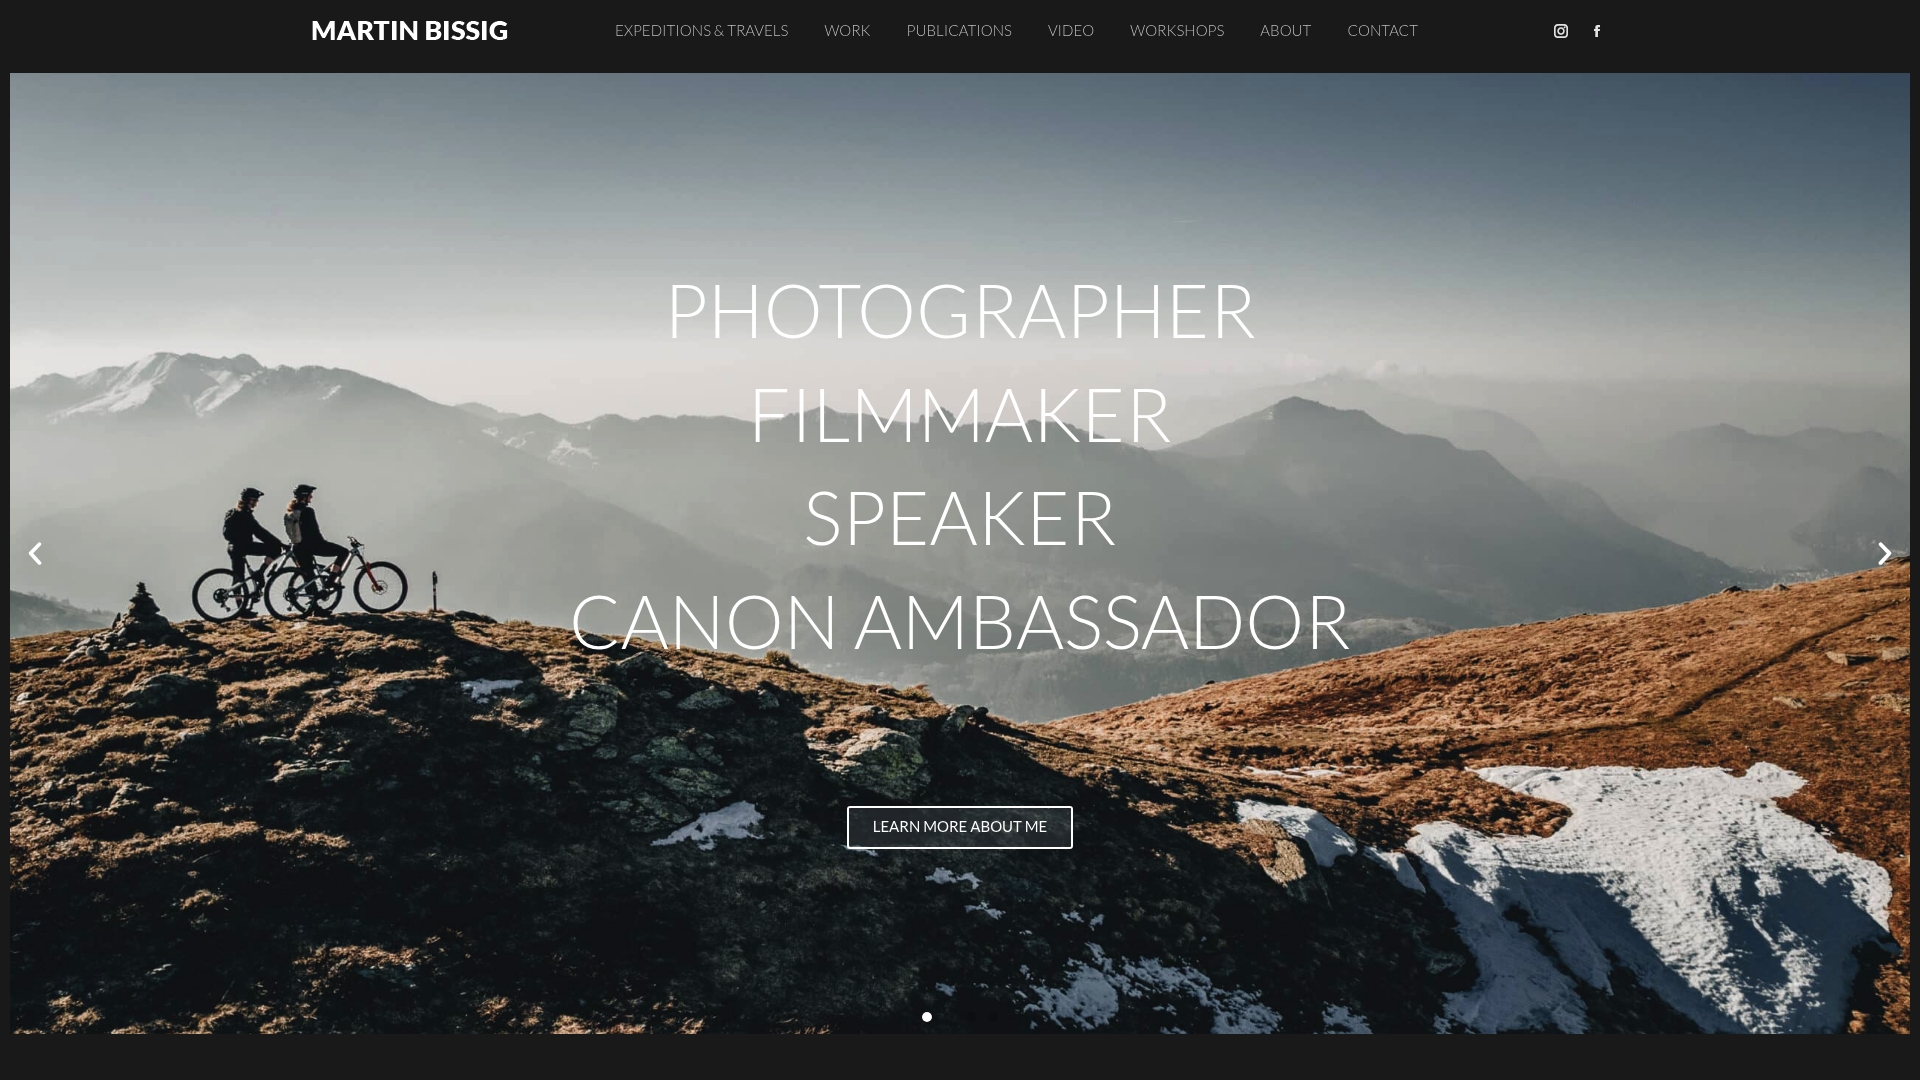
Martin Bissig, action photographer Switzerland, offers direct collaboration and hands-on sessions for photographers looking to sharpen their skills in real outdoor environments. Whether you want to study a working professional’s portfolio, explore the approach of a seasoned outdoor photographer Switzerland, or discuss a specific project, the site provides a direct line to genuine expertise. Browse the portfolio for inspiration, and reach out to discuss workshops or assignment collaborations that match your current skill level and goals.
Frequently asked questions
What camera settings are best for step-by-step action photography outdoors?
Use a fast shutter speed (1/1000s or faster), continuous burst mode, and continuous autofocus for outdoor action sequences. Recommended outdoor action settings include continuous focus and pre-set exposure zones for consistent results.
How do I avoid blurry photos in action sequences?
Set a fast shutter, pre-focus on the action area, and hold the camera steady throughout the sequence. Pre-setting exposure and focus directly reduces blur caused by camera reaction delay.
What editing techniques make action shots look professional?
Sequence your photos for logical flow, crop for tension, and use batch color grading for visual consistency. Workflow optimization and creative editing are the core techniques that elevate an action series from snapshots to a visual story.
Do I need expensive gear to start step-by-step action photography?
Entry-level mirrorless or DSLR cameras with burst mode are sufficient; skill matters more than price. Mastery relies on practice and anticipation far more than high-end camera bodies.
How do I create a storytelling sequence from my action images?
Select key moments, edit for consistency, and arrange the images to clearly show the action progression. Arranging images for narrative flow in post-processing is the single most effective way to make a sequence feel intentional and powerful.


