
Freezing a mountain biker mid-air or locking focus on a sprinting athlete sounds simple until you actually try it. Fast-paced sports and adventure scenes punish hesitation, expose every technical gap, and reward preparation in ways that studio photography never demands. Most photographers lose their best shots not because they lack talent but because their camera settings aren’t dialed in before the moment arrives. The good news is that a clear system of adjustments, framing instincts, and gear choices will transform your hit rate dramatically. This guide breaks down the exact strategies that separate consistently sharp action images from the blurry almost-moments.
Table of Contents
- Adjust shutter speed for sharpness
- Choose the right autofocus settings
- Frame and anticipate the action
- Optimize gear for outdoor and sports photography
- Why practice beats perfect settings in action photography
- Take your action photography to the next level
- Frequently asked questions
Key Takeaways
| Point | Details |
|---|---|
| Prioritize shutter speed | Use fast shutter speeds to freeze motion and capture sharp action shots in sports and adventure scenes. |
| Master autofocus modes | Continuous autofocus and zone tracking are best for quickly moving subjects. |
| Anticipate the action | Predicting movement and choosing optimal positioning leads to dynamic compositions. |
| Invest in suitable gear | High FPS cameras, telephoto lenses, and fast memory cards improve results in demanding action environments. |
| Skill over settings | Practice and adaptability are more important than simply following technical guides. |
Adjust shutter speed for sharpness
Shutter speed is the single most important variable in action photography. Everything else adapts around it. A slow shutter lets motion blur creep into your frame, turning a crisp athlete into a ghostly smear. Faster shutters freeze motion entirely, revealing details the human eye misses in real time.
For most outdoor sports, a baseline of 1/500s or faster gives you a workable starting point, but truly fast subjects like downhill mountain bikers, motocross riders, or sprinters require 1/1000s to 1/2000s to eliminate blur at peak speed. Indoor action presents a harder challenge because artificial light limits how fast you can shoot without sacrificing exposure.
Here’s a quick reference for starting shutter speeds by scenario:
| Scenario | Recommended shutter speed |
|---|---|
| Walking or slow movement | 1/250s |
| Running or cycling | 1/500s to 1/800s |
| Fast outdoor sports | 1/1000s to 1/1500s |
| Motorsports and extreme speed | 1/2000s or faster |
| Panning technique | 1/60s to 1/200s |
When you push shutter speed up, you reduce the amount of light hitting the sensor. You have to compensate by opening your aperture wider or raising your ISO. A wide aperture also narrows your depth of field, which can add beautiful subject separation. A higher ISO introduces noise, which modern sensors handle remarkably well.
Key exposure adjustments when increasing shutter speed:
- Open aperture to f/2.8 or f/4 to let in more light
- Raise ISO to 1600 or higher if the aperture limit is reached
- Use Auto ISO with a maximum ceiling to let the camera handle compensation
- Shoot in RAW to retain flexibility in post-processing
Pro Tip: Start in shutter priority mode (Tv or S on your dial). Set your target shutter speed and let the camera manage aperture. Once you understand the tradeoffs, switch to manual for full control. Pairing this with optimizing camera settings for your specific body makes the learning curve much faster.
Choose the right autofocus settings
Once you’ve locked in your shutter speed, mastering autofocus is the next step for reliable, crystal-clear action photos. A fast shutter speed means nothing if your camera focuses on the background instead of the subject.
Autofocus is essential for locking onto moving subjects in sports and adventure scenes, and modern camera systems offer multiple AF modes that serve very different purposes.
| AF mode | Best use case |
|---|---|
| Single-point AF | Predictable, slower subjects |
| Zone AF | Moderately fast, somewhat unpredictable subjects |
| Wide area AF | Erratic movement, full frame tracking |
| Continuous AF (AI Servo/AF-C) | All fast-moving sports subjects |
| Eye/Subject tracking AF | Athletes where face or body locks are reliable |
Continuous autofocus, labeled AI Servo on Canon bodies and AF-C on most other systems, is your default choice for action. It predicts where a moving subject will be in the next frame and shifts focus accordingly. Single-shot AF locks and holds, which is useless when your subject is sprinting toward you.
Common autofocus pitfalls to avoid:
- Letting the camera hunt across a cluttered background
- Starting AF too late, missing peak action moments
- Relying on face detection in low-contrast or backlit situations
- Using too wide an AF zone when a single subject is isolated
For action videography autofocus, the principles are similar but the tolerance for hunting is much lower since tracking breaks read as obvious errors on video. In stills, you can discard misses instantly.
Pro Tip: Assign autofocus activation to the back button (AF-ON) instead of the shutter button. This separates focus from exposure, giving you the freedom to lock focus, recompose without refocusing, and fire multiple frames without restarting the AF cycle. It takes a few sessions to adapt but it fundamentally changes how you shoot dynamic action images.
Frame and anticipate the action
With technical settings in place, the next key ingredient is learning how to read the action to capture split-second drama. No amount of technical precision compensates for being in the wrong place at the wrong moment.
Anticipating movement allows for better timing and more dynamic compositions, and this skill develops fastest through studying the sport you’re shooting before you raise the camera.
How to position and frame for action shots:
- Study the course or field before shooting. Walk the terrain, identify peaks, jumps, turns, and areas where athletes naturally accelerate or extend.
- Choose a vantage point with a clean background. Cluttered environments pull attention from the subject and make autofocus unreliable.
- Pre-focus on a spot where the action will pass. Athletes follow predictable lines. Lock focus there and fire as they enter the zone.
- Leave space in front of the subject’s direction of movement. A frame with room ahead reads as dynamic; a tight crop from behind reads as static.
- Use burst mode to bracket timing across multiple frames. You get one best shot per sequence, so capturing five frames around the peak action increases your odds dramatically.
Think about light angle too. Front-lit subjects are flat and safe. Side-lit athletes show muscle definition and texture. Backlit action creates rim-light drama that feels cinematic.
Good timing makes unforgettable shots. Technical precision gets you close, but reading the rhythm of the sport gets you the frame that stops the viewer cold.
For dynamic event photography, the approach is identical. Study the event schedule, arrive early, and claim the positions that give you the story, not just the action.
Optimize gear for outdoor and sports photography
Having nailed the timing and focus, the right setup ensures you won’t miss critical shots because of technical limitations. Great technique deserves hardware that keeps up.
Lens and body choices directly affect frame rate, autofocus speed, and durability during outdoor sports. Modern sports bodies can shoot 10 or more frames per second in mechanical burst and even faster in electronic mode, giving you a genuine window around peak action.
Essential gear considerations for action work:
- Camera body: Look for weather sealing, dual card slots, a fast processor, and 10+ FPS burst capability. The Canon EOS R8 action camera is a strong entry point for photographers stepping into serious action work.
- Lenses: A 70-200mm f/2.8 covers most sports scenarios. Wide primes like a 24mm or 35mm work beautifully for close-range action and environmental storytelling. A 400mm or 600mm becomes necessary for motorsports or wildlife action.
- Monopod: Tripods restrict mobility. A monopod stabilizes long telephoto lenses while letting you pivot and reposition quickly.
- Protective covers: Rain sleeves and dust covers are cheap insurance. Mountain environments change fast, and gear damage ends shoots without warning.
- Memory cards: Use UHS-II or CFexpress cards with high write speeds. A slow card creates a buffer backlog that locks the camera mid-burst at the worst possible moment.
Pro Tip: Always carry at least two memory cards and format them before each shoot, not the night before. A corrupted card discovered mid-shoot is a nightmare with no fix on location. Reading camera reviews for action conditions helps narrow down which bodies genuinely deliver under pressure versus which ones look good on spec sheets.
Why practice beats perfect settings in action photography
Here’s a perspective worth sitting with as you develop your skills. Perfect settings are a floor, not a ceiling. Every working action photographer has a baseline configuration they trust, but the shots that define careers come from instincts built through repetition, failure, and bold experimentation.
Experimenting with different settings and angles consistently yields better results than following guides alone, and this is something no tutorial can replicate for you. Your eye for a moment is developed in the field, not in front of a screen.
The photographers who make genuinely unforgettable images aren’t the ones who nail 1/1000s every time. They’re the ones who try panning at 1/60s when everyone else plays it safe, who position themselves where no one else stands, who understand the sport deeply enough to anticipate what the athlete will do before the athlete decides. Following a photography workflow that includes honest post-shoot reviews of your own mistakes accelerates this learning faster than any amount of reading.
Don’t let the pursuit of perfect technique become a barrier to bold attempts. The missed shots teach you more than the technically safe ones.
Take your action photography to the next level
If these strategies have you thinking about what’s possible in the field, seeing professional work in action provides a different kind of education. Martin Bissig’s portfolio demonstrates exactly how settings, timing, and gear come together in real outdoor environments.
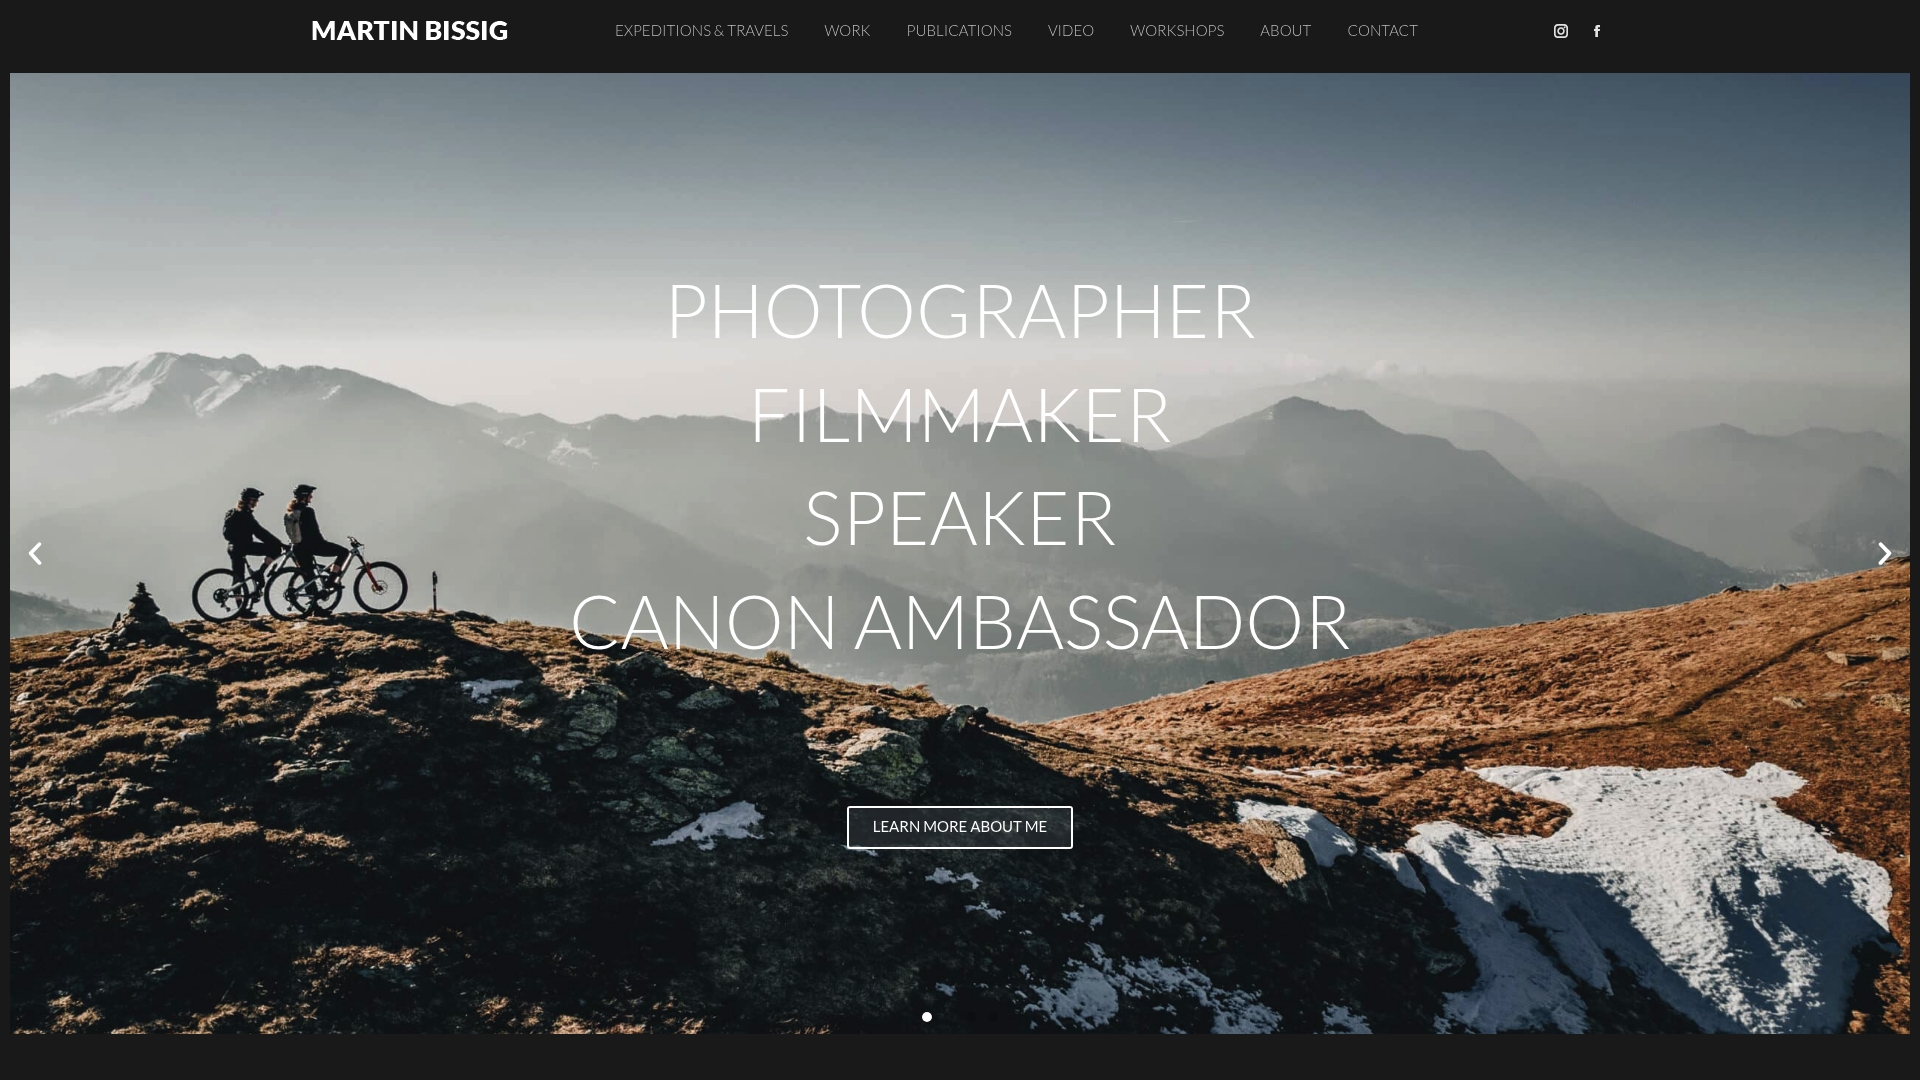
As a professional action photographer based in Switzerland, Martin works across mountain biking, adventure sports, and editorial projects with clients who demand images that perform commercially. Whether you’re looking for inspiration, considering hiring a specialist for your brand, or exploring what outstanding outdoor photography services look like in practice, the portfolio and project archive give you a benchmark worth studying closely.
Frequently asked questions
What is the best shutter speed for action sports?
For outdoor sports, start at 1/1000s and move toward 1/2000s for the fastest subjects; for indoor scenes with limited light, 1/500s is a practical baseline with ISO pushed higher to compensate.
How do I choose autofocus settings for moving subjects?
Use continuous autofocus (AI Servo on Canon, AF-C on other systems) paired with zone or subject tracking; AF locks on moving subjects more reliably when you give the system a broad initial zone to acquire the athlete before narrowing to point tracking.
What gear is recommended for outdoor action photography?
Prioritize a body with weather sealing and 10+ FPS burst, a 70-200mm f/2.8 as your versatile starting lens, and fast memory cards since frame rate and AF speed are only as good as the card that can actually write all those frames.
Can I improve action shots with post-processing?
Yes, shooting in RAW allows you to recover sharpness, reduce noise at high ISO, and recover detail in highlights or shadows without degrading image quality the way compressed formats do.


