

Magazine photography best practices are the technical, creative, and procedural standards that determine whether your images get published or rejected. Editors at publications like National Geographic, Flanelle Magazine, and Backcountry Magazine operate on tight production timelines and have zero tolerance for submissions that miss file specs, lack metadata, or ignore the publication’s visual language. The gap between a technically excellent photo and a publishable one is almost always process. This guide covers every stage from concept to submission so your work lands in print, not in the discard pile.
1. Magazine photography best practices start with research
Before you touch a camera, study the magazine. Read three to five recent issues and catalog the visual patterns: color grading, subject framing, lighting mood, and the ratio of wide establishing shots to tight detail images. This is not optional preparation. Authenticity in story alignment trumps technical perfection alone, which means a technically flawless image shot in the wrong style will still get rejected.
Identify the magazine’s editorial calendar and submission themes. Many publications announce seasonal themes months in advance, and pitching a winter adventure story in July gives you a real timing advantage. Cross-reference your concept against the magazine’s existing archive to avoid duplicating what they have already published.

Pro Tip: Call or email the photo editor directly before submitting. A 10-minute conversation about their current needs saves you weeks of shooting in the wrong direction.
2. How to build a moodboard that editors actually respect
A moodboard is not a Pinterest board of pretty images. It is a communication contract between you, your creative team, and the publication. Editorial briefs and moodboards reduce ambiguity and speed later editing and selection, which matters when you are coordinating stylists, models, and location permits.
Build your moodboard around three pillars: lighting reference, color palette, and compositional structure. Pull specific images that show the exact quality of light you intend to recreate, not just a general “moody” aesthetic. Include at least two layout reference images showing how text overlays and graphic elements interact with the photography.
Share the moodboard with every person on the shoot, including the stylist, hair and makeup artist, and any assistants. When everyone works from the same visual reference, you spend less time correcting on set and more time capturing the story.
3. Technical specs that separate published work from rejected work
Digital submissions require minimum pixel dimensions of 2000px on the long edge, with 300 dpi preferred, JPG format, no watermarks, and correct titling and captions. These are not suggestions. Missing a single spec can disqualify an otherwise strong submission because editors prioritize workflow efficiency over individual image quality.
Color profile selection matters more than most photographers realize. The table below shows the key differences:
| Setting | Adobe RGB | sRGB |
|---|---|---|
| Color gamut | Wider, better for print | Narrower, optimized for screens |
| Best use | Magazine print production | Web and social media |
| Editor preference | Required for most print publications | Acceptable for digital-only outlets |
| File size | Slightly larger | Slightly smaller |
Shoot in portrait orientation as your primary frame for cover and feature submissions. Leave white space near the subject where designers can insert headlines, captions, or logos. Shooting tight and centered looks strong on its own but gives art directors nothing to work with.
Pro Tip: Shoot a “layout version” and a “portfolio version” of every key frame. The layout version has deliberate negative space at the top or side. The portfolio version is composed for impact. Submit the layout version.
4. Lighting setups that define editorial mood
Editorial fashion lighting best practice uses one strobe plus modifiers like large softboxes or beauty dishes for controllable shaping that suits editorial aesthetics. Closeness to the subject increases softness; distance increases contrast. This single variable gives you enormous range without adding complexity to your setup.
For outdoor and adventure editorial work, the same principle applies. Use a portable strobe or speedlight to fill harsh shadows when shooting in direct sun, and position it to mimic the direction of the ambient light rather than fight it. The goal is controlled, intentional light that reads as natural.
Lighting control defines the mood, with modifier size and placement being the key variables for achieving consistent editorial styles. A large octabox at close range produces the soft, skin-flattering light common in lifestyle and fashion editorial. A beauty dish at medium distance produces the slightly harder, more graphic look favored by sports and adventure publications.
5. Compositional strategies for editorial layouts
Editorial group posing favors layering, height variation, gaze direction, and physical connection to add narrative and visual interest. Staggered heights and varied gaze direction avoid monotony and encourage storytelling. Symmetrical posing reads as commercial catalog work, not editorial.
Think in sequences, not single frames. Treat every shoot as a story with an opening wide shot, a mid-range establishing frame, and tight detail images. Flanelle Magazine requires a minimum of 10 cohesive photos in a series, and most publications expect similar editorial pacing. A single strong image rarely gets published on its own.
Vary your shooting angles deliberately. A low-angle wide shot followed by a medium eye-level frame followed by a tight overhead detail creates natural layout pacing. Art directors can build a spread from a sequence like that without needing to request additional images.
6. How to prepare and submit images to magazines
Submission errors are the most preventable cause of rejection. Editors reject work that does not match prescribed file formats, image counts, embedded metadata requirements, or watermark prohibitions, regardless of image quality. Follow this sequence before every submission:
- Export files in the required format, typically JPG at maximum quality, in Adobe RGB for print.
- Name files using the magazine’s prescribed convention, usually LastName_Title_Number.jpg.
- Embed metadata including your name, contact information, copyright notice, and caption in every file using Lightroom’s export metadata settings or Adobe Bridge.
- Attach model releases for every identifiable person in the images. Model releases expand image usage potential and protect both you and the publication from rights disputes.
- Confirm the image count matches the magazine’s requirements. Flanelle Magazine specifies a minimum of 10 photos and requires exclusivity during the review period, which runs three to four months from acceptance to print.
- Submit through the official portal or email address listed in the submission guidelines, not through social media DMs or personal contacts.
- Keep a submission log with the date, publication, image list, and any correspondence. This protects you if a dispute arises and keeps your follow-up professional.
AI editing disclosure is becoming a standard requirement at major publications in 2026. If you have used generative AI tools to alter content within an image, disclose this in your submission notes. Failure to disclose is increasingly treated as a submission violation.
7. Common mistakes that get submissions rejected
Most rejections are not about image quality. They are about process failures that signal to editors that a photographer does not understand how publications work. Avoid these patterns:
- Submitting watermarked images. Watermarks disqualify submissions at publications like Backcountry Magazine because they create technical issues in layout production. Remove all watermarks before export.
- Over-processing images. Heavy HDR, excessive skin retouching, and oversaturated colors read as stock photography, not editorial work. Edit to enhance, not to transform.
- Ignoring the magazine’s aesthetic. Submitting dramatic dark-and-moody images to a publication known for bright, airy lifestyle photography shows you have not done your research.
- Sending too many images. Submitting 40 images when the guidelines say 10 to 15 does not show range. It shows poor editing judgment and disrespects the editor’s time.
- Following up too aggressively. One follow-up email after the stated review period is professional. Multiple follow-ups within the first week signals inexperience.
- Maintaining a weak online portfolio. Editors check your website before responding to a submission. A portfolio that does not reflect your best editorial work undermines an otherwise strong submission.
Pro Tip: Build a pre-submission checklist in Notion or a simple spreadsheet. Run every submission through it before sending. One missed spec can cost you a placement.
Key takeaways
Magazine photography best practices require alignment between technical precision, editorial storytelling, and strict submission compliance to achieve consistent publication success.
| Point | Details |
|---|---|
| Research before shooting | Study three to five recent issues to match the publication’s visual language before planning your shoot. |
| Shoot for layout, not just impact | Leave deliberate white space near subjects so art directors can place headlines and graphic elements. |
| Meet every technical spec | Submit JPG files at 300 dpi, minimum 2000px, in Adobe RGB with embedded metadata and no watermarks. |
| Treat shoots as story sequences | Deliver 10 or more cohesive images with varied angles and pacing, not a single strong frame. |
| Embed rights and metadata on location | Collect model releases and complete metadata during the shoot to prevent post-production rejections. |
What I have learned from years of editorial submissions
The single biggest mistake I see photographers make is treating a magazine submission like a portfolio review. They send their best-looking images and expect the work to speak for itself. It does not work that way.
Magazine editors are not looking for beautiful photographs. They are looking for photographs that solve a layout problem, serve a narrative, and arrive in a format their production team can use without extra work. I learned this the hard way early in my career when a strong series got rejected by an outdoor publication because I submitted in sRGB instead of Adobe RGB. The images were technically excellent. The process was wrong.
The photographers who get published consistently are not always the most talented. They are the most disciplined. They read the guidelines twice. They build moodboards before every shoot. They deliver exactly what was asked, on time, in the right format. You can see how this discipline plays out across editorial work from 2022 and earlier years where layout-aware composition became a consistent part of the approach.
Storytelling matters more than any single technical decision. A sequence of images that builds tension, shows context, and resolves into a clear visual conclusion will always outperform a collection of individually strong frames. Shoot with the spread in mind, not the single hero image.
— Martin
Take your editorial photography further with Bissig
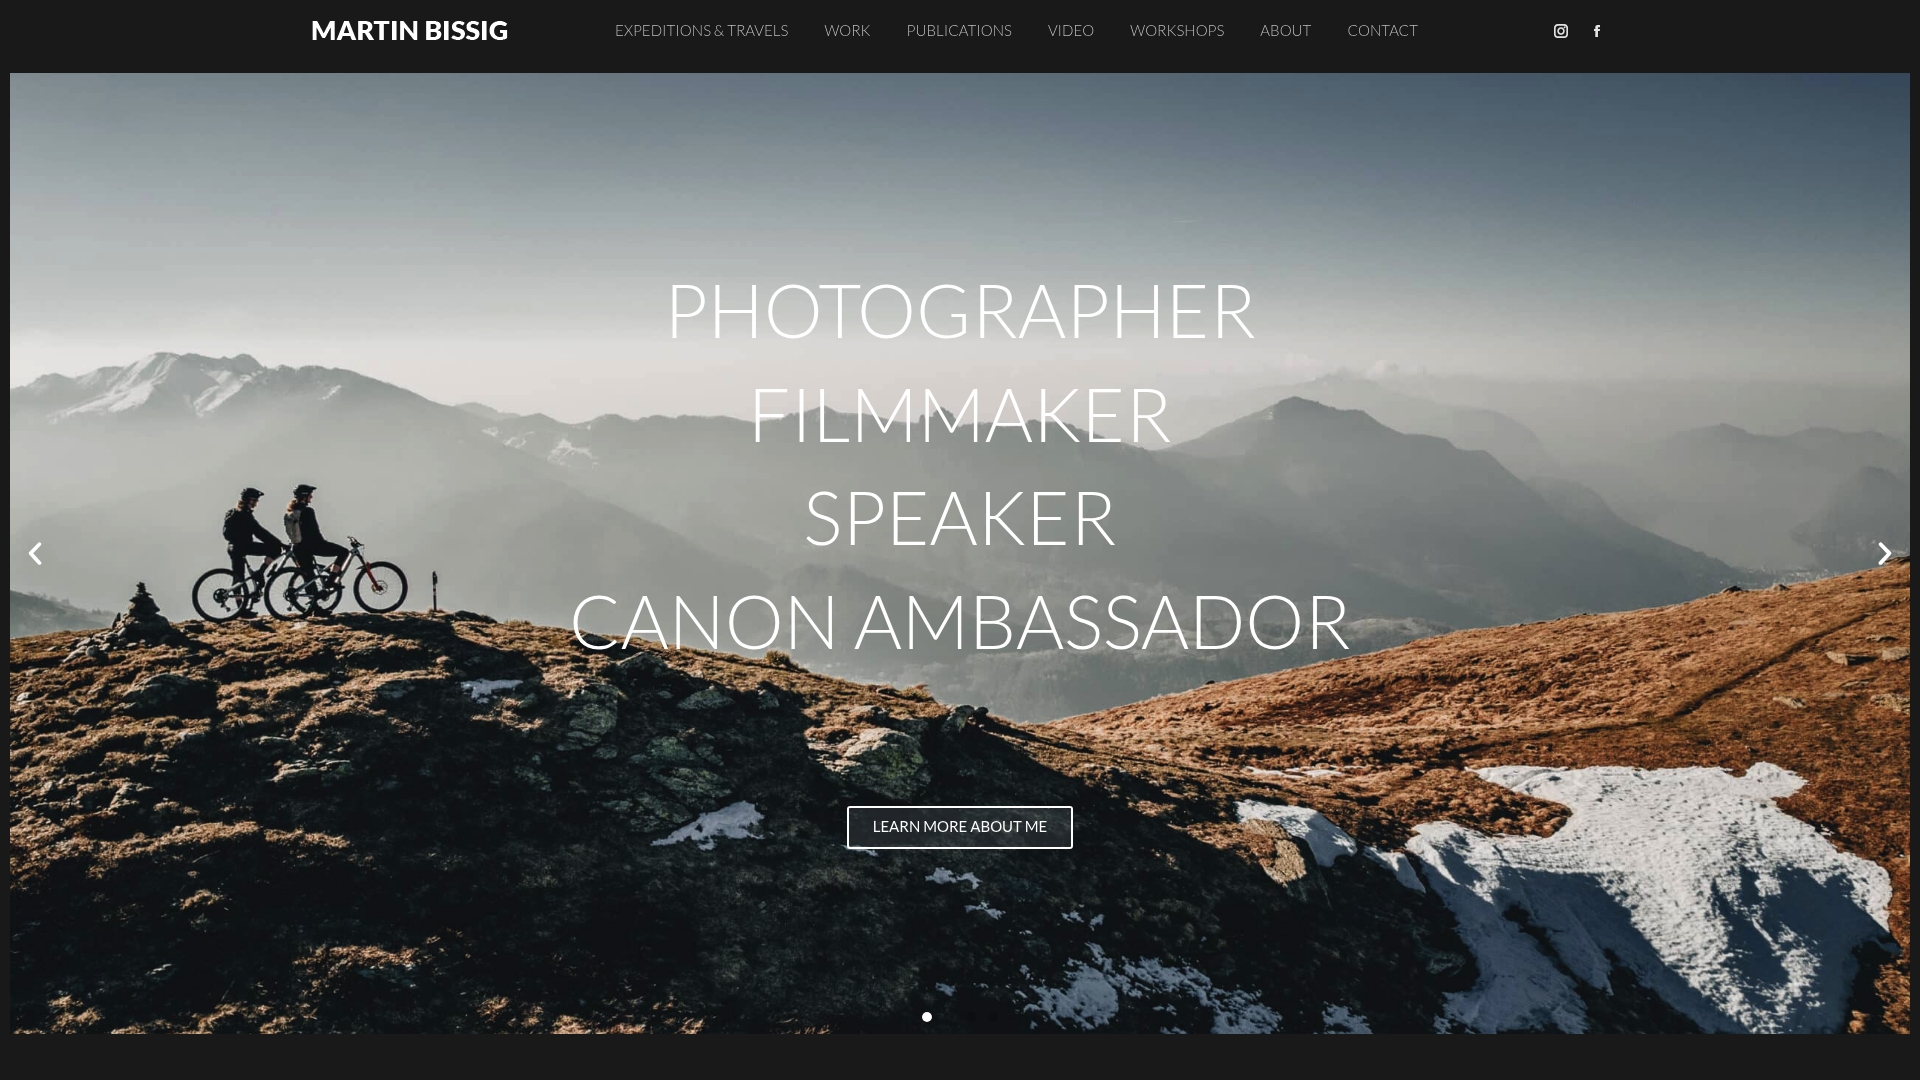
Bissig brings over a decade of editorial and commercial photography experience to every project, working with outdoor brands, adventure publications, and international clients across Switzerland, Pakistan, California, and beyond. Whether you are refining your submission process or planning a complex outdoor editorial shoot, the resources at Bissig.ch give you a direct line to professional-grade technique. Explore the action photography techniques guide for practical inspiration on capturing dynamic editorial imagery that meets the technical and narrative standards of leading outdoor and adventure publications. For photographers ready to work at the next level, Martin Bissig’s editorial portfolio shows exactly what publication-ready work looks like in practice.
FAQ
What file format do magazines require for photo submissions?
Most print magazines require JPG files at maximum quality, 300 dpi, with a minimum long edge of 2000px, in Adobe RGB color profile. Always check the specific publication’s submission guidelines, as requirements vary.
Do I need model releases for magazine submissions?
Model releases are generally not required for editorial or newsworthy content, but obtaining releases expands usage rights and protects both the photographer and publication if the image is later used commercially.
How many images should I submit to a magazine?
Follow the publication’s stated count exactly. Flanelle Magazine, for example, requires a minimum of 10 cohesive images. Submitting more than requested signals poor editing judgment and can result in automatic rejection.
Why do technically strong photos still get rejected?
Process errors like wrong file specs or watermarked images outweigh image quality in editorial workflows. Editors reject non-compliant submissions to protect production timelines, not because the photography is weak.
How do I match my work to a magazine’s visual style?
Study three to five recent issues, build a moodboard aligned to the publication’s lighting and color palette, and plan your shoot around the magazine’s editorial themes rather than your personal aesthetic preferences.


