

Action shot composition methods are the strategic use of framing, camera settings, and movement anticipation to capture dynamic, engaging images of moving subjects. Mastering these techniques separates technically correct photos from images that feel alive. The foundational principles, including negative space, the rule of thirds, and predictive framing, apply whether you are photographing mountain biking in the Alps or shooting a surfer off the California coast. Bissig has built a career around these exact methods in some of the world’s most demanding outdoor environments. This guide covers every layer of the craft, from compositional principles to camera configuration to outdoor adaptation.
What are the essential action shot composition methods?
Composition in action photography is defined by one rule above all others: give your subject room to move. Leaving negative space in front of a moving subject creates visual flow and implies momentum. A mountain biker moving left to right, placed on the left third of the frame, pulls the viewer’s eye forward. Place that same rider at the right edge and the image feels trapped.
The rule of thirds is the starting grid for dynamic subject placement. Position the subject at one of the four intersection points, not dead center, to create visual tension. That tension is what makes an image feel active rather than static.
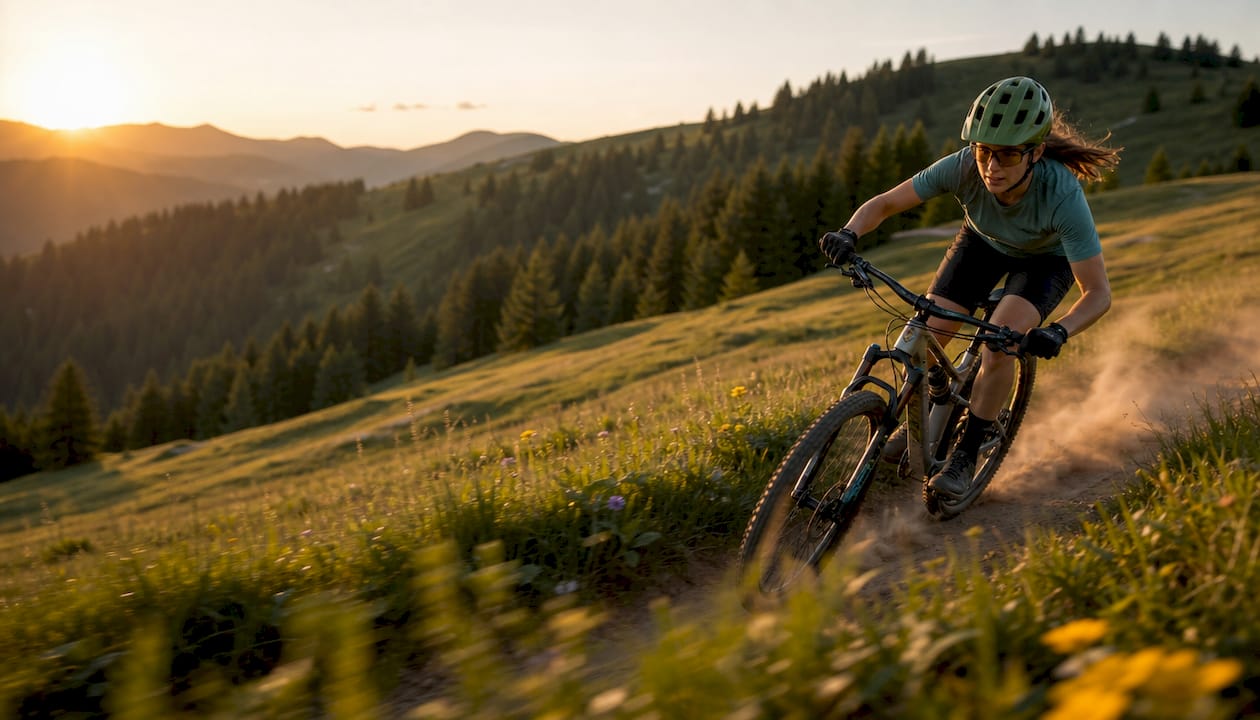
Leading lines and natural framing elements add depth and direct attention. A trail curving into the frame, a canyon wall, or a spray of water can all function as compositional architecture. These elements give context and scale, which matter enormously in outdoor and adventure photography.
Low and side angles enhance drama and emphasize motion. A low angle exaggerates height and power, making a cliff jump look more vertical. A side angle reveals motion blur and energy in a way that a front-on shot never can.
- Negative space: Place the subject off-center with open space in the direction of travel.
- Rule of thirds: Use intersection points for subject placement to build visual tension.
- Leading lines: Use trails, ridgelines, or water flow to guide the viewer’s eye.
- Angle selection: Shoot low for power, shoot side-on for speed and blur.
- Natural framing: Use trees, rocks, or terrain to frame the subject and add depth.
Pro Tip: Before the athlete arrives, scan the background. A cluttered background kills an otherwise perfect composition. Move two steps left or right and the problem often disappears.
How to use camera settings to capture peak action moments
Camera settings are not secondary to composition. They are composition. The choice between freezing motion and blurring it changes the entire emotional register of an image.
-
Set shutter speed for your intent. A shutter speed of 1/1000s or faster freezes a mountain biker mid-air with razor clarity. Dropping to 1/250s introduces subtle blur in spinning wheels while keeping the rider sharp. The photographer’s intent determines which approach serves the image. Slight motion blur often communicates speed more authentically than a completely frozen frame.
-
Use burst mode for peak sequences. Burst mode captures 5–15 frames in a sequence, documenting the approach, the peak, and the aftermath. Peak action often occurs just before the absolute apex of movement, and burst mode is the only reliable way to catch it.
-
Set continuous autofocus with a single-point zone. Full-area autofocus lacks precision for fast-moving subjects. Lock a single focus point on the subject’s head or leading edge. When autofocus struggles, pre-focus on a spot the subject will cross and fire at the right moment.
-
Balance ISO and aperture for the light. Outdoor action often means changing light. In bright sun, ISO 100–400 with f/5.6–f/8 gives depth of field and clean files. In shade or overcast conditions, push ISO to 800–3200 to maintain shutter speed without sacrificing exposure.
-
Apply panning at 1/15s–1/125s. Panning technique uses shutter speeds between 1/15s and 1/125s to blur the background while keeping the subject sharp. Start at 1/60s and adjust from there based on subject speed and your technique.
Pro Tip: Switch your camera to electronic shutter in burst mode. It eliminates shutter vibration and lets you shoot longer sequences without overheating the mechanical shutter.
What predictive framing techniques improve decisive action moments?
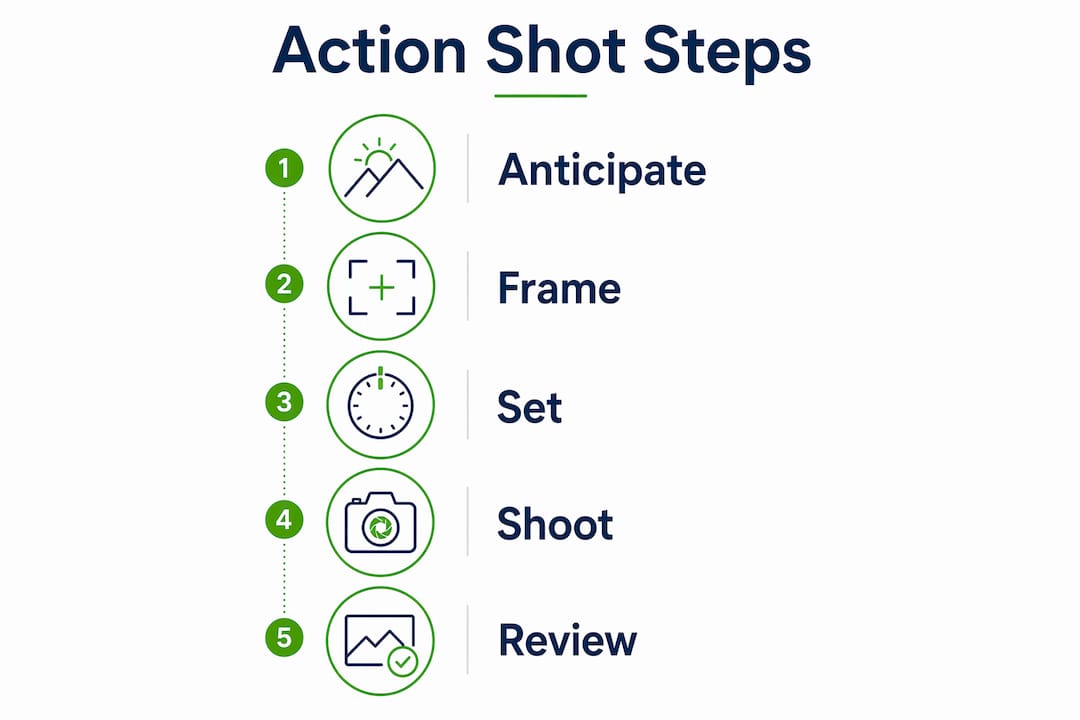
The decisive moment is not luck. Photography educators confirm that it is created by preparation and anticipation, not fast reflexes. The photographer who sets the frame before the action arrives will consistently outperform the one who reacts.
Predictive framing means visualizing where the subject will be 1–2 seconds ahead and composing for that position. Watch the athlete’s rhythm before you shoot. A motocross rider hits the same lip at the same angle on every lap. A kayaker follows the current through the same line. Study the pattern, set the frame, and wait.
Vantage point selection is where most photographers leave performance on the table. The best angle for storytelling is rarely the most convenient one. Climbing higher gives you a compressed background that isolates the subject. Getting lower puts the subject against the sky. Moving to a 45-degree angle shows both the subject’s face and their direction of travel.
- Visualize 1–2 seconds ahead: Set your composition for where the subject will be, not where they are.
- Study the rhythm: Watch 2–3 runs before shooting. Identify the peak moment and the approach path.
- Choose your vantage point deliberately: Higher, lower, or angled positions each tell a different story.
- Set the frame, then wait: Avoid chasing the subject across the frame. Let them enter your composition.
- Capture the aftermath: Images of celebration or recovery after peak action add narrative depth that repetitive peak frames cannot.
Pro Tip: Use your body as a tripod for panning. Rotate from the hips, not the shoulders. Follow through after the shutter fires. Jerky arm movement is the single biggest cause of failed panning shots.
What common challenges occur in action shot composition?
Cramped framing is the most common mistake in action photography. Cutting off a limb or leaving no space in the direction of travel makes the image feel claustrophobic. The fix is simple: zoom out slightly and reposition the subject to the leading third of the frame.
Cluttered backgrounds destroy subject separation. In outdoor settings, a busy treeline, a crowd, or a parked vehicle can pull attention away from the athlete. The solution is angle adjustment. Even a small shift in position changes the background entirely.
Focus loss during panning comes from arm-driven tracking instead of body rotation. Proper full-body rotation from the hips produces smooth arcs that keep the subject in the focus zone. Practice the motion without shooting first.
- Cramped framing: Leave at least one third of the frame as open space in the direction of travel.
- Cluttered backgrounds: Adjust your angle by 10–20 degrees before changing any camera settings.
- Focus loss: Switch to single-point continuous autofocus and rotate from the hips during panning.
- Wrong shutter speed: If the subject looks frozen but lifeless, drop the shutter speed by one stop.
- Overusing burst mode: Shoot in targeted bursts of 3–5 frames at the anticipated peak, not continuously.
How to adapt composition methods for outdoor and adventure scenes
Outdoor environments offer compositional assets that studio or arena settings cannot replicate. Spray, dust, fog, and terrain are not obstacles. They are tools. A mountain biker kicking up a rooster tail of dirt adds texture and energy to the frame. A climber silhouetted against a stormy sky tells a story in a single image.
Lighting and perspective are inseparable from composition in outdoor action shots. Golden hour light raking across a trail creates shadows that define terrain and add drama. Overcast light flattens contrast but allows longer exposures without blowing highlights, which suits panning beautifully.
Combining tight and wide shots builds narrative context. A wide establishing shot shows the scale of the environment. A tight shot captures the athlete’s expression or the technical detail of a move. Shooting both in a single session gives editors and clients the full story. Bissig applies this approach consistently across outdoor sports imagery for editorial and commercial clients.
| Shot type | Compositional purpose | Best outdoor application |
|---|---|---|
| Wide establishing | Shows scale and environment | Mountain ranges, open trails, big water |
| Mid-range action | Balances subject and context | Trail riding, climbing, kayaking |
| Tight detail | Captures expression or technique | Grip, face, wheel contact point |
| Panning blur | Conveys speed and energy | Road cycling, motocross, running |
| Aftermath moment | Adds narrative and emotion | Summit celebrations, crash recovery |
Unpredictable movement in extreme sports demands a wider focal length than most photographers expect. A 70–200mm lens is the standard for sports, but a 24–70mm at close range forces you to commit to a position and rewards you with environmental context that telephoto cannot provide.
Key Takeaways
Effective action shot composition combines predictive framing, deliberate angle selection, and matched camera settings to produce images that communicate movement, energy, and story.
| Point | Details |
|---|---|
| Negative space drives momentum | Place the subject in the leading third with open space ahead to imply motion direction. |
| Predictive framing beats reaction | Set your composition 1–2 seconds before the peak moment and let the subject enter the frame. |
| Shutter speed defines the story | Freeze at 1/1000s for clarity or pan at 1/15s–1/125s to convey speed through background blur. |
| Angle selection changes everything | Low angles add power, side angles show speed, and 45-degree angles reveal both face and direction. |
| Aftermath frames add narrative | Capturing celebration or recovery after the peak creates story depth that peak frames alone cannot. |
What I’ve learned from years of composing action shots outdoors
The biggest shift in my outdoor action photography came when I stopped reacting and started directing my own position. Early on, I chased subjects across the frame and ended up with technically sharp images that felt accidental. The composition looked like I had arrived late to the scene, because I had.
Committing to a frame before the action starts is uncomfortable at first. You feel like you are missing shots. You are not. You are filtering out the mediocre ones. The images that come from a pre-set, deliberate composition have a stillness in the framing that makes the motion inside them feel more powerful.
I also spent years treating motion blur as a failure. A slightly soft wheel or a blurred hand felt like a technical mistake. The reality is that slight motion blur communicates speed in a way that a frozen frame often cannot. The viewer’s eye reads blur as velocity. A completely frozen image can look like the subject is standing still in mid-air.
The outdoor environment is the third element in every frame, alongside the subject and the light. Dust, spray, terrain texture, and weather are not background noise. They are compositional material. Learning to read the environment before the athlete arrives, and positioning yourself to use it, is what separates a good action shot from one that stops a viewer cold.
Practice the physical mechanics of panning separately from the creative decisions. Rotate from the hips, follow through, and track smoothly. Once the body mechanics become automatic, you free up mental space to focus on framing and timing. That is when the real work begins. You can find more on building these skills in my guide to sharper action shots.
— Martin
Outdoor action photography resources at Bissig
Bissig’s work spans mountain biking, alpine climbing, and expedition photography across locations from the Swiss Alps to Pakistan and California. That range of environments has shaped a practical, field-tested approach to outdoor photography techniques that goes well beyond textbook composition advice.
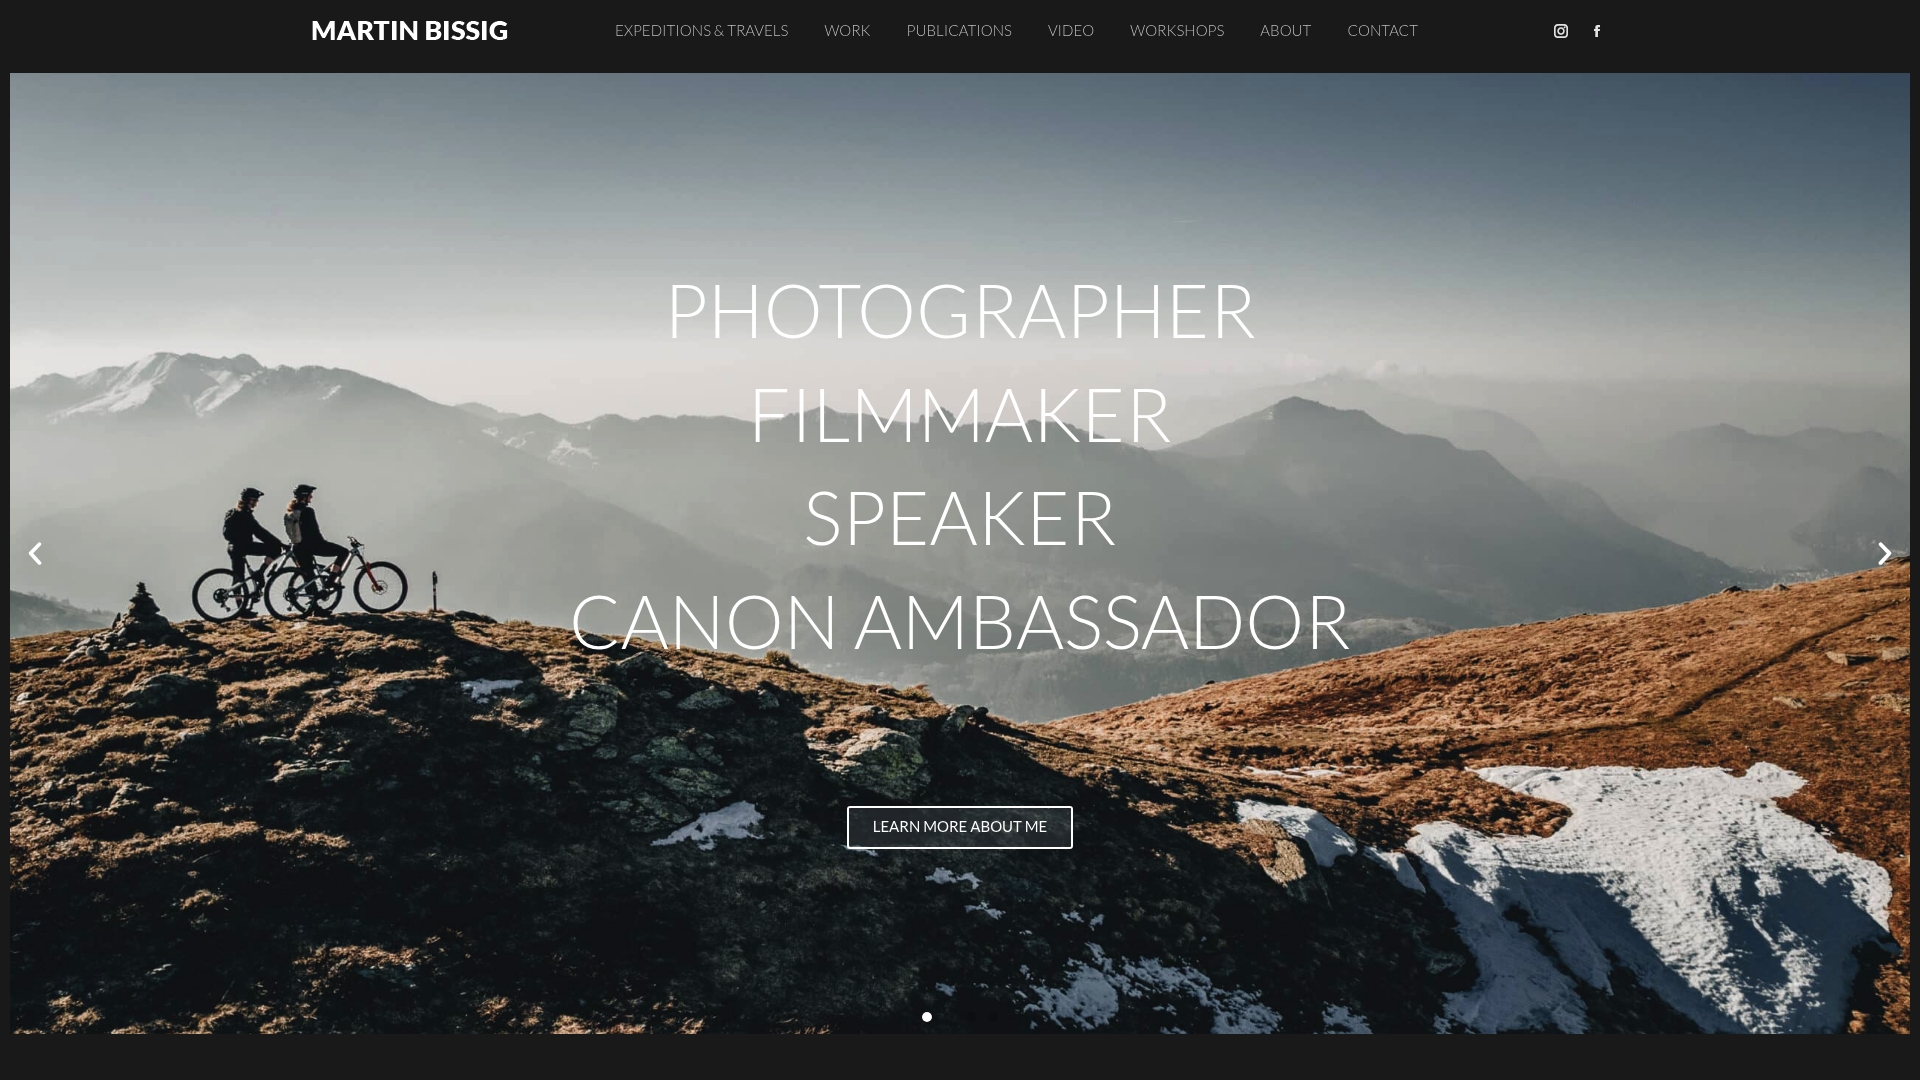
The Bissig site covers everything from camera settings for high-speed action to storytelling through sequential frames. Photographers building their skills in outdoor and adventure contexts will find detailed guidance on composition, lighting, and positioning drawn from real commercial and editorial shoots. For those focused specifically on video, the action sports videography section covers dynamic framing for moving footage. If you want to grow your visibility as an outdoor photographer, resources on photography SEO can help your work reach the right clients and editors.
FAQ
What is the most important action shot composition rule?
Leaving negative space in front of a moving subject is the single most critical rule. It creates visual flow and implies the subject has somewhere to go, making the image feel dynamic rather than static.
What shutter speed should I use for outdoor action shots?
Use 1/1000s or faster to freeze motion cleanly. For panning shots that convey speed through background blur, use 1/15s–1/125s depending on subject speed, starting at 1/60s.
How does predictive framing improve action photography?
Predictive framing means composing for where the subject will be 1–2 seconds ahead, not where they are now. Setting the frame before the peak moment produces better composition than reacting at the moment of action.
When should I use burst mode in action photography?
Use burst mode in targeted sequences of 3–5 frames at the anticipated peak moment. Shooting continuously throughout a run wastes storage and makes editing harder without improving your hit rate.
How do low angles change the feel of an action shot?
Low angles exaggerate height and power, making jumps look bigger and athletes look more dominant. Side-on low angles also reveal motion blur and terrain texture, adding energy and context to the frame.


