

Outdoor photography and videography demand a specific set of skills that go well beyond pointing a camera at a beautiful scene. The best ways to improve outdoor shoots combine thorough pre-shoot planning, smart light management, the right gear, strong composition, and the ability to adapt when conditions change fast. Each of these elements directly affects image quality and shoot efficiency. Bissig’s work across mountain biking, alpine expeditions, and adventure sports proves that technical preparation and creative flexibility are equally non-negotiable for professional outdoor results.
1. Ways to improve outdoor shoots start with location scouting
Pre-production planning determines shoot quality more than any piece of equipment you bring. Scout at least two or three locations before the shoot day, and identify backup sites for each. Weather in the mountains or on open terrain can shift within an hour, and having a fallback plan keeps the day productive.
Walk each location at the time of day you plan to shoot. Light changes dramatically between 7 AM and 10 AM, and a spot that looks perfect at noon can be flat and uninspiring during your actual window. Note where shadows fall, where the sun rises or sets relative to your subject, and where you can position a subject for clean backgrounds.
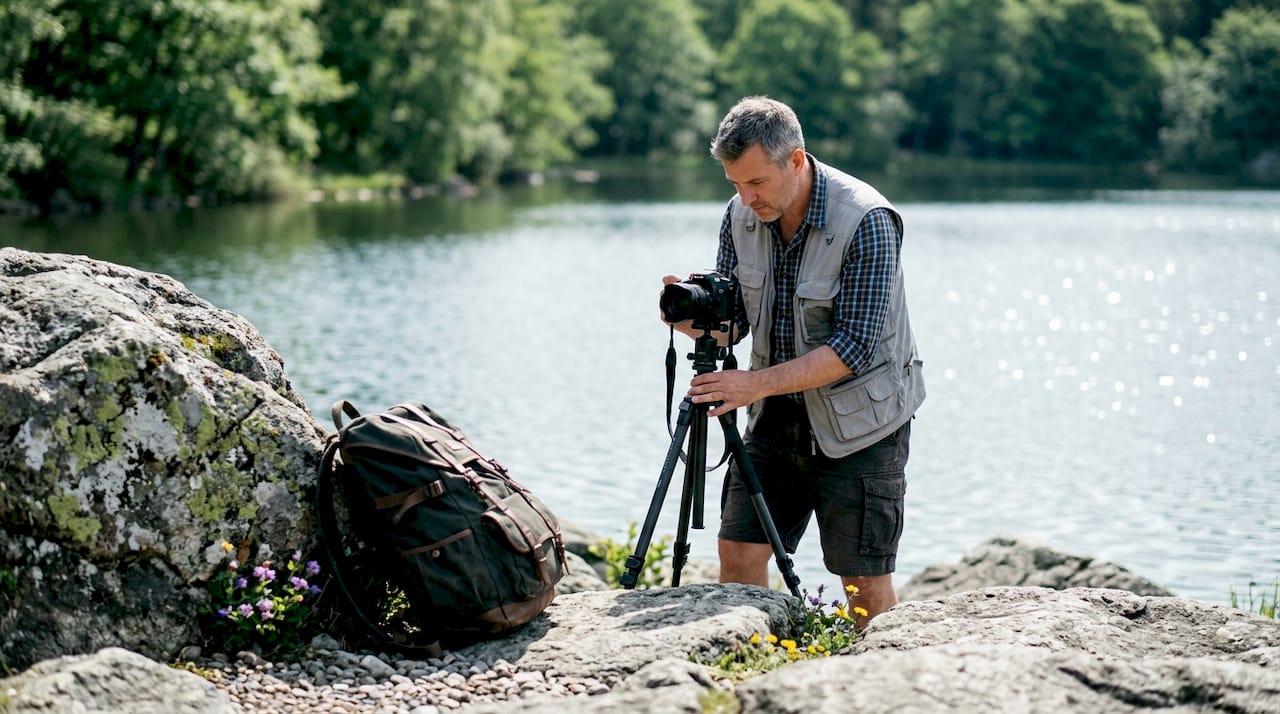
Build a detailed shot list before you arrive. A shot list forces you to think through angles, focal lengths, and lighting setups in advance. That mental rehearsal cuts wasted time on location and keeps you focused when conditions are changing fast.
Pro Tip: Use apps like PhotoPills or The Photographer’s Ephemeris to map sun position and golden hour timing for your exact location before you leave home.
2. Shoot during golden hour for the best natural light
Golden hour light produces softer shadows, richer color tones, and directional warmth that flatters nearly every outdoor subject. The low angle of the sun during the first and last hour of daylight creates depth and contrast that midday light simply cannot replicate. Plan your shoot windows around these periods whenever the subject allows.
Soft, directional light also reduces the need for heavy post-processing. Harsh midday sun creates blown highlights and deep, unflattering shadows that are difficult to recover even in RAW format. Shooting in quality light saves time in editing and produces images that feel natural rather than corrected.
If golden hour is not available, open shade is your next best option. Position subjects under a tree canopy or on the shaded side of a building to get even, diffused light without the harshness of direct sun.
3. Use ND and polarizer filters to control exposure
Neutral Density filters reduce light input without affecting color, letting you shoot at wider apertures or slower shutter speeds in bright daylight. A 0.3 ND cuts one stop of light, while a 0.9 ND cuts three stops. That range gives you real control over motion blur and depth of field in conditions that would otherwise force a narrow aperture.
Polarizer filters cut reflections on water, glass, and wet pavement while improving sky contrast and color saturation. They do reduce exposure by one to two stops, so adjust your settings accordingly. For landscape and adventure photography, a circular polarizer is one of the highest-impact filters you can carry.
Stacking both filters is possible but introduces vignetting at wide angles. Use each independently based on what the scene requires, and carry a step-down ring set so one filter fits multiple lens diameters.
Pro Tip: Rotate your polarizer slowly while watching the effect in your viewfinder or monitor. The maximum effect appears at roughly 90 degrees to the sun.
4. Expose for highlights to protect image detail
Exposing for highlights prevents clipped bright areas that cannot be recovered in post-production. Blown highlights are permanent data loss. Underexposed shadows, by contrast, are recoverable in RAW files because the sensor captures a wider dynamic range than the preview suggests.
Use your histogram actively during the shoot. A spike pushed hard against the right edge signals clipping. Dial back exposure by a third to two-thirds of a stop and recheck. This habit alone separates photographers who struggle in post from those who spend minimal time correcting exposure.
Shoot RAW format on every outdoor session. JPEG compression discards tonal data that you will want when recovering shadow detail or correcting a slightly off white balance caused by shifting cloud cover.
5. Look behind you for better compositions
Most photographers face the obvious view and miss the better one. Looking behind to where light falls on a scene can reveal stronger compositions and more balanced lighting than the direction everyone else is shooting. This is one of the least practiced and most effective outdoor shoot techniques available.
Quality of light matters more than quality of location. A mediocre hillside lit by warm, raking sidelight will outperform a dramatic peak in flat overcast every time. Train yourself to read light first, then find the subject that fits it, rather than the reverse.
Rotate your position around a subject before committing to a frame. Even a 30-degree shift can remove a distracting background element, change the relationship between foreground and sky, or reveal a leading line you had not noticed.
6. Apply strong compositional techniques
Leading lines, negative space, and simplified framing focus viewer attention and increase image impact. A winding trail, a fence line, or a river channel pulls the eye through the frame toward the subject. Negative space around a subject creates visual breathing room and emphasizes scale, which is especially powerful in mountain and wilderness settings.
Use the rule of thirds as a starting point, not a rule. Place your horizon on the lower third when the sky is dramatic, or on the upper third when the foreground carries the story. Break the grid deliberately when a centered composition serves the subject better, such as in symmetrical reflections.
Remove distractions before you shoot rather than in post. Step left or right to clear a branch from the edge of the frame, or crouch lower to drop a cluttered background below the horizon. Small position changes make large compositional differences.
7. Manage power for extended outdoor shoots
Block batteries with multiple output voltages reduce downtime and keep camera systems running through long days away from power sources. Power management is one of the most overlooked elements of outdoor shoot preparation, and it becomes critical on multi-hour expeditions or remote location shoots.
Plan your power draw before the shoot. List every device that needs charging or continuous power: cameras, monitors, lights, radios, and laptops. Calculate total draw and match it against your battery capacity with a buffer for cold temperatures, which reduce battery output significantly.
For reliable outdoor lighting power, purpose-built battery systems designed for field use outperform consumer power banks in both output stability and durability. Carry at least one spare battery for every critical device, and establish a charging rotation during transport or meal breaks.
8. Rig safely for wind and diffusion setups
Frames larger than 4×4 feet require safety lines and sandbags by industry standard to prevent accidents in wind. A 12×12 diffusion frame should not be flown in wind above 11 mph. That threshold is lower than most photographers expect, and underestimating wind load is one of the most common causes of gear damage and crew injury on outdoor sets.
Use safety knots and tie-downs on every overhead or elevated rig. Sandbag every stand leg, and add extra weight when the terrain is uneven or the surface is soft. A collapsed C-stand or a flying silk can injure crew and destroy equipment in seconds.
Check wind forecasts at shoot altitude, not just at ground level. Wind speeds increase significantly with elevation, and a calm valley can have strong gusts at ridge height. Apps like Windy provide altitude-specific wind data that is far more useful than a standard weather forecast.
9. Adapt quickly to changing weather conditions
Quick-deploy weather protection gear reduces shoot interruptions when conditions shift unexpectedly. Light rain covers, waterproof bags, and compact tents let you keep shooting through minor weather events instead of packing up and losing your window. Spring and alpine environments are especially prone to rapid changes.
Keep a dedicated weather kit in your bag at all times. Rain covers for camera bodies and lenses, a microfiber cloth for lens cleaning, and a compact umbrella for your monitor take up minimal space and save entire shoot days. Wet gear also fails faster, so protection extends equipment life.
Stay mobile with your lighting setup. A single, compact light source on a low stand is faster to move and easier to protect than a large, complex rig. When weather closes in, a simple setup lets you relocate quickly and keep shooting.
10. Limit extreme heat sessions to protect subjects
Outdoor portrait and action sessions in extreme heat should stay under 60 minutes to maintain subject safety and expression quality. Heat fatigue shows in faces and body language before subjects report feeling unwell. Shorter sessions with breaks produce better results than pushing through discomfort.
Schedule the most physically demanding shots for the coolest part of the day, typically early morning. Save static or low-effort setups for midday if you must shoot then. Keep water and shade accessible at all times, and build rest periods into your shot list rather than treating them as interruptions.
For dynamic outdoor footage involving athletes or talent, communicate the heat plan before the shoot. Subjects who know breaks are scheduled perform better and take more creative risks than those who feel they need to push through without stopping.
Key takeaways
Outdoor shoot quality is determined by preparation, light management, and adaptability, not by equipment alone.
| Point | Details |
|---|---|
| Plan before you arrive | Scout locations, map sun position, and build a shot list to maximize your shooting window. |
| Shoot in quality light | Golden hour and open shade produce results that midday sun cannot match. |
| Use filters actively | ND and polarizer filters give you exposure control that no amount of post-processing can replicate. |
| Rig safely in wind | Frames over 4×4 feet need safety lines and sandbags; never fly a 12×12 above 11 mph wind. |
| Protect subjects in heat | Keep outdoor sessions under 60 minutes in extreme heat to maintain safety and image quality. |
What I’ve learned from years of outdoor shoots
Pre-production is where shoots are won or lost. I have worked in conditions ranging from alpine ridgelines in Switzerland to desert trails in California, and the shoots that went smoothly were the ones where I had done the homework before arriving. The ones that fell apart were almost always under-planned, regardless of how good the light turned out to be.
The hardest lesson I had to learn was patience with light. Early in my career, I would push through flat, uninspiring conditions rather than wait. Now I build buffer time into every schedule specifically to wait for the light to do something interesting. That patience has produced some of my strongest images, and it costs nothing except the willingness to stop and watch.
Wind is the variable most photographers underestimate. I have had large diffusion frames come down in gusts that did not feel dangerous at ground level. Now I rig everything as if the wind will double, because on exposed terrain, it often does. Safety rigging is not optional on professional sets.
The balance between technical control and creative spontaneity is real, and it shifts on every shoot. My best work comes when the technical decisions are made in advance and I can focus entirely on the moment. That is what preparation actually buys you: the freedom to be creative when it counts.
— Martin
Outdoor photography and videography with Bissig
Bissig specializes in action and outdoor photography for commercial and editorial clients, with a portfolio built across alpine, mountain biking, and adventure sports environments. The work is grounded in the same preparation and light discipline covered in this article.
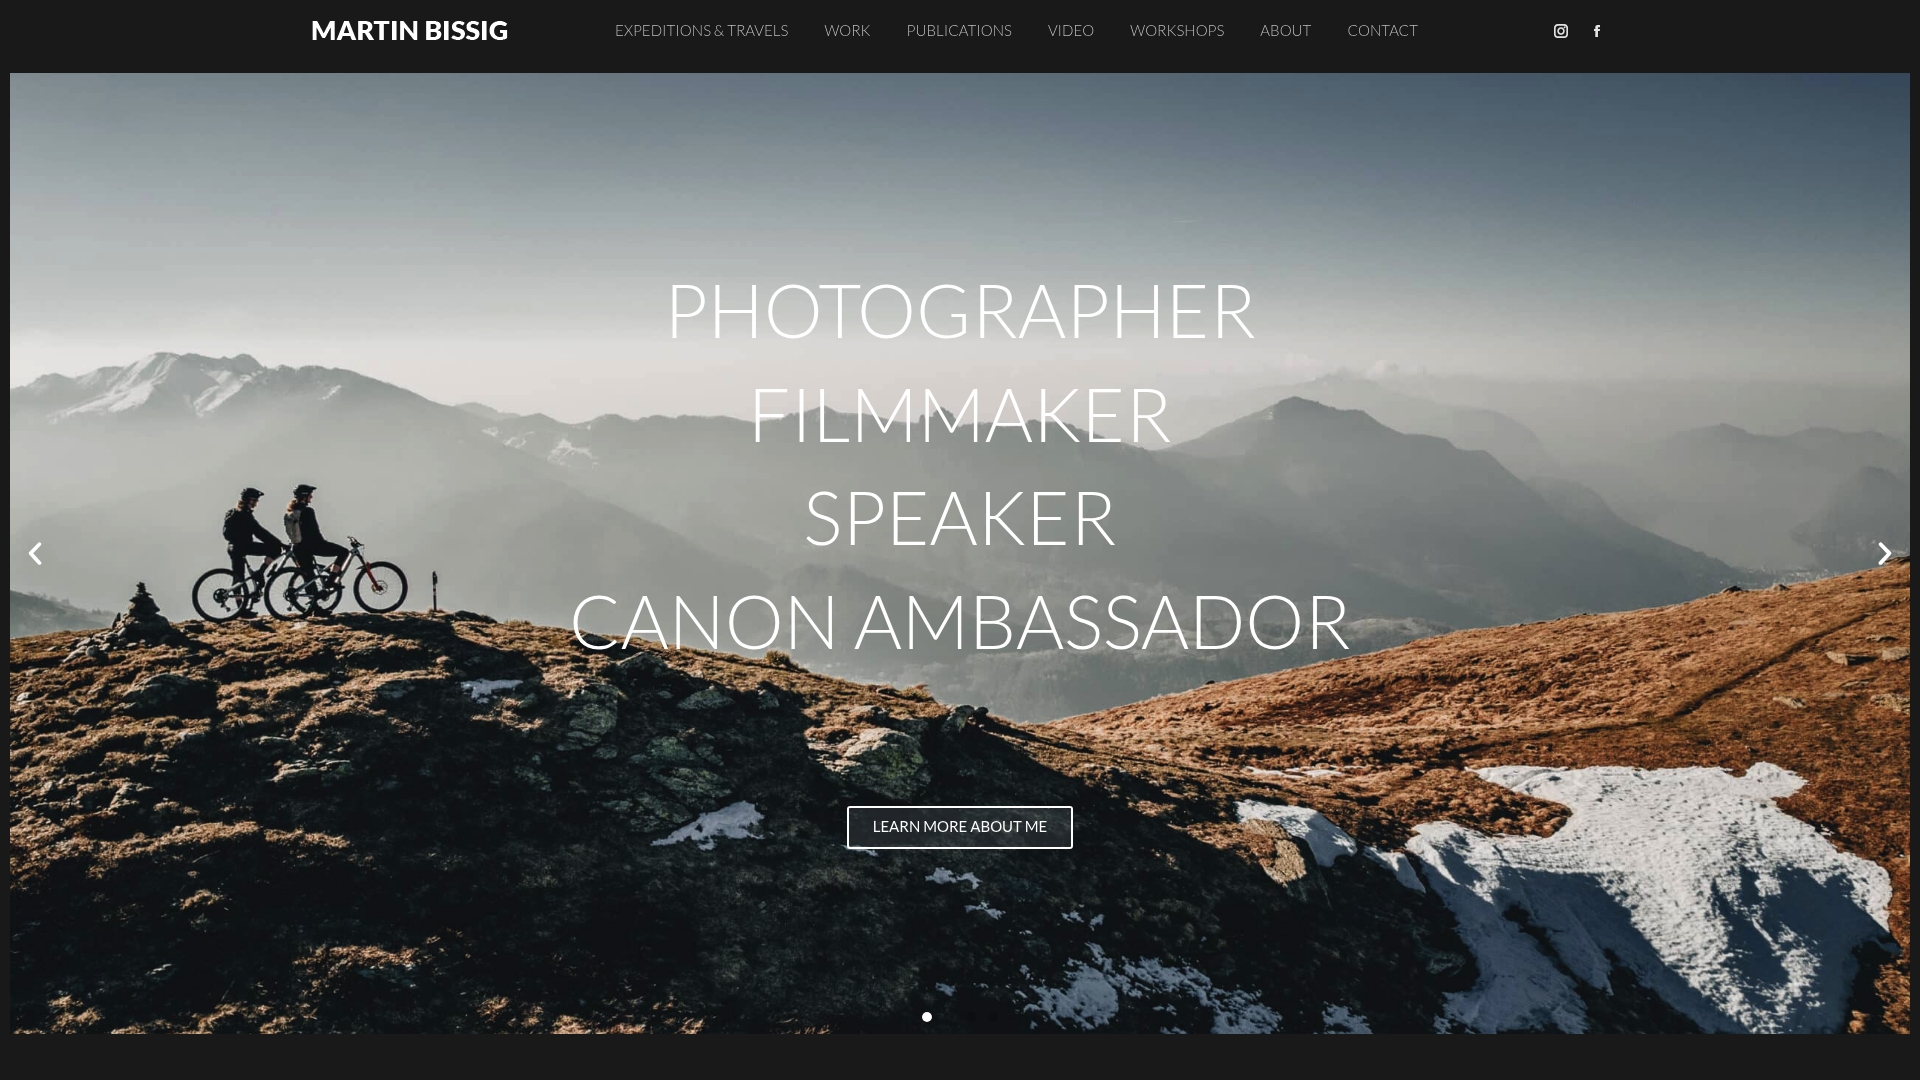
For photographers and videographers looking to go deeper, the step-by-step outdoor guide covers location-specific techniques and production workflows in detail. Whether you are planning a solo shoot or a full commercial production, Bissig’s resources and services are built for creatives who take outdoor work seriously.
FAQ
What is the single most important step in outdoor shoot preparation?
Pre-production planning is the most critical phase, covering backup locations, shot lists, and lighting plans. It determines outcome quality more than any equipment choice.
When is the best lighting for outdoor photography?
Golden hour, the first and last hour of daylight, produces the most flattering light for outdoor subjects. Open shade is the best alternative when golden hour is not available.
How do ND filters improve outdoor shoots?
ND filters reduce light input without affecting color, letting you use wider apertures or slower shutter speeds in bright daylight. A 0.9 ND cuts three stops of light and gives you significant creative control over exposure.
How do I handle wind safely on outdoor sets?
Frames larger than 4×4 feet require safety lines and sandbags, and a 12×12 frame should not be used in wind above 11 mph. Check altitude-specific wind forecasts before rigging any elevated or large diffusion setup.
How long should outdoor portrait sessions last in hot weather?
Keep sessions under 60 minutes in extreme heat to protect subjects and maintain expression quality. Schedule the most demanding shots for early morning when temperatures are lowest.


