

A corporate photography checklist is a prioritized, structured plan that guides your shoot from pre-production through final delivery, ensuring every critical image is captured, approved, and ready for deployment. Without one, shoot days devolve into reactive scrambles where sponsors get missed, VIPs get skipped, and post-production backlogs pile up. The most effective checklist covers three phases: pre-shoot preparation, shoot day execution, and post-shoot workflow. Each phase protects your team’s time, your brand’s visual consistency, and your legal compliance. This guide gives you a working framework built for corporate communications and marketing professionals who need results, not theory.
1. build a shot list that drives deliverables
The shot list is the operational core of any corporate photo shoot guide. Start by defining the purpose and final use of every image before you brief a photographer. Photos destined for press releases require sharp, print-ready resolution. Images for LinkedIn or Instagram need composition suited to those formats. Knowing the destination shapes every creative decision upstream.
Structure your shot list using three priority tiers. P1 shots are non-negotiable: the CEO keynote, the product reveal, the signed partnership handshake. P2 shots are important but flexible on timing: team candids, networking moments, sponsor signage. P3 shots are nice-to-have: environmental details, crowd atmosphere, venue architecture. Prioritizing 5–8 non-negotiable shots and sharing floor plans with your photographer prevents coverage gaps and missed edge-case deliverables.
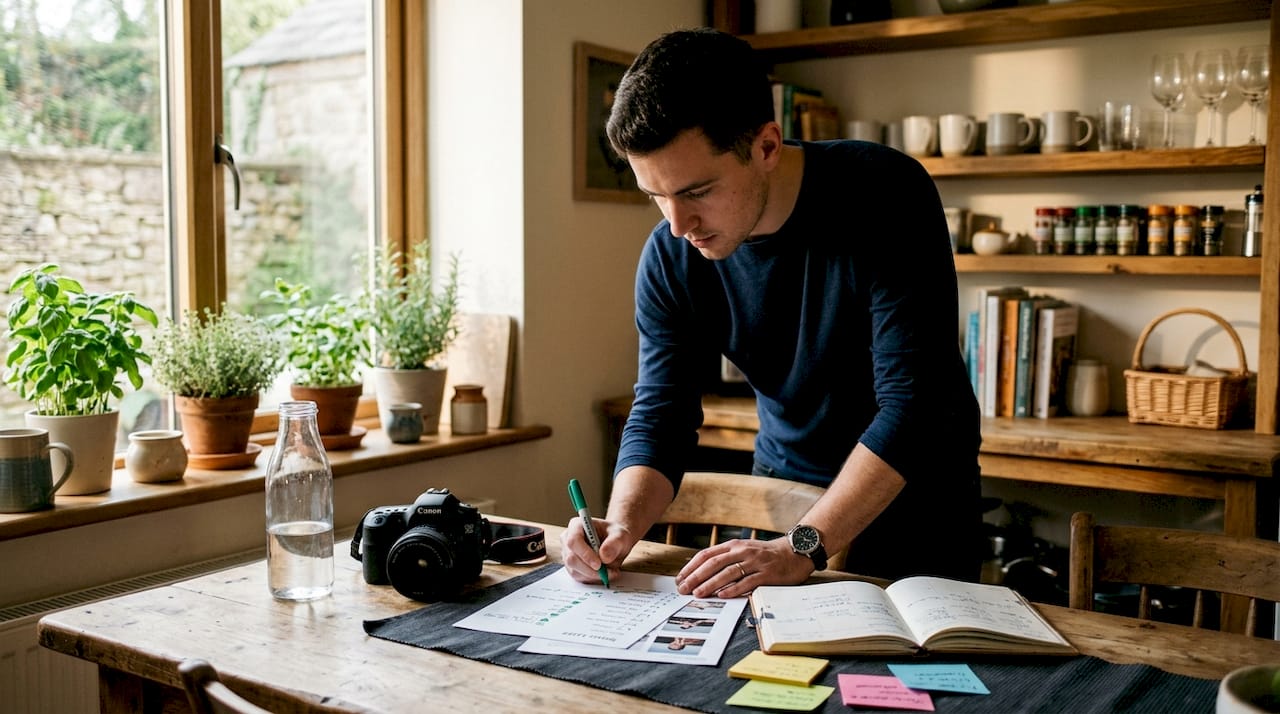
Each shot list entry should include a timing window, a room or zone, the subject, and the delivery channel. “CEO arrival photo, 9:00–9:15 a.m., main lobby, for press release and LinkedIn” is a usable instruction. “Get a photo of the CEO” is not. Tie every shot to a specific team or channel so the photographer understands the business stakes behind each frame.
Pro Tip: Limit your P1 list to eight shots maximum. A wish list with 40 equally weighted items gives your photographer no direction and guarantees the most important moments get treated like everything else.
2. scout locations and assess lighting early
Location scouting is not optional prep. Scout and prep shooting locations at least one week before the shoot to evaluate natural light, remove visual distractions, and confirm practical logistics. The biggest quality multipliers in corporate lifestyle photography are environmental prep steps: clearing cluttered desks, wiping fingerprints off glass surfaces, and removing branded items that conflict with your visual guidelines. These steps reduce retouching time more than any post-production filter.
Walk each room at the same time of day the shoot will occur. Note where direct sunlight creates harsh shadows or blows out windows. Identify backup locations for overcast days or restricted-access areas. Confirm that power outlets, table positions, and background walls align with your planned setups.
Document your findings in a simple location sheet: room name, best shooting angle, lighting notes, and any props or furniture to move. Share this with your photographer before shoot day so they arrive with a plan, not questions.
3. communicate wardrobe guidelines to every participant
Wardrobe issues are technical problems, not just aesthetic ones. Solid colors photograph best for corporate headshots. Thin stripes, busy patterns, logos, and pure white or black create moiré effects, lose shadow detail, and distract from the subject’s face. These are image quality failures, not style preferences.
Send wardrobe guidance at least one week before the session. Ask participants to bring 2–3 outfit options. Specify that collars and shoulders must fit well, since ill-fitting clothing reads as unprofessional in tight portrait crops. Include a visual reference if your brand has a color palette, so participants can match or complement it.
Wardrobe miscommunication is one of the most common reasons corporate headshot sessions run over schedule. When someone arrives in a distracting outfit, you either lose time to a wardrobe change or accept a substandard image. Neither outcome serves your communications goals.
4. confirm equipment and backup gear
A professional portrait checklist must include a full equipment verification step. Confirm your photographer’s primary camera bodies, lenses, lighting equipment, and memory cards at least 48 hours before the shoot. Backup gear is not a luxury. A single equipment failure without a backup can end a shoot that took weeks to schedule.
For corporate events, the standard photography equipment list includes at minimum: two camera bodies, a 24–70mm and 70–200mm lens, a portable flash or strobe, extra batteries, and multiple memory cards. For headshot sessions, add a backdrop stand, a reflector, and a tethering cable for on-site review.
Confirm that all equipment is charged, formatted, and tested. If your photographer is renting gear, verify the rental confirmation. Equipment surprises on shoot day are avoidable with a 10-minute checklist review the day before.
5. brief photographers and stakeholders together
A photographer who has read the shot list is not the same as a photographer who has discussed it with the communications team. Schedule a 30-minute briefing with your photographer and key stakeholders before the shoot. Walk through the P1 shots, confirm timing, and identify any access restrictions or sensitive moments that require discretion.
Stakeholder alignment at this stage prevents the most common shoot day conflict: a marketing manager expecting a shot that the photographer never knew was required. Locking deliverables before briefing photographers and communicating expectations clearly reduces retakes and stakeholder dissatisfaction. This briefing is also the moment to confirm consent and privacy protocols with anyone managing participant communications.
Assign a single point of contact on your team to accompany the photographer during the shoot. This person carries the shot list, monitors progress against priorities, and escalates any coverage gaps in real time.
6. manage privacy consent and legal requirements
Privacy compliance is not a checkbox. Photo consent must be granular by usage purpose, not assumed by silence or pre-ticked boxes. A participant who consents to internal communications use has not consented to public social media posts. These are legally distinct permissions that must be documented separately.
Prepare a clear photo notice for all event attendees. Include opt-out mechanisms that are visible and easy to use. Document consents for any minors present. Store consent records securely and establish a deletion process for images of individuals who later withdraw consent.
Build consent collection into your pre-shoot timeline, not your post-shoot cleanup. Retroactive consent management after images are already distributed creates legal exposure and erodes participant trust.
7. execute shoot day with a running checklist
Photographers should arrive early to test ambient lighting, review setup, and confirm shot list priorities before the first participant walks in. Early arrival is not a courtesy. It is the difference between a photographer who is ready and one who is still problem-solving when the CEO steps up to the podium.
Use the checklist dynamically throughout the day. Check off P1 shots as they are captured. Flag any timing shifts or access changes that affect P2 coverage. Hold a two-minute check-in with your photographer between major event segments: arrival, keynote, networking, sponsor recognition. These micro-reviews prevent end-of-day surprises.
Direct subjects naturally. For candid moments, brief your photographer to work from the edges of the room rather than positioning subjects. For headshots, headshot sessions run 10–15 minutes per person, so schedule buffer time between appointments to maintain quality and avoid a backlog that compresses the final sessions.
8. deliver and archive assets with a clear workflow
Post-shoot workflow is where most corporate photography projects lose momentum. Curate images immediately into use-case buckets rather than delivering an undifferentiated gallery. Separate selects by delivery channel: press, social media, internal communications, and website. This structure makes assets immediately deployable without a second round of sorting.
Agree on retouching standards and turnaround times before the shoot, not after. Scope creep in post-production is the primary cause of delayed asset delivery. Define the number of edit rounds, the retouching level (basic color correction vs. full skin retouching), and the file formats required for each channel.
Archive master files in a secure, backed-up location. Maintain a separate folder for consent documentation linked to the corresponding images. Document usage rights for every image, including any model releases or location permits.
Pro Tip: Deliver a same-day select of 10–15 images for social media use immediately after the event. This keeps your communications team active while the full gallery is in post-production.
9. avoid these six common mistakes
Even experienced teams repeat the same errors. These mistakes reduce usable assets and lead to costly retakes or stakeholder dissatisfaction.
- Overloading the shot list without priority tiers. Every shot treated as equal means no shot is treated as critical.
- Missing key stakeholder coverage. Sponsors, VIPs, and specific teams must be named on the list with assigned coverage zones.
- Poor wardrobe communication. Sending guidelines the day before gives participants no time to prepare alternatives.
- Neglecting privacy consent. Collecting consent after distribution creates legal and reputational risk.
- No buffer time on shoot day. Back-to-back scheduling means one delay cascades through the entire session.
- No post-production plan. Delivering raw files without agreed edit standards and turnaround times guarantees scope creep and asset backlogs.
Key takeaways
A corporate photography checklist works because it aligns stakeholders, protects legal compliance, and gives photographers the specific direction they need to capture every priority asset on schedule.
| Point | Details |
|---|---|
| Prioritize the shot list | Use P1, P2, P3 tiers so photographers focus on non-negotiable moments first. |
| Scout locations one week out | Assess lighting and remove distractions before shoot day to cut retouching time. |
| Send wardrobe guidance early | Give participants at least one week to prepare 2–3 outfit options that photograph well. |
| Lock consent before distribution | Document granular usage permissions per channel to stay legally compliant. |
| Define post-shoot workflow upfront | Agree on edit rounds, formats, and turnaround times before the shoot begins. |
What i’ve learned from shoots that almost went wrong
The first time I watched a corporate shoot fall apart, it was not because of bad light or a slow photographer. It was because nobody had agreed on what the most important shot of the day actually was. The communications team wanted the CEO at the product display. The marketing manager wanted the full leadership group. The photographer spent the day trying to please everyone and captured nothing decisively.
A priority tier system fixes this before you ever arrive on location. When I work on event photography planning, the first conversation is always about which three images would make the project a success if nothing else worked. Everything else is secondary. That clarity changes how a photographer moves through a room.
The other lesson I keep relearning is that environmental prep matters more than most teams expect. I have seen corporate lifestyle sessions saved entirely by 20 minutes of tidying a conference room before the first frame. Clean backgrounds and controlled spaces are not glamorous prep work, but they are the difference between images that look polished and images that look like snapshots. The visual storytelling principles that apply to editorial work apply equally here: the environment is always part of the story.
— Martin
Ready to execute your corporate shoot with professional support?
Building a checklist is the right first step. Executing it with a photographer who understands corporate deliverables, brand requirements, and shoot day logistics is what turns planning into results.
Bissig brings the same precision and preparation discipline to corporate and brand photography that drives his work as a Canon ambassador on international expeditions. Whether you need support developing a shot list, scouting locations, or delivering a complete photography package, the process starts with a clear brief and a photographer who treats your checklist as seriously as you do. Explore professional photography techniques that translate directly to corporate shoots, or contact Bissig to discuss your next project.
FAQ
What should a corporate photography checklist include?
A corporate photography checklist should cover pre-shoot preparation, a prioritized shot list with timing and locations, equipment confirmation, privacy consent documentation, and a post-shoot delivery workflow. Each section protects a different phase of the project.
How long does a corporate headshot session take per person?
Headshot sessions typically run 10–15 minutes per person. Schedule buffer time between appointments to maintain quality and prevent delays from compressing the final sessions of the day.
How do you prioritize a corporate event shot list?
Assign priority tiers: P1 for non-negotiable shots like keynote speakers and leadership portraits, P2 for important but flexible coverage, and P3 for atmospheric or detail shots. Limit P1 to 5–8 shots so photographers know exactly where to focus.
What wardrobe works best for corporate photography?
Solid colors photograph best for corporate headshots. Avoid thin stripes, busy patterns, logos, and pure white or black, which create moiré effects or lose shadow detail. Ask participants to bring 2–3 options and send guidance at least one week before the session.
When should photo consent be collected for corporate events?
Collect photo consent before the event, not after images are distributed. Consent must be documented by usage purpose, since permission for internal use does not automatically extend to public social media or press distribution.


