

Light is the single most important element in photography, defining every image’s mood, color, dimension, and emotional impact. Without light, there is no photograph. With the wrong light, even the sharpest lens and most expensive camera body produce flat, lifeless images. With the right light, a smartphone captures something unforgettable. The role of light in photography goes far beyond exposure. It shapes how a subject feels, where the viewer’s eye travels, and what story the image tells. Mastering light means mastering photography itself.
What are the fundamental properties of light in photography?
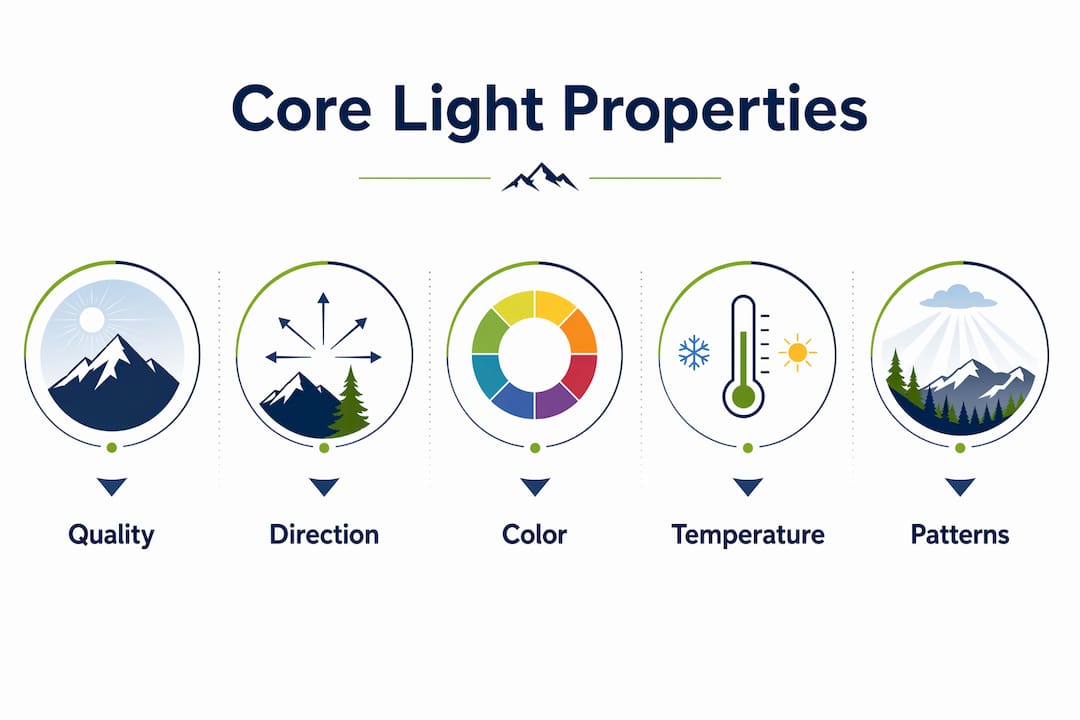
Light’s quality, direction, and color are the three core properties every photographer must understand before anything else. These three variables control texture, shadow, mood, and dimensionality in every frame you shoot.
Hard light vs. soft light
Light quality describes how a light source transitions from bright areas to shadow. Hard light comes from a small, distant source like direct midday sun or a bare flash. It creates sharp, defined shadows that add drama and texture. Soft light comes from a large or diffused source, like an overcast sky or a window with a sheer curtain. It wraps around subjects and creates gentle shadow transitions, which is why it flatters portraits.
Shadows are not the enemy. They are the primary tool for creating depth and three-dimensional form in a two-dimensional image. A photograph without shadows looks flat and lifeless.
How direction changes everything
The angle of your light source relative to your subject changes the entire character of an image.
- Front lighting places the light source behind the camera. It minimizes shadows and creates an even, flat look. Good for product shots, but it removes dimension from faces.
- Side lighting places the light at 90 degrees to the subject. It creates maximum texture and form by casting long shadows across the surface. Use it for landscapes, architecture, and dramatic portraits.
- Backlighting places the light source behind the subject. It creates silhouettes, rim light, and a sense of atmosphere. Sunrise and sunset portraits use this constantly.
Color temperature and emotional tone
Color temperature measures the warmth or coolness of a light source in Kelvin. Candlelight sits around 1,800K and reads as deep amber. Overcast daylight sits around 7,000K and reads as cool blue. Warm light feels intimate and inviting. Cool light feels clinical or melancholic. You can use this intentionally. Shooting portraits during golden hour gives skin a warm, flattering glow. Shooting in open shade on a clear day produces a cooler, more neutral tone.
Pro Tip: Before you shoot, spend two minutes observing where the light is coming from, how hard or soft it is, and what color it carries. This habit alone will improve your images faster than any gear upgrade.
What are common lighting patterns in portrait photography?
Six classic lighting patterns define professional portrait photography. Each one is created by shifting the position of your key light relative to the subject’s face. The horizontal angle of light to subject determines which pattern you create and how much contrast and drama the image carries.
| Lighting pattern | Key effect | Best use case |
|---|---|---|
| Butterfly | Shadow under nose, defined cheekbones | Glamour, beauty, symmetrical faces |
| Loop | Small shadow beside nose, natural look | Everyday portraits, beginners |
| Rembrandt | Triangle of light on shadowed cheek | Dramatic, moody, character portraits |
| Split | Half face lit, half in shadow | High contrast, editorial, strong subjects |
| Broad | Lit side faces camera, adds volume | Narrow or thin faces needing fullness |
| Short | Shadow side faces camera, slims face | Round or wide faces |
Short lighting slims round faces while broad lighting adds volume to narrow ones. Small shifts in light placement produce dramatically different results on the same subject. This is why experienced portrait photographers adjust light position before they adjust camera settings.
How to read a lighting pattern from a photo
Look at the subject’s eyes. Each eye should show a small catchlight, which is the reflection of the light source. The position of that catchlight tells you where the key light was placed. Then look at the shadow under the nose and beside the cheekbones. Those shadows tell you the pattern. Practicing this reverse-engineering skill on published portraits trains your eye faster than any classroom exercise.
Pro Tip: Start with loop lighting. Place your key light slightly above eye level and about 45 degrees to the side of the subject’s face. It works on nearly every face shape and produces a natural, flattering result with minimal adjustment.
How to use natural light effectively in photography
Natural light is free, available everywhere, and capable of producing world-class images. The challenge is learning to work with it rather than against it. Golden hour, the two-hour window after sunrise and before sunset, produces warm, directional, soft light that flatters almost any subject.
The quality of natural light changes dramatically throughout the day:
- Early morning and late afternoon produce long shadows and warm color. The sun sits low, so light comes from the side, adding texture and dimension automatically.
- Midday sun is harsh and directly overhead. It creates unflattering shadows under eyes, noses, and chins. Avoid shooting portraits in direct midday sun whenever possible.
- Overcast days act as a giant natural softbox. The clouds diffuse the sun and create soft, even light with no harsh shadows. This is ideal for portraits and product photography.
Managing harsh midday conditions
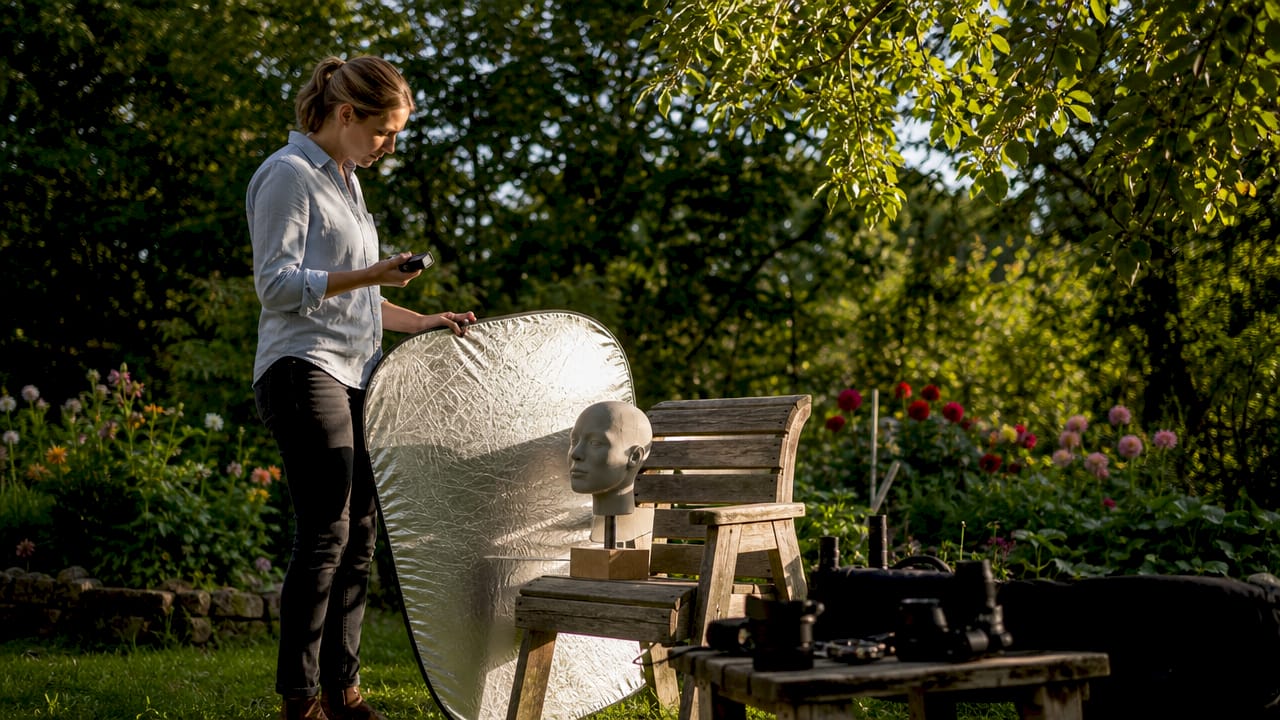
When you cannot avoid midday sun, move your subject into open shade. The shadow side of a building, a tree canopy, or an overhang all block direct sun while still providing bright, diffused ambient light. Portable scrims and diffusers act as portable clouds, softening direct sunlight instantly when held between the sun and your subject.
Reflectors are equally useful. A white or silver reflector placed opposite the main light source bounces light back into shadow areas, reducing contrast and filling in unflattering dark patches. For outdoor portrait work, a collapsible 5-in-1 reflector is one of the most cost-effective tools you can carry.
Pro Tip: Position your subject with their back to the sun during golden hour. The sun creates a warm rim light around their hair and shoulders. Use a reflector in front to fill the face. This setup produces professional-quality results with zero artificial lighting.
What are practical lighting techniques with artificial and supplemental light?
Artificial light gives you control. Natural light gives you beauty. The best photographers know how to use both. A single, well-placed artificial light source gives beginners more control over contrast and mood than a complex multi-light setup they do not yet understand.
Start with one light and learn what it does before adding a second. Place it at roughly 45 degrees to the side and slightly above your subject’s eye level. This mimics the angle of natural window light and produces a natural-looking shadow that falls away from the camera. The result is immediate depth and dimension.
Using reflectors and subtractive lighting
A reflector is not just a fill tool. Positioned above eye level, it creates natural-looking shadows. Positioned below the chin, it creates the unflattering “monster light” effect that horror films use intentionally. Knowing where not to place light is as important as knowing where to place it.
Subtractive lighting takes this further. Instead of adding light, you absorb it. Placing a black card or dark surface on the shadow side of a subject pulls light away from that side, deepening shadows and increasing contrast. This technique, rooted in chiaroscuro principles, creates depth and drama without any additional light source. It is one of the most underused tools in portrait photography.
For photographers interested in how light shapes composition and visual storytelling, the relationship between highlight and shadow is where narrative lives. Light does not just illuminate a subject. It directs where the viewer looks first, second, and last.
Key Takeaways
Light is the primary creative tool in photography, and mastering its quality, direction, and color produces stronger images than any equipment upgrade.
| Point | Details |
|---|---|
| Light quality shapes mood | Hard light creates drama and texture; soft light flatters and smooths. |
| Direction controls dimension | Side lighting adds depth; front lighting flattens; backlighting creates atmosphere. |
| Golden hour is your best natural tool | Shoot within two hours of sunrise or sunset for warm, directional, flattering light. |
| Start simple with artificial light | One well-placed light source teaches more than a complex multi-light setup. |
| Shadows are a creative asset | Use subtractive lighting and shadow placement to add depth and guide the viewer’s eye. |
What I’ve learned from years of chasing light
Learning to see light changed everything for me. Early in my career, I spent too much time thinking about gear and not enough time reading the light in front of me. The shift happened when I started arriving at locations before the light I wanted, watching how it moved, how it changed color, and how it hit different surfaces at different angles.
Light is a visual language. Once you learn to read it, you stop reacting to scenes and start composing them. I have shot in some of the most demanding outdoor environments, from high-altitude mountain trails to fast-moving bike races in low light. In every situation, the image lives or dies on the light. Not the camera body. Not the lens. The light.
The photographers I respect most are the ones who can walk into any location and immediately identify the best light available, then position their subject to use it. That skill is not innate. It comes from deliberate practice. Spend time looking at photographs you admire and ask yourself where the light came from. Study the shadows. Trace the catchlights. Then go out and recreate what you see. The technical side of photographic storytelling only becomes expressive when light is working for you, not against you.
— Martin
Outdoor photography expertise at Bissig
Bissig specializes in outdoor and action photography across some of the world’s most demanding environments. That experience with real-world light, from alpine mornings to harsh midday mountain sun, shapes every image and every piece of advice shared here.
If you want to see how lighting principles apply in high-stakes outdoor settings, the outdoor photography guide at Bissig covers styles, techniques, and pro tips built from years of field work. Whether you shoot landscapes, portraits, or action, understanding how light behaves outdoors is the foundation everything else builds on. Explore the work and resources at bissig.ch to take your photography further.
FAQ
What is the role of light in photography?
Light is the defining element of every photograph. It controls mood, color, texture, shadow, and the viewer’s emotional response to an image.
Why does lighting matter more than camera gear?
A well-lit scene shot on a basic camera produces a stronger image than a poorly lit scene shot on professional equipment. Lighting control determines impact more than sensor resolution or lens quality.
What is the best natural light for portrait photography?
Golden hour, the two-hour window after sunrise and before sunset, produces warm, soft, directional light that flatters skin tones and creates natural depth.
What is the difference between hard and soft light?
Hard light comes from a small or distant source and creates sharp, defined shadows. Soft light comes from a large or diffused source and creates smooth, gradual shadow transitions.
How do lighting patterns affect portrait photography?
Each of the six classic portrait lighting patterns, from butterfly to Rembrandt, changes how the subject’s face reads on camera. Small shifts in light placement dramatically alter contrast, mood, and the apparent shape of the face.


