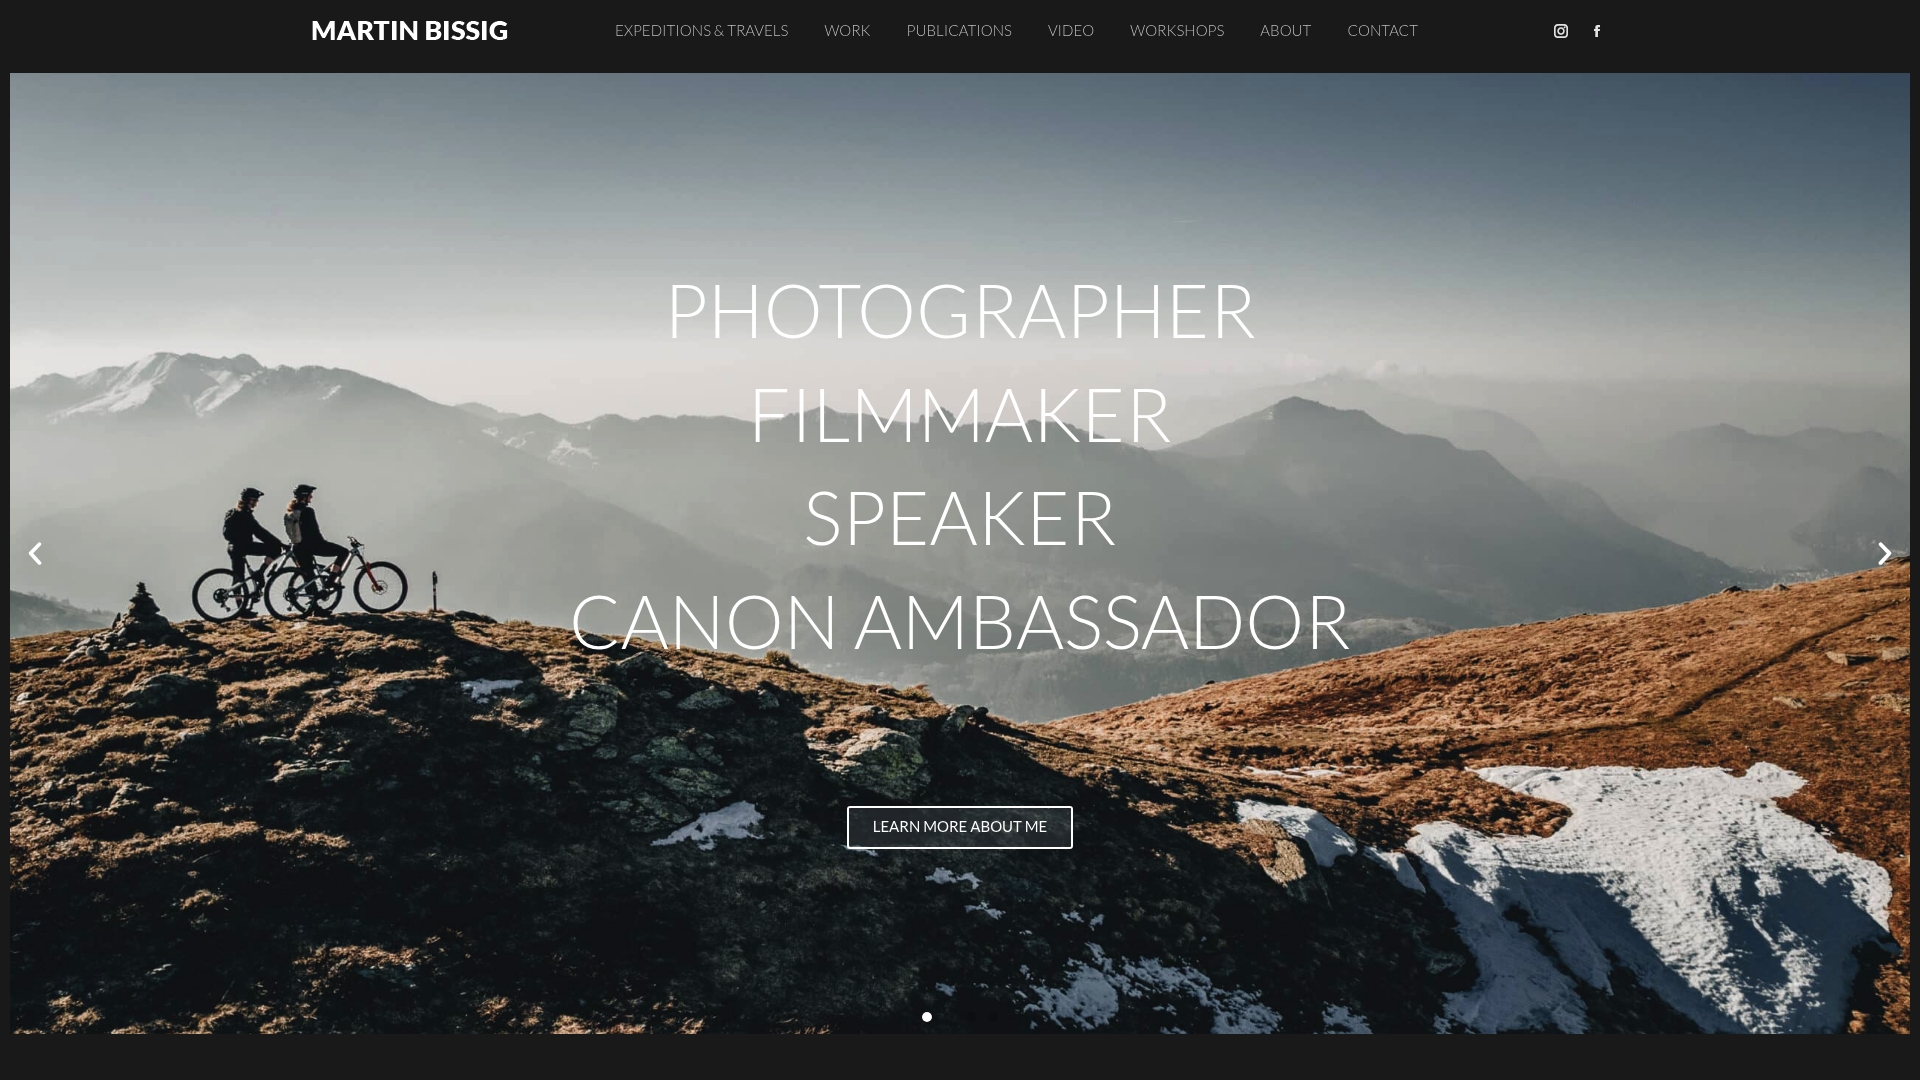
The single most important thing you can do to improve your mountain biking photos is set your shutter speed fast enough to freeze motion. Everything else, composition, light, lens choice, builds on that foundation. Here’s a quick-reference checklist before you head out:
- Shutter speed: use at least 1/800s to freeze mountain biking motion, with 1/1000s or faster recommended for sharp action shots
- Burst mode: shoot continuous sequences so you never miss the peak frame
- Composition: rule of thirds, leading lines, and natural frames add depth and movement
- Lens choice: ultra-wide lenses (10mm on APS-C, 15mm on full-frame) for immersive shots; telephoto for distant subjects
- Light: golden hours, early morning and late afternoon, give you warm, directional light that flatters the terrain
1. What gear do you actually need for mountain biking photography?
A DSLR or mirrorless camera with fast autofocus and a continuous shooting mode is the right starting point. You don’t need the most expensive body on the market, but you do need reliable burst performance and a sensor that handles high ISO without turning your shadows into mush.
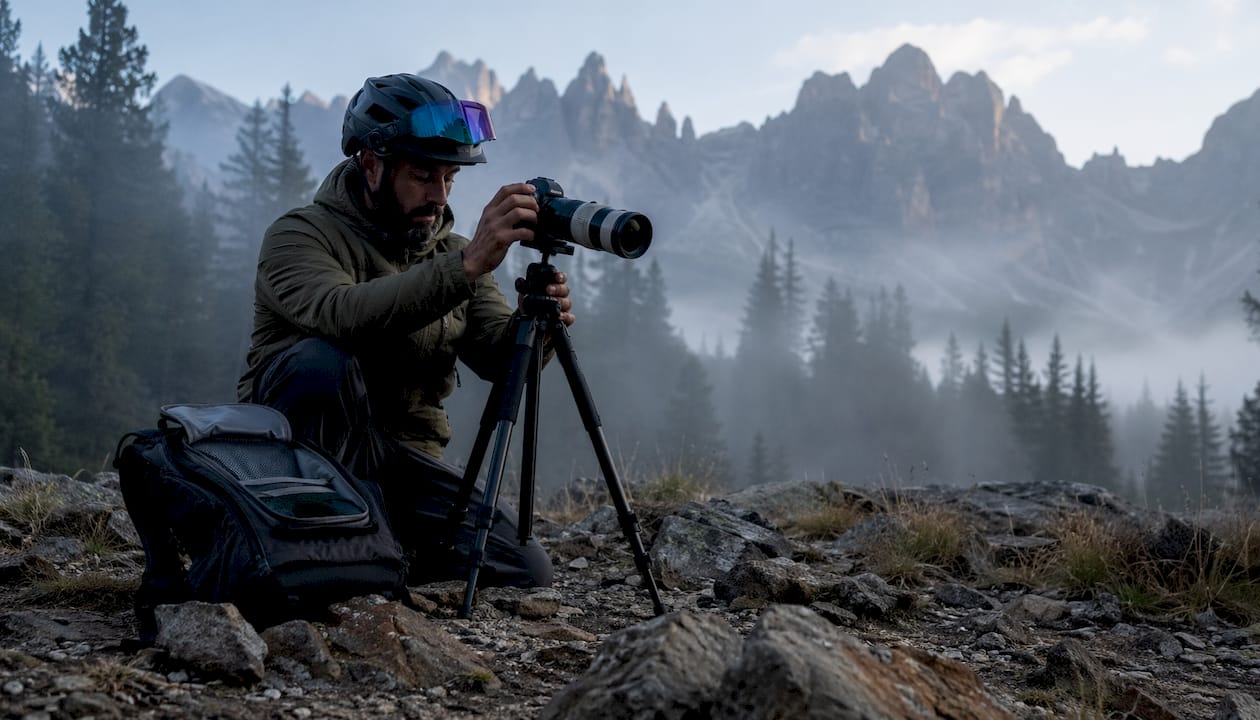
Lens choice shapes the feel of every shot. Ultra-wide lenses pull viewers into the action with a sense of involvement that long lenses simply can’t replicate. A zoom covering a wide range, say 18mm–300mm, lets you cover most situations without swapping glass on a muddy trail. For low-light forest trails, a lens with a wide aperture is worth the extra weight because it lets you keep shutter speeds high even under a dense canopy.
Pack light. Carrying too much gear slows you down on climbs and forces you to skip technical sections. A solid photo pack with a built-in rain shield protects your equipment when a squall rolls in without warning.
2. Mountain biking photography tips for capturing sharp action
The core mountain biking photography tips for action all point in the same direction: control your shutter speed and anticipate the moment before it happens.
- Freeze motion: use a fast shutter speed to stop the bike mid-air, allowing a margin on fast descents
- Panning blur: use a slower shutter speed while panning smoothly so the subject stays sharp and the background blurs into motion
- Pre-focus: pick the exact trail point where you want the rider to be, lock focus there, and wait. Autofocus often grabs the background through the gaps in the bike frame
- Burst mode: continuous shooting multiplies your chances of catching the peak moment on a jump or corner
- Angles: shooting low makes obstacles look bigger; a high vantage point adds context and scale
- Composition: place the rider off-center using the rule of thirds, and use the trail as a lead-in line that pulls the viewer’s eye through the frame
Pro Tip: Ask riders to stand on their pedals even on flat sections. Seated riders look static in photos. Standing body position adds energy without looking staged, and it costs the rider nothing.
3. How to plan a mountain biking photo shoot
Scout the trail before you shoot. You’re looking for features that tell a story: a steep rock roll, a tight berm, a jump with a clean backdrop, or a section where the trail winds through a dramatic landscape. Flat, featureless trail rarely produces compelling images regardless of how good the rider is.
Timing matters as much as location. Golden-hour light, early morning and late afternoon, gives you long shadows and warm color that midday sun can’t match. For heavily forested trails, an overcast day actually works in your favor by eliminating the blown-out patches of sunlight that make shaded sections impossible to expose correctly.
Communicate with your riders before you start. Tell them exactly where you want the peak moment to happen. If they know where to hit the feature, they’ll hit it cleaner, and you’ll get the shot. Two-way radios save a lot of yelling uphill.
Mix your shot types deliberately: wide landscapes that show the scale of the terrain, close-up details like a tire gripping dirt, and tight action frames that put the viewer inside the moment. Variety is what makes a set of photos feel like a story rather than a collection of similar frames.
4. What Martin Bissig’s experience teaches about mountain biking photography
Martin Bissig has spent years shooting adventure sports and mountain biking across demanding locations worldwide, from the Swiss Alps to remote expedition terrain. That field experience shapes a specific approach: get to the location under your own power, carry only what you need, and stay invested enough in the sport to know when the moment is coming.
The best mountain bike photos aren’t made by waiting for perfect conditions. They come from sessioning a feature repeatedly, adjusting your angle each pass, and being close enough to the action to feel the rhythm of the ride. Varied weather, including overcast and moody light, often produces more textured, atmospheric images than chasing blue skies. Shoot from high, shoot from low, shoot through foreground elements. The frame that stops someone scrolling is almost never the obvious one.
Working with skilled riders who have genuine style is non-negotiable. A photographer cannot fix poor body positioning in post. The rider’s shape in the air, the way their weight loads into a corner, the extension on a jump, that’s what separates a memorable photo from a forgettable one. Sessioning a feature repeatedly, having the rider hit it again and again while you adjust framing and timing, is standard practice among professionals for exactly this reason.
5. Which camera settings work best for mountain biking?
Camera settings for mountain biking photography follow a clear hierarchy: shutter speed first, aperture second, ISO last.
Shutter speed is the variable that determines whether you get a sharp photo or a blur. At 1/800s you can freeze most trail riding. At 1/1000s you have enough margin for fast descents and jumps. Drop to 1/100s when you want a panning shot with motion blur in the background.
Aperture between f/2.8 and f/8 covers most situations. Wide open at f/2.8, you get maximum light intake for dark forest trails and a shallow depth of field that separates the rider from the background. Stopped down toward f/8, you get more of the scene in focus, which suits wide landscape shots where the terrain is part of the story.
ISO should be as low as the light allows. Know your camera’s noise ceiling before you go out. Shooting at an ISO your sensor handles cleanly is far better than fighting grain in post. In bright conditions, ISO 100–400 is plenty. Under heavy tree cover, you may need to push higher; test your body in advance so you know exactly where the image quality degrades.
White balance set manually to around 5000K keeps your colors consistent across a session. Auto white balance can shift between frames even when the light hasn’t changed, which creates inconsistency that’s tedious to fix in editing.
6. How to stay safe when shooting in rugged mountain biking terrain
Your physical position on the trail is the most important safety variable. Shooting from below the rider is a powerful angle, but it puts you in the line of travel. Always confirm with the rider exactly where they will be before you lie down or crouch in the trail. A missed line at speed means the bike comes straight at you.
Stay visible and communicate constantly. Riders approaching a feature fast cannot always see a photographer crouched in the dirt. Use hand signals or radios to confirm everyone is ready before each pass. Never assume a rider saw you move.
Protect your gear from the environment. A photo pack with a rain shield handles sudden weather. Lens caps and body covers matter on dusty or muddy trails. Wet electronics are expensive mistakes. For shoots where you’re riding to the location yourself, consider how bike-mounted safety systems can support awareness on shared trails, especially when you’re focused on your camera rather than traffic behind you.
7. Post-processing techniques that make mountain biking photos pop
Shoot in RAW format. It preserves far more tonal information than JPEG, which gives you real flexibility when recovering shadows under a forest canopy or pulling back blown highlights on a bright rock face.
Start with exposure and contrast. Lift underexposed shots carefully and add contrast to separate the rider from the background. Then move to color: mountain biking images often benefit from slightly warmer tones in the highlights and cooler shadows, which reinforces the outdoor feel without looking artificial.
Apply sharpening to bring out the texture in the rider’s gear and the trail surface. Noise reduction is worth using on any frame shot at high ISO in low light, but apply it selectively so you don’t lose the fine detail in the dirt and foliage. For outdoor sports imagery, the goal in editing is always to make the photo feel like the moment actually felt, not to manufacture drama that wasn’t there.
Key Takeaways
Sharp, dynamic mountain biking photos require fast shutter speeds, deliberate composition, skilled riders, and light you’ve planned for rather than stumbled into.
| Point | Details |
|---|---|
| Shutter speed is the priority | Use at least 1/800s to freeze mountain biking motion, with 1/1000s or faster recommended for sharp action shots and fast descents. |
| Pre-focus beats autofocus tracking | Lock focus on the trail point where the rider will be; autofocus often grabs the background through the bike frame. |
| Session the feature | Have riders repeat the same pass multiple times so you can refine angle, timing, and framing each run. |
| Light shapes everything | Golden hours give warm directional light; overcast days reduce harsh shadows on forested trails. |
| Pack light, shoot more | Carrying only essential gear keeps you mobile and lets you reach the best vantage points on technical terrain. |
Ready to take your outdoor action photography further? Bissig’s adventure sports photography guide covers the full range of techniques for capturing dynamic subjects in demanding environments, from gear selection to capturing motion outdoors with professional precision.